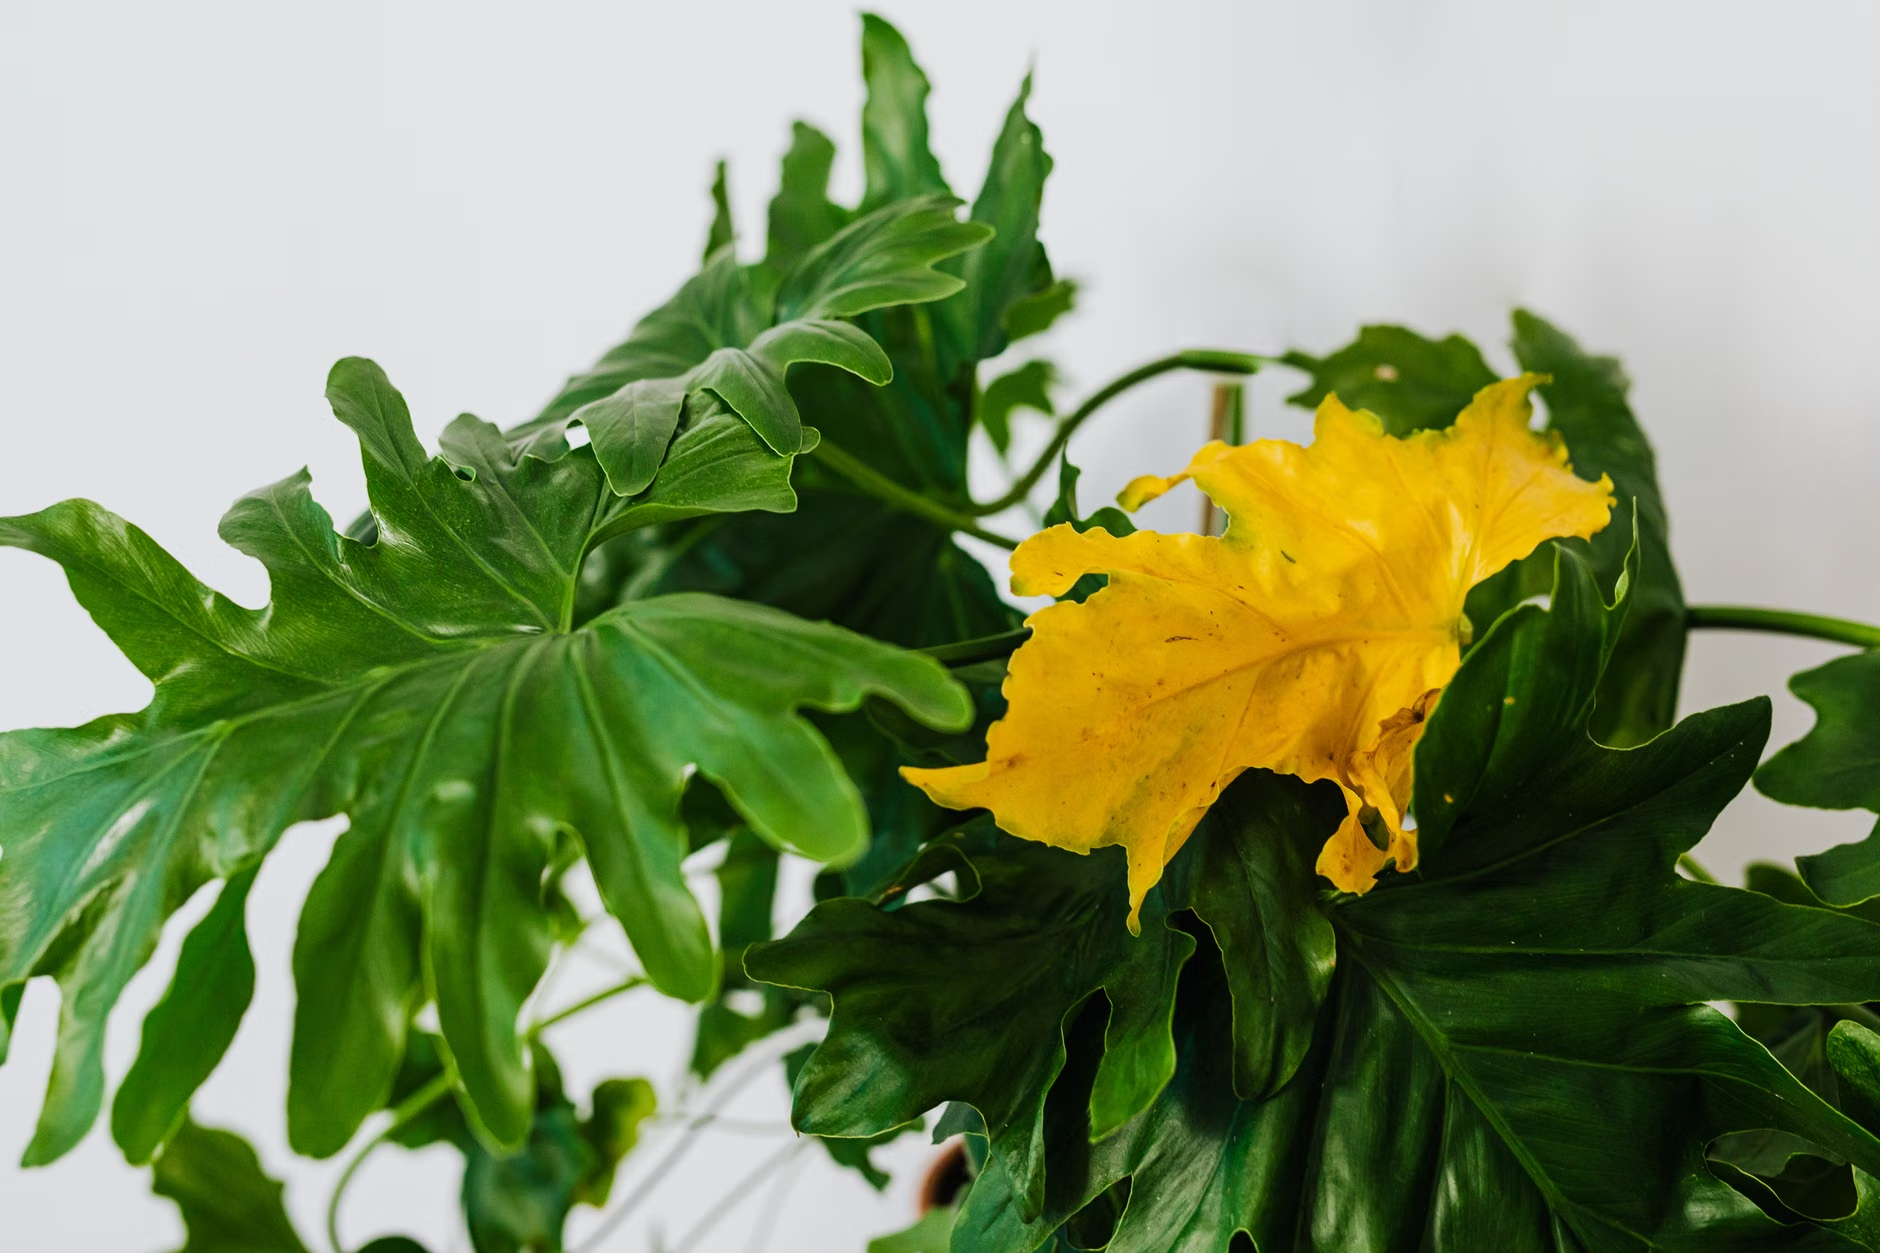
Yellow Leaves Are a Warning Shot: What Your Plant Is Trying to Tell You
Yellow leaves aren’t “a problem” so much as a message. Use this practical, pattern-based guide to diagnose the real cause—watering, light, nutrients, roots, pests, or stress—and fix it without guessing.
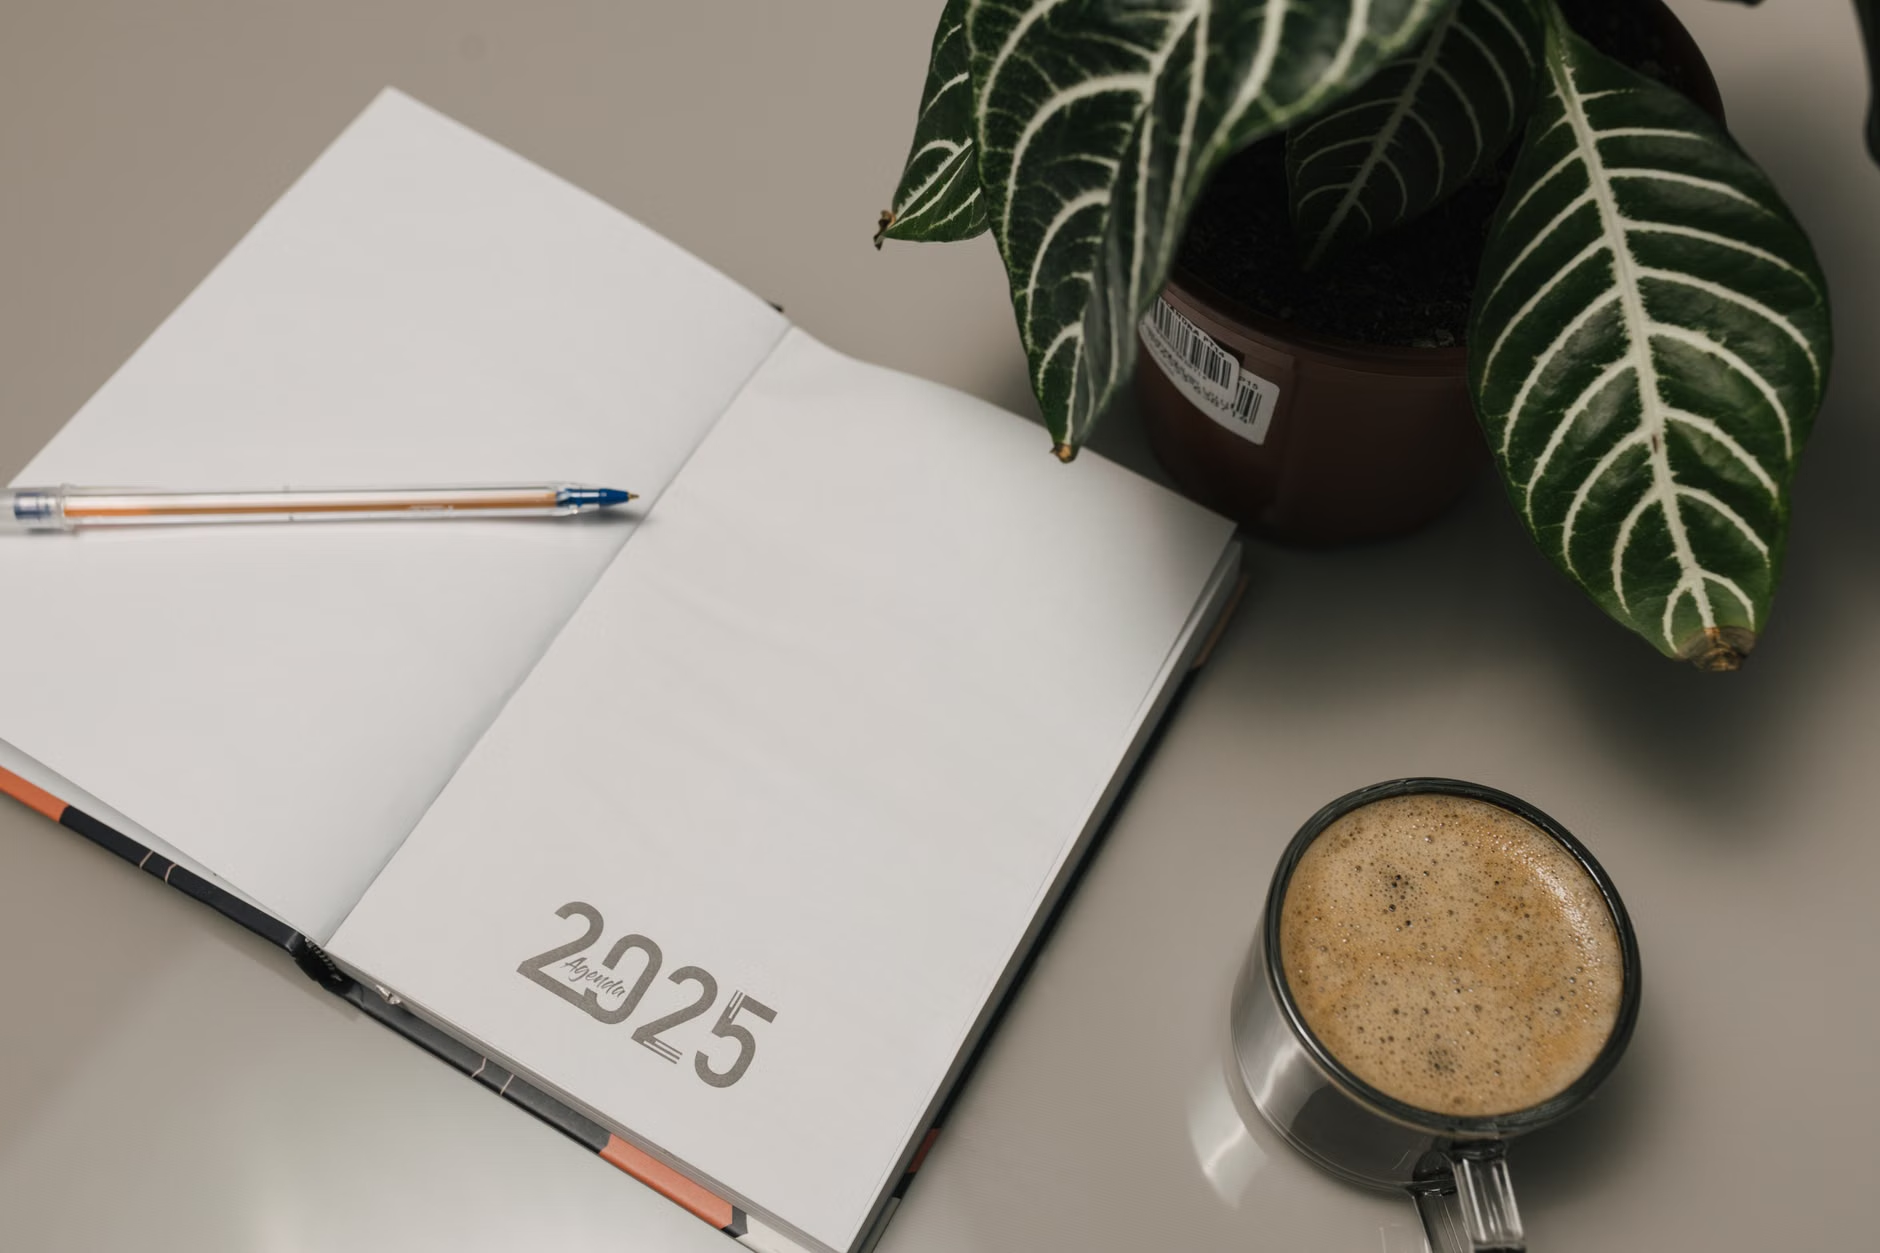
In a Nutshell
Yellow leaves = symptom, not diagnosis. Use this infallible pattern (which leaves, where on the leaf, how fast) to round in on the cause.
- Is your soil consistently moist? Prone to rotting them? If the answer is yes, add this label: Silent killer indoors, yellowing is about the most common plant problem.
- Interveinal yellowing (yellow between the green veins, not always) points to nutrient looking for, available nutrients “cut off” for some reason (often the “just overwatered” nutrient lockout kind), so more likely is affecting young leaves than old. See also: nutrient deficiencies n/k/a nutrient-arrivalists, those who are quick to declare.
- If your roots are brown and mushy, or it remains wet for days after watering, treat it (your yellowing plant) first like a root-health problem—only then should you worry about fertilizer.
- Fix one variable before (in-between plants) adding another. New growth, not the yellow part, tells you everything. (In most cases, the leaves you see won’t come back to green.)
In a nutshell, the yellow leaf: is your plant raising its hand and saying, “Something’s wrong”? He/she is trying to tell you it could be anything (that) a watering issue, to a nutrient lockout, to a pest issue. The trick is not to treat the leaf the thing—you treat what makes the leaf. Follow this guide, we’ll help you walk to (and soon with) your yellowing leaves.
Start Here: This is a Symptom, not a Diagnosis Yellow Leaves.
Plants turn yellow stems, leaves are losing chlorophyll, either breaking down or not being made at the same rate as feeding (your plant) all the time. There can be many causes for this, especially… because. The pattern, instead of? Preventing plant from being “a jerk”, or “just what it is”, or whatever. Of course. We can make Joe particular to our story mix this: What changed, recently? What did I do (to make them) Yellow Leaves? Which leaves are doing the yellowing (old leaves, or recently) recently old), vine leaves?
Added, perhaps, as required yellow: Of course. But also, investigating so. (3) What does the soil and root zone look like?
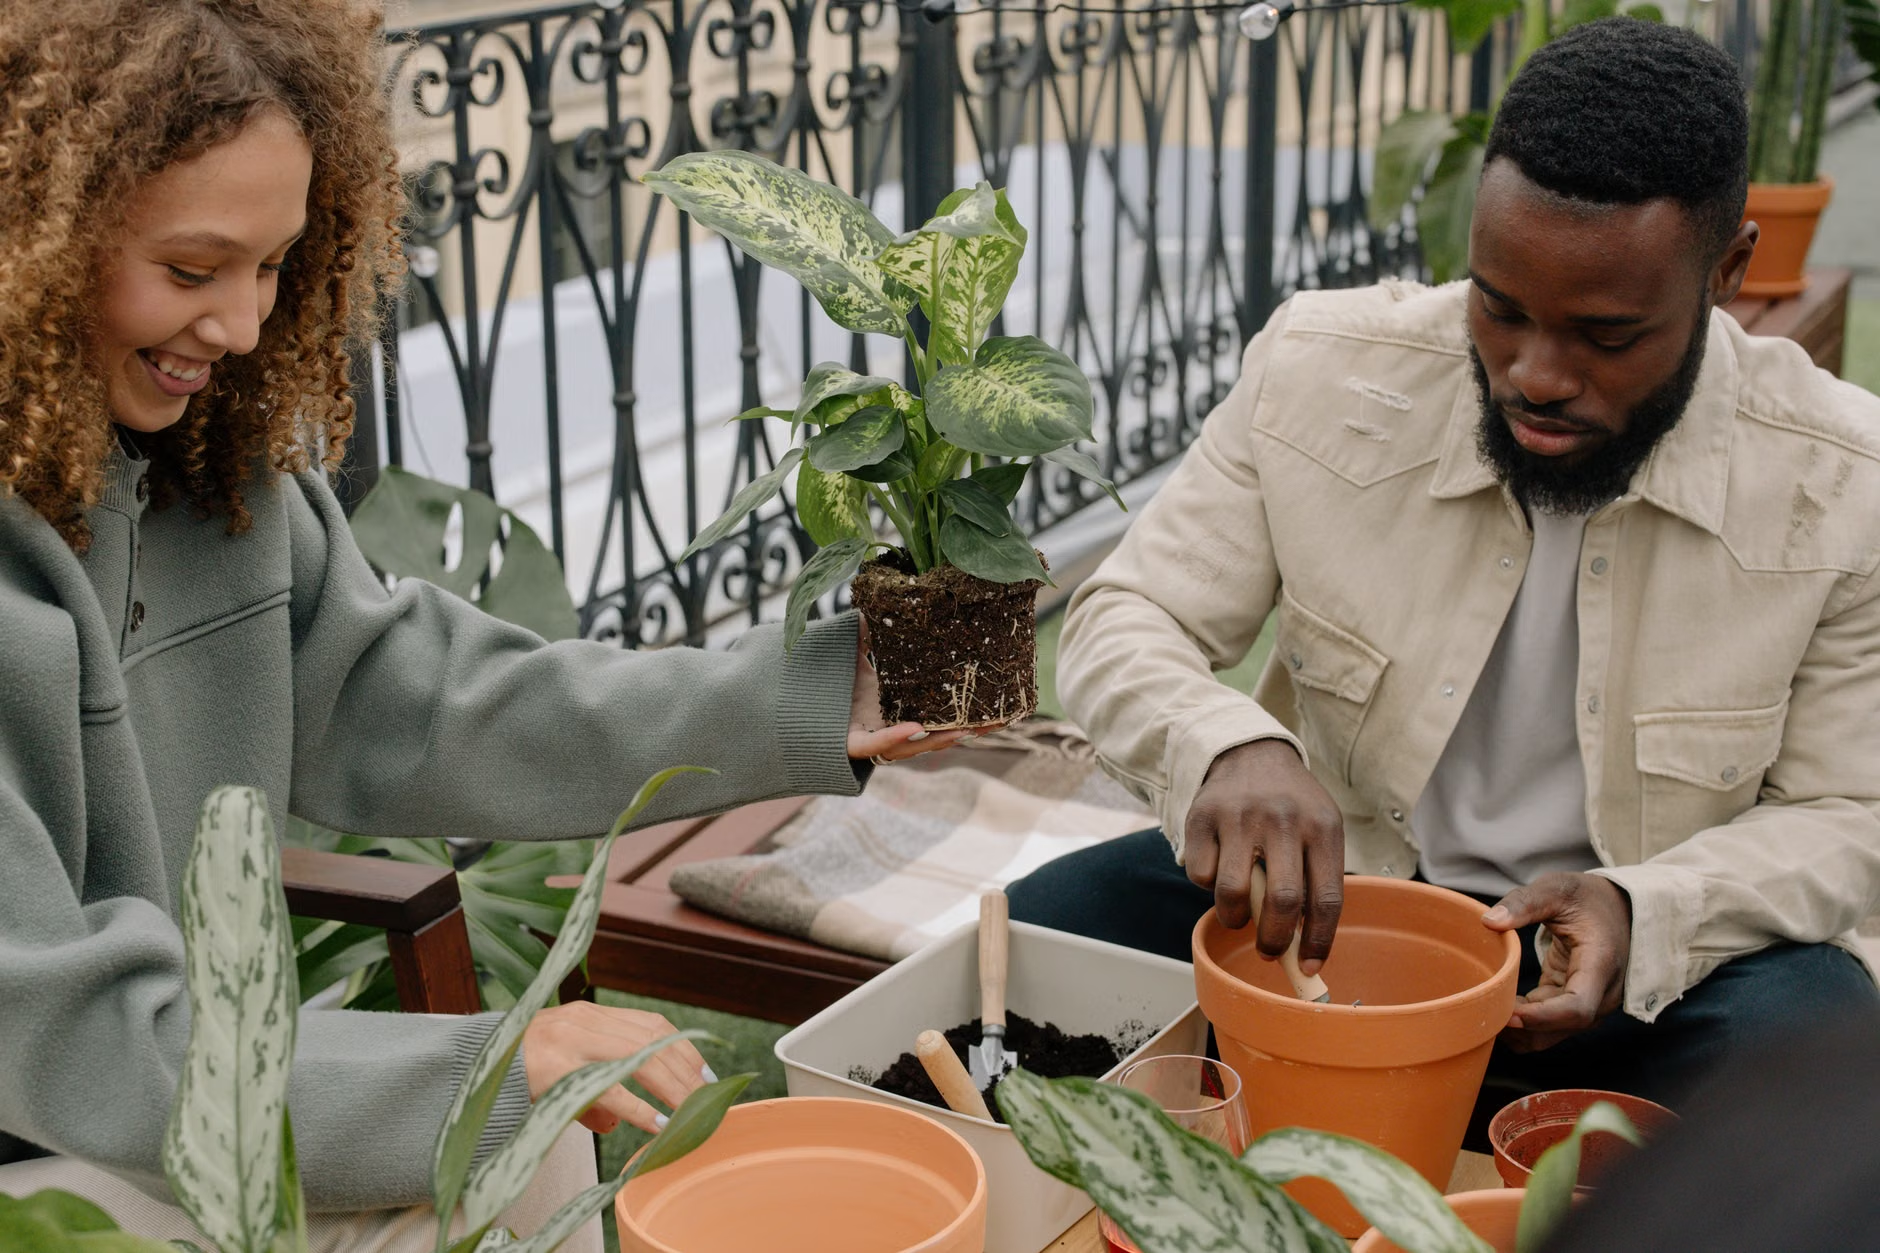
The 10-Minute Triage (Do This Before You Change Anything)
- Check soil moisture at the right depth: don’t just touch the surface. For most houseplants, feel down 1 to 2 inches; if you’re dealing with a bigger pot, reach deeper still with a small wooden skewer or moisture probe.
- Verify the drainage: does the pot have an actual hole? Does water actually run out when watering? Is there overnight standing water in that cachepot/saucer?
- Smell the potting mix: sour, swampy odors often mean the root zone has been allowed to stay too wet too long.
- Observe the pattern of yellowing: is it confined to only the bottom leaves? The top leaves? Between veins, just the edges, or spots, or the whole plant?
- Look under the leaves and down the stems for pests: sticky residue, fine webbing, cottony clusters, or tiny bumps can all be clues.
- Lastly, rewind your last 2 to 4 weeks: Was the plant moved to that new sunniest window? Did you repot? Heat/AC turned on? Fertilized? Trouble keeping the cold drafts away? Missed watering? Hot few days at the street level, especially after a heavy overcast night?
- And remember if it’s a houseplant and the yellows are spreading—you’ll want to put it in isolation—‘til you’ve ruled out all pests.
Use the Pattern: What Yellow Leaves Usually Mean
Yellow-leaf patterns and the fastest way to confirm the cause.
Wrap your eyes around the overview above and imagine several different plants that have started turning yellow. What else can you see? What’s the most likely cause? How will you confirm? What’s the best first move?
Don’t get too pedantic with this. It’s a generalization; use common sense and understand that it’s a tool. Planting others may differ slightly based on this or that. But this pattern tends to hold.
Play along:
- What you see: Lower/older leaves turn yellow one by one; plant otherwise looks OK
Most likely cause(s): Normal aging OR mild stress (light shift, minor watering inconsistency) OR nitrogen getting low
How to confirm (quickly): If new growth looks healthy and only the oldest leaves are affected, aging is likely. If growth is pale and slow, suspect nutrition or roots.
Best first move: Stabilize care; remove only fully yellow leaves; consider a light feed during active growth (after confirming roots are healthy). - What you see: Many leaves yellow fast; soil stays wet for days
Most likely cause(s): Overwatering / poor drainage / root stress
How to confirm: Pot feels heavy; mix smells sour; fungus gnats often show up; roots may be brown/mushy
Best first move: Stop watering, increase airflow/light (gently), and assess roots; repot if the mix is staying waterlogged. - What you see: Leaves yellow and feel dry/crispy; soil dries very quickly or pulls away from the pot edge
Most likely cause(s): Underwatering OR hydrophobic (water-repellent) mix
How to confirm: Pot feels unusually light; water runs through too fast; plant perks up after thorough watering
Best first move: Rehydrate slowly (water in stages or bottom-water), then adjust your schedule to regular moisture checks. - Yellow between green veins on NEW leaves (top of plant):
Iron chlorosis / micronutrient uptake problem (often associated with pH or root-zone stress)
New leaves display bright green veins with yellow tissue; older leaves appear to be fine
Assess root health first. Take your time and if the pH/alkalinity is off, address that with a seasonally tuned approach + use a micronutrient targeted approach. - Yellow between veins OLDER leaves (lower leaves) while veins stay greener:
Magnesium deficiency (or perhaps general nutrient imbalance)
Older leaves show interveinal yellowing; new leaves may look better in comparison.
Very easy to go off the ranch and overcorrect on a nutrient, especially a single nutrient as a “fix”. Try and keep balance. Throwdowns and dressings of balanced fertilizers. - Yellow edges/margins and possibly browning; a substantive white “crust” deposited on soil or around soil in the bowl of the pot lid/rim:
Salting from fertilizer or maybe from hard water. Irregularities in watering. At risk of root stress here
Look for crust, or burn on the leaf tip, or both. Or a history of frequent feeding! Flush that soil (good drainage otherwise); or repot. Reduce strength of fertilizer and frequency. More frequency with less strength. - Yellow leaves with speckling/stippled and sticky (or not):
Sucking pests or sticky leftovers of pest activity. (mites, aphids, scale, mealybugs). Also check out possibilities of a micro-climate issue (on a tiny scale).
Check the undersides…take a flashlight if you have to; wipe a leaf; does it feel tacky?
Isolate and fight! Pick that sucker off, cause it is definitely a sucker, treat with appropriate product per label and repeat per label. - Yellowing after I move… and repot with a drop of leaves; plant otherwise free of pest:
Acclimation or transplant shock. Timing makes sense and new growth is paused for the moment.
Be careful about “stacking fixes” too much on this type of thing. Try and keep everything the same for the time being until settles. Hold off on all that fertilizing you might want to do trying to stir in, don’t make the plant worse.
If it’s yellow leaves, watering is the first thing to audit, if only because it’s the most common and easiest to check. University-based plant care resources often flag watering and root issues as the main culprits of houseplant decline, with overwatering a particular tip-off as it’s one of the top reasons indoor plants fail.
If you think you might be overwatering: fix the root zone, not the leaves.
- Stop watering until the mix dries to the appropriate depth for the plant (many common houseplants dry slightly between waterings; bog plants are exceptions).
- Empty saucers and cachepots. If the pot is sitting in water, the roots can stay oxygen-starved.
- Increase drying conditions, safely: brighter indirect light, a little more air flow, and a warmer (not hot) spot help the pot dry out.
- If mix is dense/old or the pot has no drainage pot plan for a repot into new, well draining potting mix.
- If yellowing is rapid and the plant is wilting while the soil is still wet: assess roots: they’re often firm if healthy; spongy brown/black is not a good sign. (Note: plant can wilt from damaged roots even when pot is wet— don’t “fix” it automatically by watering more.)
If you suspect underwatering: look for uneven wetting and hydrophobic mix
If water runs out faster than it is taken up by capillary action, the sides may be damp but the center of the root ball is still dry. If so, water only a little at a time, or bottom-water it for a time (avoiding the roots if possible), and then turn it out to drain completely.
If the plant dries out extremely fast, it may be root-bound, it may be in a too-small pot or may be in a very airy mix. It might also be sitting in heat or sun that is too intense.
If you have been “sipping” a little water frequently, you can end up with dry pockets. Aim at thoroughly watering but aim at also getting to the beyond full root zone. Then if you have too much water, let it drain.
Cause #2: Light Mismatch (Too Little or Too Much)
Light problems can look like nutrition problems.
In too low a light plant uses the available water very slowly so the pots stay wet longer and consequently the plant is more likely to suffer root stress and yellowing.
In high direct light, especially if plant suddenly gets global sun–leaf tissue can visibly bleach out (becomes yellow or bleached, also blanched) or scorch.
How to confirm: compare tonights light with what the plant had to work with two weeks ago (two week comparison). A move across the room, a seasonal sun-angle change, a newly hung shade (or curtain) can be enough.
- Do a quick shadow test at midday: you want a sharp shadow. This means you are in direct sun. A softer shadow means you are getting a bright pozzie light;. Barely any shadow means very low light ie lit but not bright.
- If you are increasing light, do it gradually over a 7 to 14 day period or there will be light shock. Especially take care of shade tolerant houseplants. Rotate pots weekly if you have one side of your plant getting all the light. The leaf drop can be uneven due to uneven light.
Cause #3 Nutrient Problems (Deficiency. Imbalance. Lockout)
Nutrients are tricky! Yellow leaves could mean “not enough nutrients” OR “nutrients are present, but cannot be used by the plant.” Make sure roots are healthy and moisture levels are right before fertilizing, or you may make things worse.
Use the pattern to narrow it down:
- Interveinal chlorosis on NEW leaves: Often iron uptake issue
A classic iron chlorosis pattern is yellowing tissue, with a network of greener veins, showing up first on new leaves. Iron can be present in the soil, but unavailable, due to high pH / alkalinity or stressed roots. Best way to confirm is through soil test and/or tissue analysis, but we can get a good feel for it by patterns.
1st fix: correct the root environment (drainage / watering consistency / compaction). Micronutrient issues often can be improved just by getting the roots healthy again.
If you definitively know your water / soil runs alkaline, and iron truly is a problem for that type of plant, targeted products may help (like chelated iron), though most true long term success is based on fixing the environment conditions causing the pH / soil issues to begin with. - Interveinal chlorosis on OLDER leaves: Often magnesium related
Magnesium is mobile within the plant, so the deficiency commonly has to show up on the older leaves first, as the plant reallocates mag to “pay” for the new growth. The visual hallmarks are yellowing between veins, and the veins staying greener.
Avoid single nutrient “overcorrections” unless you have a very good reason! A consistent, complete fertilizer, used properly during active growth, is safer for many home growers than trying to chase down a single deficiency.
If there’s no mistaking you have a specific deficiency (recurring pattern, known soil conditions, tender plant), a soil test is in order—especially for outdoor plants. - Salt buildup (too much fertilizer or hard water): the “invisible” yellowing culprit
Houseplants can accumulate harmful soluble salts from fertilizer and some water sources over time; white crust on top of soil and at pot rim, yellowing with browning tips/edges, inability to “pull any punches,” even when you’re “doing everything right.”
Safer approach: if pot drains well, thoroughly flush soil with water; let it drain completely. If mix is old/compacted or drainage is poor, repotting in fresh mix is usually superior to flushing over and over.
Cause #4: roots crowding, compacted mix, or pot-bound growth
Roots have filled the pot. This means two things that can lead to yellow leaves below. First: watering is no longer easy to do right, because it has a tendency to dry out very fast, or often bypasses the root ball altogether. And second, nutrient uptake is much less efficient, particularly if the potting mix is older, i.e., broken down.
How to check: slide plant out. If you see a thick webbing of circling roots (or a root mass with very little soil) this is likely a pot-bound plant.
- Find a pot only slightly larger (often just 1-2” wider diameter for many house plants). Jumping to a huge pot can prevent the soil from drying quickly enough for your plant.
- Use fresh potting soil, good quality fresh potting mix suitable for that plant (chunkier for aroids, fasterdraining for succulents, etc).
- Loosen circling roots or unwinding roots so it can grow outward into the fresh potting mix. Trim just what is necessary, and always use clean tools.
- After repotting, water to settle the soil, then return to “watered based watering” and not on a fixed calendar.
Cause #5: Pests And Diseases (most likely indoors)
Sap sucking pests cause yellowing because they suc up the juices inside the plant and also stress the tissues of the leaf.
Indoors they can spread quickly from plant to plant.
Quick inspection:
- Check under leaves (especially near the vein), also look at leaf joints and stems.
- A flashlight—some fine webbing indicates mites, little bumps means scale, shining the light at an angle shows things better.
- Wipe a leaf: sticky residue on a wipe often means honey due to ants or pests like aphids and scale.
- Move that plant right away to isolate your other plants away from pests.
- Physically remove what you can, rinse in the shower/sink when feasible, wipe on leaves if realistic, and prune heavily infested leaves away.
- Least intense method that works. For many of the house plants, insecticidal soaps or horticultural oils are on offer.
- Do it again when necessary. Most pest life cycles would take more treatment than just one washing and treated.
Cause #6: Environmental Stress, Acclimation, and “Stacked” Changes
Plants can be sensitive to the slightest changes in their world. Suddenly colder temperatures, drafts, repotting, moving to a new level of light—every one of these things can trigger yellowing or leaf drop, and that includes what can happen immediately after bringing a plant home (new humidity, new light, new watering rhythm).
The number one cause of this problem is humans “stacking” changes, moving the plant, repotting it, fertilizing it, treating it, and watering it differently, all in the same week. How on earth are you supposed to know what worked (or did no work)?
- Try not to move the plant very much while it adjusts to the shock of yellowing. If you think this change triggered the yellowing, give it 2-3 weeks of stable conditions before attempting any other “big” change.
- avoid heavy fertilizing if you have newly potted your plant unless you have an otherwise compelling AND plant-appropriate reason for doing so. Fresh mixes should contain a small amount of nutrients to feed your plant for a few weeks.
- Some old leaves will be “sacrificed” during adjustment—judge recovery based on the new growth.
Should You Remove the Yellow Leaves?
Not always, but leaving it on has a downside. Once a leaf has become mostly yellow, it’s doing very little photosynthesis and the plant “re-greening” it (unless you are suffering from jaundice). Removing yellow leaves can also brighten your plant up and make it look healthier overall. However, the plant may still be feeding the leaf if all of it isn’t yellow, in which case, it wouldn’t be to your plant’s advantage for you to tear it off.
- If the leaf is all yellow and very easy to pull away from the plant, go ahead and do it. If it still has some green in it, you can leave it until the plant stabilizes (it may still be feeding the plant).
- Use clean, sharp scissors, especially if the petiole or stem is very thick. CAVEAT: diagnosing a plant problem? Don’t hold anything back from your beleaguered pals. Leaves are evidence. Pick ‘em off a few at a time as you keep getting closer to the truth and see the plant’s condition improve.
A simple “fix plan” that keeps you from guessing.
- Pick the top 1 or 2 suspects using soil moisture + pattern of yellowing (see table up above).
- Make one meaningful intervention (which might be: change your watering method once. OR Move your light. OR Repot—do NOT do all three at once unless your plant is in dire straits, and there are signs of rot!)
- Observe only the new. Mark the yellow leaf you’re keeping an eye on with a tiny piece of tape or take a picture of it so that you’re not guessing from your memory what was going on.
- Rinse, repeat, 10-14 days later. If there are still yellowing leaves and your hunch was right, but your ‘fix’ doesn’t match the findings (the soil was wet and you treated for deficiency), go back to the root-zone check.
Prevent it in the first place: Your yellow-leaf-proofing checklist.
- Water according to plant + pot size + season, NOT according to the date on the calendar: always check the moisture content first.
- Use pots with drainage holes most of the time (and NEVER set plant pots in water!).
- Make sure your planting medium matches the plant type, and discard the old, broken down mix as soon as you notice it’s not draining well anymore.
- Make light, frequent applications of Fertilizing Juice CULTURE at Feeding Time during active growth when your plants need it most—not as “heavy rescue feedings.”
- Spot check for pests weekly—especially under the trees, aka the undersides of your plant leaves.
- If you’re moving a plant to a brighter spot, do it slowly.
- If you have outdoor plants that are consistently yellowed? Know that treating them like you have a mystery nutrient deficiency by tweaking fertilizers isn’t a good idea—especially if your guesses tend towards pee test color variations. Sure, you might get lucky, but you’d probably be better off getting a soil test done (sorry, pH complications and micronutrients). Set aside a few bucks every season for soil and help everyone involved. You, and your plants’ roots. There’s a lot going on underground you simply don’t have direct knowledge of.
FAQ
So…can a leaf ever just magically turn back to green?
In the rare case that a mild problem has occurred (iex. a short period of dry soil), then yes, you might see it go from slightly-chlorotic to fully green again. But once it’s gone full yellow, you might as well prepare yourself for it to bit the dust. Generally replacements are best, and the success of fix or new growth once yours has failed is how you gauge your progress.
So is it always overwatering?
Uh, no. No. Generally it is, but not (always) and that doesn’t always mean that it is overwatered at all. Make certain. Is the water at depth correct? Does it drain well? If not, root issues may be present. No, you shouldn’t rectify “yellow = deficiency” with a quick fertilizer jab if that roots are teetering. Don’t do it. Everyone will just get upset.
Is there a fast way to tell if this is an iron or nitrogen issue?
Sure, albeit a bit cavalier. Look at the leaves where the problem began. If it started on new leaves, it’s more likely to be a fast iron deficiency (veins of leaves staying greener for example). Older leaves starting to pall, uniformly and yellow in oil-spill look is more glaringly indicative of something else. A soil test is path to absolute certainty if you’ve a mind for it, particularly outdoors.
Should I mist my plant if its leaves are yellow?
Misting just isn’t the fix to a lot of plant problems of yellowing leaves (external like watering, roots, light, and nutrients). If humidity is atrociously low, you’re typically better served traipsing a humidifier through the house than giving plants a spritz. Wet foliage can turn hosts to some nasty plant diseases, so take heed.
Should I panic if my plant is yellowing?
A good guideline is this: it’s time to panic if your plant is yellowing rapidly, dropping piles of leaves, wilting in the presence of wet soil, etc. Don’t let the undue stress b devastation of can happen in terms of softening and blackening stems. You may want to suspect serious stem and/or root issues rampantly wreaking havoc in short order, and a spot check is your safest course of action. You may even want to repot it.