- Pots with drainage holes: the default choice for most plants
- Cachepots (pots without holes): what they are and how to use them safely
- How To Prevent Root Rot: a practical checklist
- Diagnosing trouble: overwatered, under watered, or rot.
- How to tell which container set-up you should choose
- Can you drill drainage holes in a decorative pot?
- FAQ
Drainage holes are the easiest way to keep water from collecting in the bottom of a pot—pooled water cuts off oxygen to roots and increases the risk of root-rot. If a plant comes in a nursery pot, that may end up inside a “cachepot”—a decorative pot with no hole. Your safest method is to keep the plant in the nursery pot (with holes) and remove it to water. After it drains, put it back in the cachepot. Never add rocks or gravel to the bottom of a pot to “improve drainage.” It can create a saturated zone higher up in a pot (a perched water table) not far from the root zone and takes-away valuable root space.
Avoiding root rot
The truth is a good drainage system isn’t just a system, it’s a system + water your plant only after ensuring the soil is dry enough, a system + use an airy potting mix, a system + the right size of pot, and a system + empty the saucer and another pot if necessary after you water. Why does it matter? Because in containers “good drainage” is often about how quickly water escapes inside the pot, but more importantly about how quickly the pot is no longer creating long-lasting soggy conditions near the base of the plant. Roots can’t extract oxygen from water-saturated soil and, voila, they will begin to decline and rot. This is precisely the way that overwatering and underwatering can appear superficially similar: the plant looks wilty but the soil is wet because the roots have died from drought and can’t move more water and expand the leaves.
Pots with drainage holes: the default choice for most plants
A pot with at least one drainage hole lets excess water exit rather than collect in the bottom. The bulk of extension guides are blunt about this: drainage holes keep roots from standing in water and reduce the risk of root rot.
The simplest “good drainage” setup (indoors)
- Pot with hole(s) + saucer/tray: water thoroughly, then empty the saucer after 30–45 minutes (don’t let the pot sit in water).
- Mesh screen (optional): place a small piece over the hole to reduce mix loss—but a bit of soil that squeezes out is fine.
- Pot feet/risers (optional): If a pot sits flat on a solid surface, elevate it on little feet or small pedestals to give wetness room to flow out. This can help prevent a “stagnant puddle” underneath the pot.
Why “rocks in the bottom” doesn’t fix drainage
Putting gravel, or rocks, or broken pottery in the bottom of a pot is one of the most persistent myths in container-gardening. It does nothing to make the soil above it drain better. Fundamentally, this kind of growing medium isn’t a great choice for most indoor plants, including aroids, because it can leave a wetter zone in the potting mix above the gravel (often described as a perched water table) and it lessens the amount of real root space the plant has.
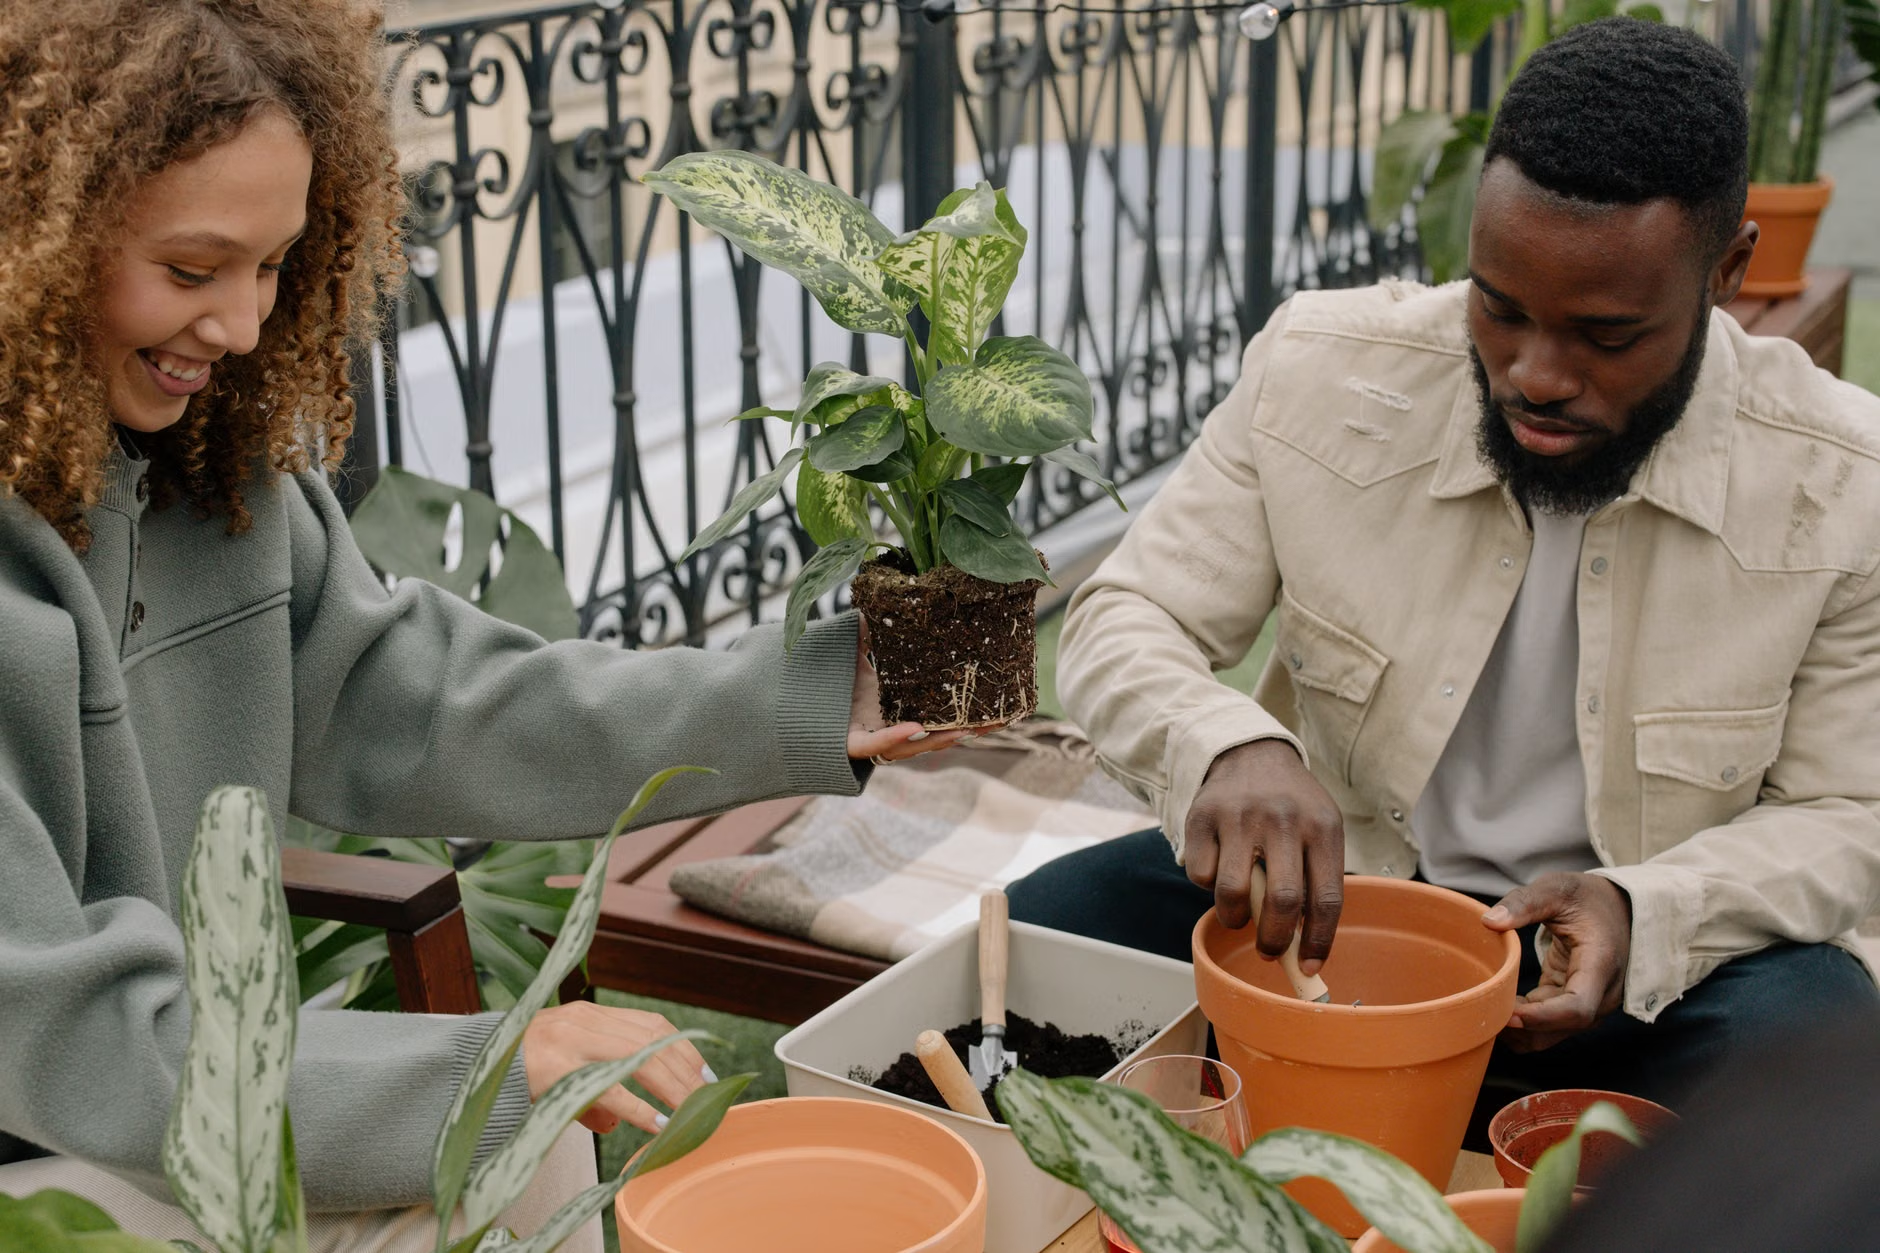
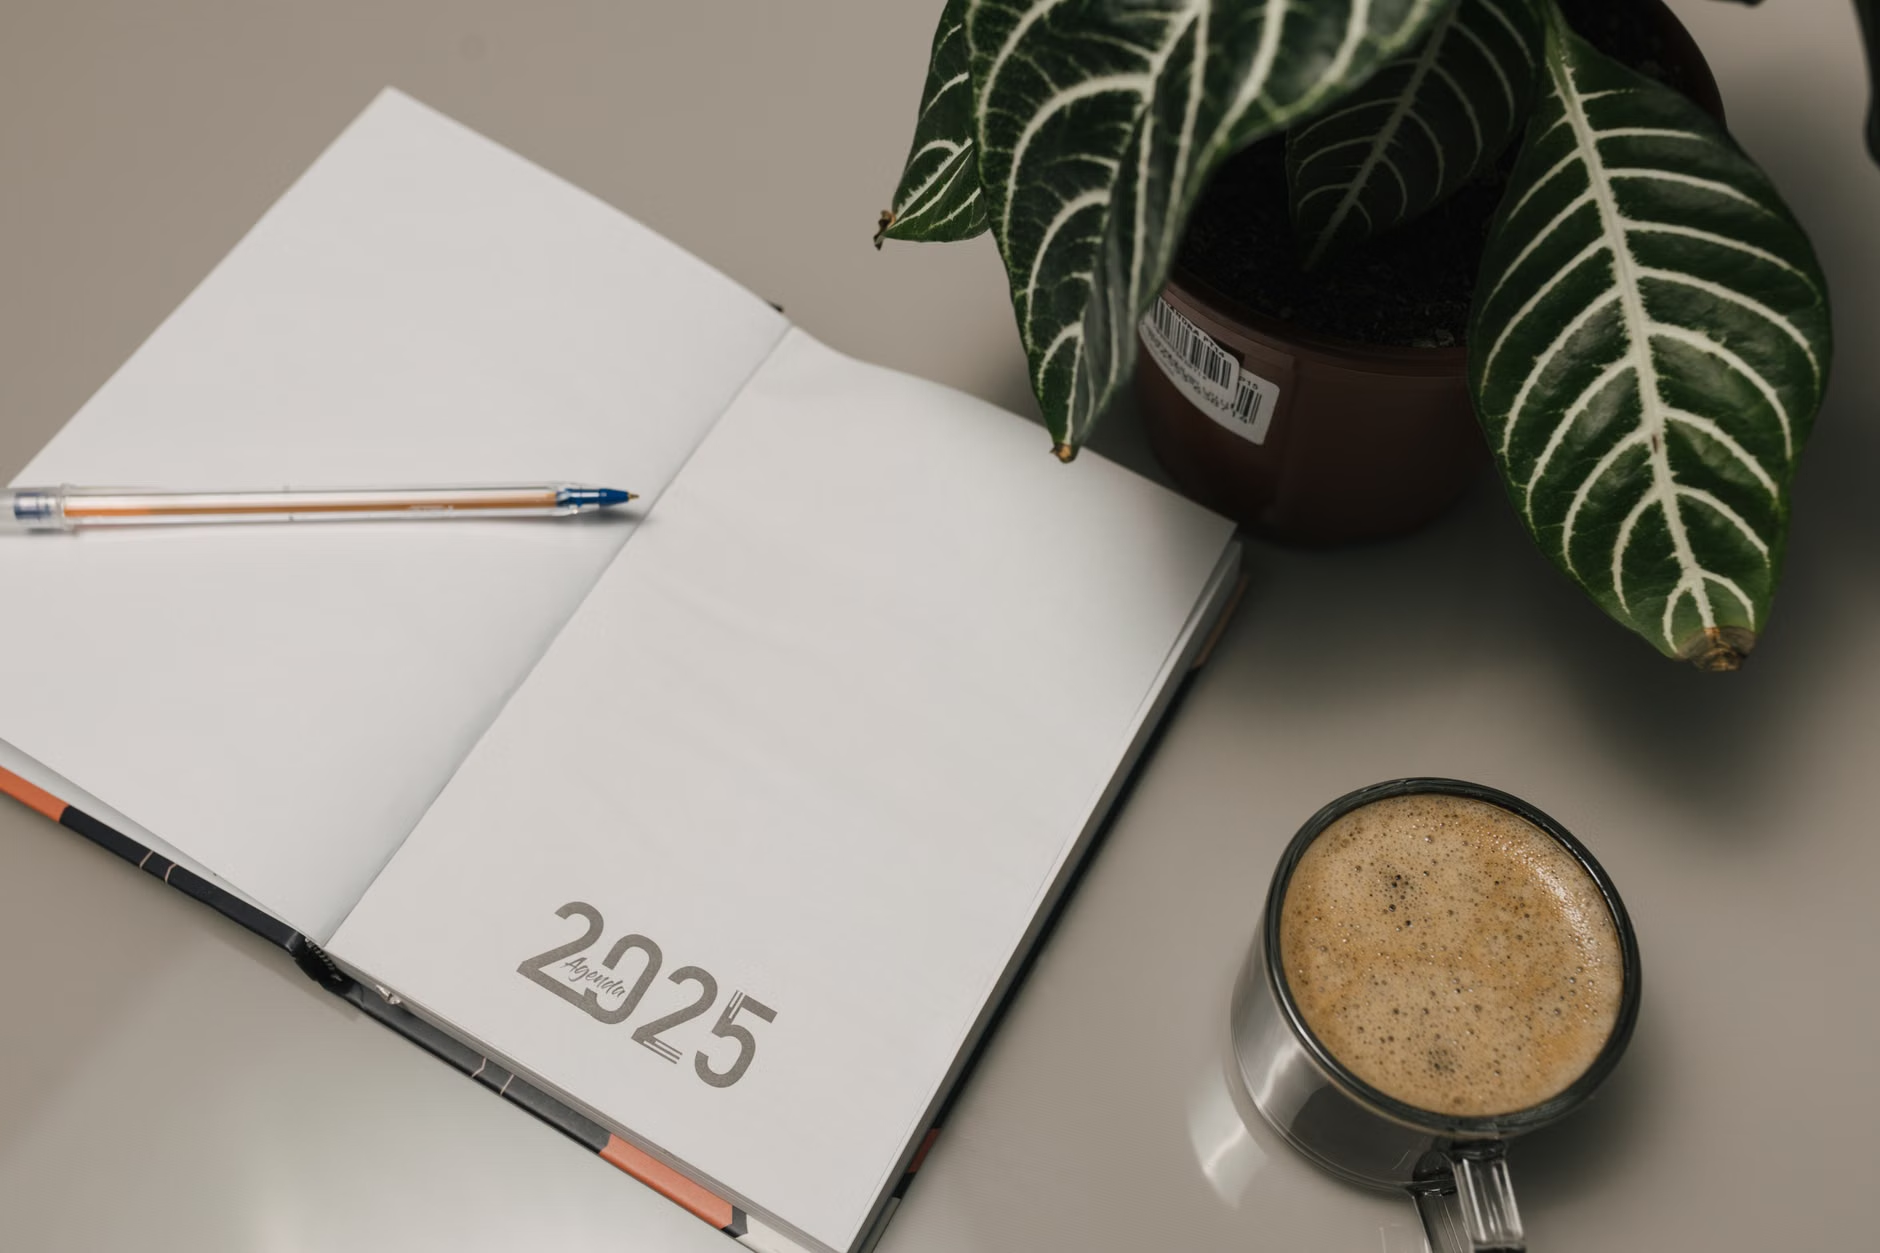
Cachepots (pots without holes): what they are and how to use them safely
A cachepot is simply a decorative outer pot with no drainage hole—that is intended to hide a plain nursery pot. The cachepot itself isn’t the problem, it’s trapped water that is. If water collects at the bottom of it and the inner pot sits in that, the lower root zone of your plant can remain oxygen-starved and soggy. The best practice for most houseplants is to simply have your plant remain in its nursery pot (with drainage holes) and set that nursery pot inside a cachepot. When you water, you remove it and let it drain completely before putting it back. Here’s how:
- Lift the nursery pot out and take it to a sink, tub, or outdoors.
- Water very slowly until water runs out from the drainage holes (this way the whole root ball gets watered, not just the top).
- Let it drain thoroughly (a few minutes at the very least, longer if the mix is very dense or if the plant is especially root-bound).
- Empty any water sitting in the cachepot before you return the plant.
- Put the nursery pot back into the cachepot.
Make cachepots safer (small upgrades that help a lot)
- Add a spacer: (pot feet, a plastic riser, or even a few upside-down plastic bottle caps) to keep the nursery pot slightly above any accidental pool.
- Use a snug nursery pot: A loose one can tip and drop soil out when you lift it to water.
- “Drain day”: Once a month, remove the plant and give a good flush with a bunch of water to help rinse accumulated salts, then drain thoroughly before putting it back.
How To Prevent Root Rot: a practical checklist
Root rot is commonly a process, not an instant event. Prevention is a matter of stacking the odds in your favor—container, mix, light, watering method as appropriate to your home.
- Choose a pot with drainage holes, whenever possible (especially for indoor plants).
- Avoid pots that are too big: too much unused incipient swamp can leave roots too damp for too long.
- Use potting mix, not garden soil—in pots, it’s designed to drain well and not to compact and hold water well.
- Match watering to conditions: less light + cooler = dries slower.
- Never allow a pot to sit in a dripping pot or outer pot—empty saucers and outer pots every time you water!
- Always check moisture before watering (finger test, pot weight, chopstick test, or a moisture meter).
4 easy ways to check if your plant really does need water
Moisture checks you can do in a minute
| Method | How to do it | Best for | Common mistake |
|---|---|---|---|
| Finger tip test | Push a finger 1–2 inches into the mix (deeper if it’s a big pot). | Most common houseplants | Only touching the surface (the top can be dry and the centre wet). |
| Light lift/weight test | Lift the pot after watering (heavy) and again when it dries (light). | Plants you water a lot; consistent pots | Comparing pots of different sizes/materials: you need a “baseline”. |
| Chopstick test | Submerge a wooden chopstick, wait 10–30 seconds, then pull it out; if the mix sticks to it, it’s damp. | Dense mixes; deeper pots | Interpreting framed-only as wet (look for damp particles). |
| Moisture meter | Insert the probe, but aim for near (not through) the actor mass; read it mid-depth not just at the edge. | Large collection; deaper pots use a reading on 2–3 locations. If it says it is wet need to disperse another 3–5 inches from it. rots in pots relying on one spot. |
If you are not sure if it is underwatering vs over, you will check the soil and soil temp and if required check the roots. A wild guess based on droopy leaves alone is how many plants are watered to their death.
Diagnosing trouble: overwatered, under watered, or rot.
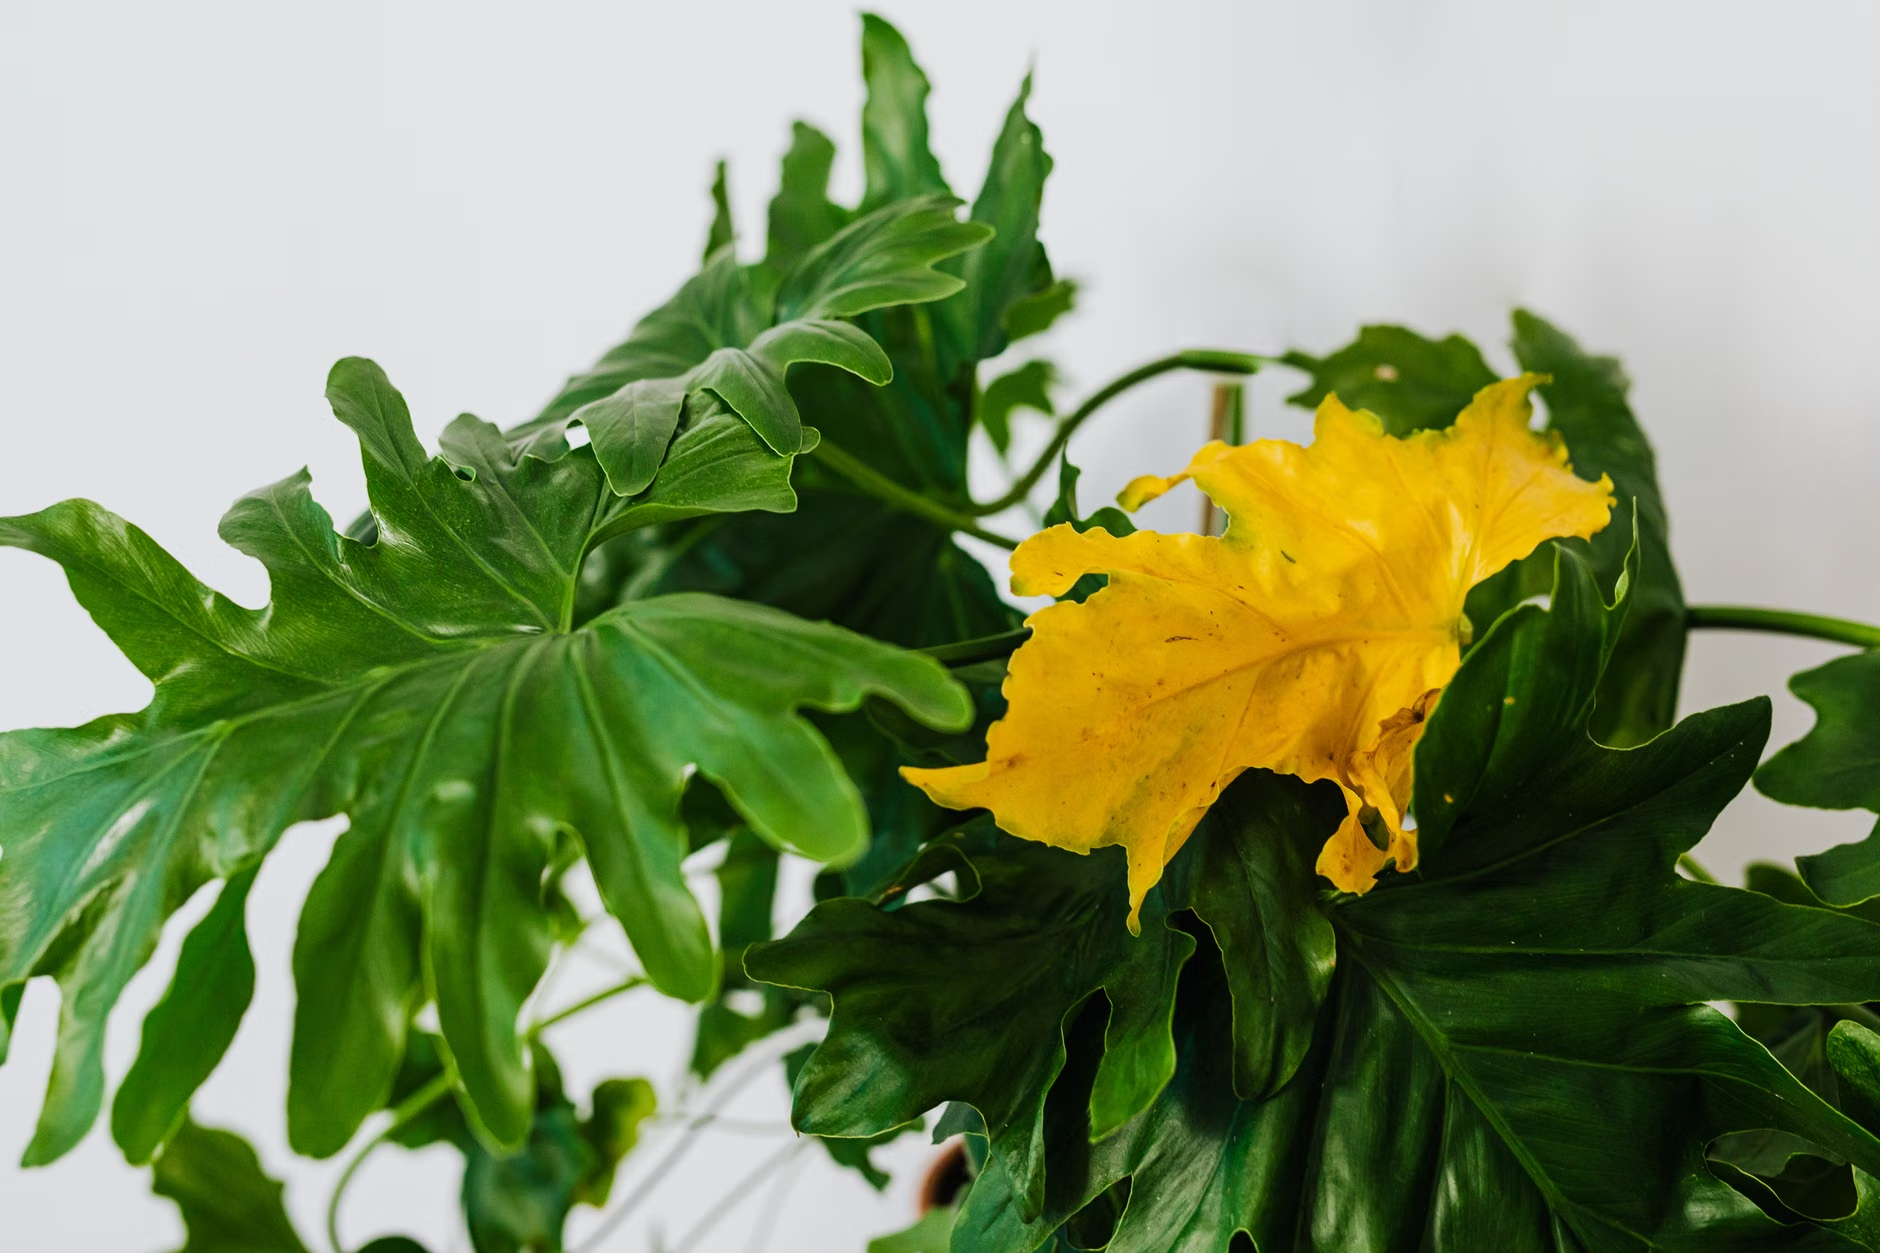
Yellow leaves, wilting – none of that is a diagnosis on its own. A better option is to inspect the conditions; is the soil quite soggy? Does it smell sour? Are there fungus gnats? Is the plant sitting in a cachepot where water could be pooling unseen?
- If the soil is dry and crumbly and the pot feels light: underwatering (or hydrophobic, dried-out mix) is likely.
- If the soil is wet and stays wet for many days: overwatering and/or poor drainage is likely.
- If the soil is wet and the plant is wilting: suspect root damage—check roots rather than adding more water.
If you suspect root rot: a step-by-step rescue plan
- Stop watering and remove the plant from its pot (do this over a trash bag or sink).
- Inspect roots: healthy roots are typically firm and light-colored; rotting roots are dark, mushy, and often smell bad.
- Trim damaged roots with clean scissors/shears (wipe with alcohol between cuts if you’re trimming a lot).
- Discard the old potting mix if it’s staying soggy or smells sour; don’t “reuse” it in another houseplant.
- Repot into fresh, well-draining potting mix in a pot with drainage holes (or back into nursery pot that can drain).
- After repotting, water lightly (enough to settle the mix), then wait. Your next watering should be a moisture check, not a schedule.
- Take it easy on the fertilizing until you can see new growth, and keep it in bright, indirect light while recovering.
How to tell which container set-up you should choose
| Setup | Best for | Main risk | How to mitigate risk |
|---|---|---|---|
| Pot with drainage holes + saucer | Most houseplants; beginners | Leaving that run-off in the saucer | Dump your saucers after watering; consider investing in pot feet/risers |
| Nursery pot nested inside a cachepot (double-pot) | Other decor-forward rooms; rental living; housewarming gifts | Water pooling that’s hidden from your view in the outer pot | Pull the inner pot out to water and drain it; add a spacer; pour out any water in the outer to keep any hidden pooling to a minimum |
| Pot without holes (planted directly into) | Only if you’re experienced and can absolutely measure your water use | Root rot risk is the highest since any water will pool in the base | Consider drilling or switching to double-pot methods |
| Self-watering pot/reservoir setup | People who travel or are out and about a lot of the time; water-loving plants | Reservoir that’s always kept full; salts build up | Follow the pots instruction; allow dry-down; flush periodically to remove salts |
Can you drill drainage holes in a decorative pot?
Often, yes—especially for plastic or thin wood. Ceramic and glacé pots are often also drillable, but they’re most likely to crack if you get aggressive with it. If you’re unsure (and/or the pot is expensive or an heirloom), go for the cachepot + np method instead of drilling.
- Confirm the material (plastic is easiest; ceramic/glazed needs more care).
- Use eye protection and stabilize the pot so it won’t slip.
- For ceramic/glazed pots, use an appropriate bit (commonly a diamond-tipped bit), drill slowly, and keep the area cool to reduce the risk of cracking.
- Start with a small pilot hole if you can, then gradually widen it to your desired size.
- Rinse out dust, then use a saucer and test-drain with water before potting a plant.
Common drainage mistakes (and what to do instead)
- Mistake: Adding gravel and/or rocks at the bottom.
Do instead: Use a pot with holes and just the right potting mix. - Mistake: Watering on a calendar.
Do instead: Water based on a moisture check and the plant’s current conditions (light, temperature, growth). - Mistake: Upsizing too much during repotting.
Do instead: Move up gradually; huge jumps can leave too much wet soil around too small a root system. - Mistake: Leaving a nursery pot inside a cachepot with standing water.
Do instead: Water outside the cachepot, then drain and return to the cachepot. - Mistake: Using compact garden soil indoors.
Do instead: A container mix: designed to hold both water and air.