Repotting Step-by-Step: When to Repot and What Size Pot to Choose
Learn exactly when to repot houseplants, how to tell if they’re root-bound, and the safest way to choose a new pot size (without overpotting). Includes a simple pot-size chart, a step-by-step repotting walkthrough, and a complete checklist.
TL;DR
- Most houseplants want to be repotted in spring (earlier in the growing season).
- Repot when you see signs of being root-bound: roots in drainage holes, circling roots, soil drying quicker than normal, or stubbornly stopping growth.
- Choose a pot that’s just a bit bigger—1–2 inches larger in diameter, or one pot size up (like 4-inch to 6-inch).
- Big pots hold moisture longer, which can cause root problems—especially in low light and cooler seasons.
- After repotting, water to settle soil, then return to your usual watering schedule once the soil dries as normal.
What “repotting” really is, and two types of repotting that you might need
Repotting refreshes your plant’s mix and/or gives it more root space. That can mean:
- “Potting Up” to a slightly bigger container for root expansion
- “Refreshing Soil” in the same pot size—removing some old mix, trimming back dead parts, and topping with fresh potting mix (when the plant doesn’t want more space but the mix is tired, salty, compacted, or poorly draining)
When to repot: timing, frequency, and the telltale signs
Best time of year (for most houseplants)
The least traumatic, most effective time to repot is spring, when the plant is waking up and entering active growth. Unsure if “now” is a good time? If in doubt, wait for spring.
How often should you repot?
No fixed schedule fits every plant. Fast growers may need more frequent repotting or mix refreshes, slow growers can often wait years. Let the plant’s roots and soil guide you.
The telltale signs it’s time
- Roots are escaping: growing out the drainage holes or pushing at the soil surface.
- Rootball takes over: Slide it out and see dense, circling roots, very little soil left.
- Changed drainage: Plant dries out much quicker due to roots outgrowing pot/mix.
- No new growth in growing season: Despite proper light/care, no new growth.
- Mix is spent: Sunk in pot, hydrophobic (water runs down sides), smells sour, salt buildup.
How to check if root-bound (in 60 seconds): Lightly water (optional), tip the pot, slide plant out holding stems. See a tight, “pot-shaped” root mass, roots circling bottom/sides? Time to repot!
What size pot to choose (the safest rule of thumb)
Most repotting issues come from choosing a pot that’s too big. A slightly larger pot dries at a similar pace, keeps your routine easy, and lets roots colonize new mix quickly.
- Standard sizing: Go 1–2 inches wider in diameter than current pot.
- Nursery rule: Move up one pot size (e.g., 4-inch to 6-inch).
- Depth: Don’t choose a much deeper pot unless absolutely needed (deep pots = more wet mix at the bottom).
When you might not size up at all:
- To control plant size: Stay in same pot, refresh soil, light root prune.
- Some flowering types: Slightly snug roots encourage flowering.
- Top-heavy plants: Heavier/wider pot preferred over bigger root volume.
How to measure correctly:
- Measure inside diameter at top (not outside rim). Add 1–2 inches for new pot’s inside diameter.
- Super root-bound? Aim for upper end of range but don’t leap multiple sizes.
- Limited light or known overwatering? Stay close to +1 inch.
Quick pot-size chart (common household pot jumps)
| Current pot | Typical next pot | Best for | Avoid if… |
|---|---|---|---|
| 3-inch | 4-inch | Small cuttings that are rooting strongly | Soil stays wet a week or more in your home |
| 4-inch | 6-inch | Most starter houseplants ready to grow on | You’re moving to a lower-light spot right after repotting |
| 6-inch | 8-inch | Medium plants with visible root circling | Plant is already slow-growing or semi-dormant |
| 8-inch | 10-inch | Larger leafy, small floor plants | You can’t lift pot safely for watering or rotation |
| 10-inch | 12-inch | Floor plants that dry quickly, actively growing | Tempted to jump way up to 14+ inches “so you won’t have to repot again” |
Tools and materials (get these ready first)
- A new pot with drainage holes (or nursery pot inside a decorative cachepot)
- Fresh potting mix suited to the plant (houseplant, cactus, orchid, etc.)
- A tray or newspaper (repotting is messy)
- Clean scissors/pruners (for dead roots)
- Gloves (optional)
- A chopstick/small stick (optional, to gently loosen compacted rootballs)
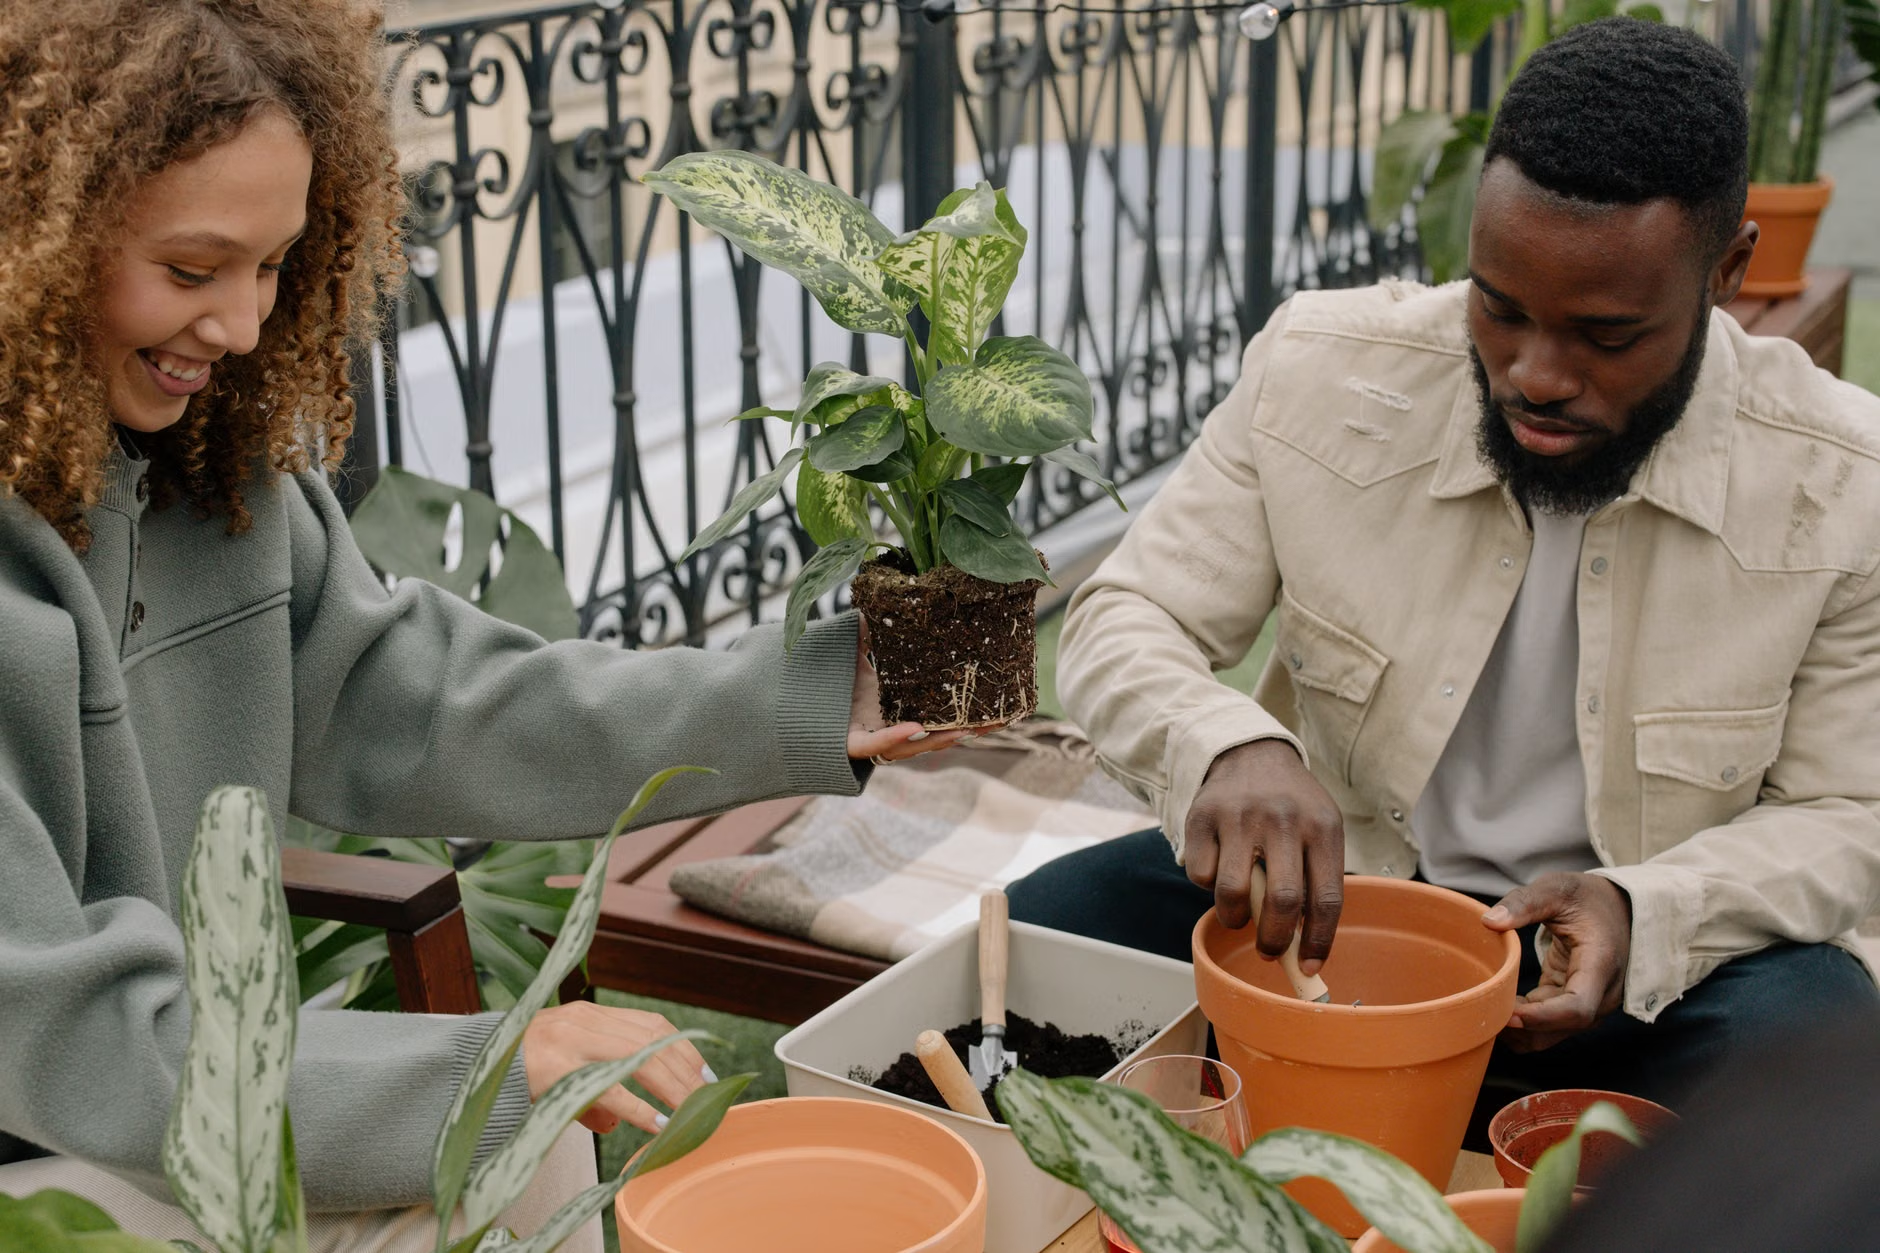
How to repot (step by step)
- Pick the right day: When plant can recover in a stable spot out of bright sun/drafts for 1–2 days.
- Pre-moisten mix (lightly): Damp, not soggy, so it settles around roots easily.
- Slide plant out: Support base, tilt, gently tease out. For stuck plants, squeeze the pot or run a blunt knife inside edge.
- Inspect roots: Healthy = light colored, firm. Trim mushy, black, or hollow roots with clean scissors.
- Loosen circling roots: Tease out gently. For very tight balls, make shallow vertical slices to help new root growth.
- Add a base layer of mix: Enough so plant sits at same level as before (do not bury stems deeper).
- Center it: Hold upright, fill mix around sides.
- Tamp gently: To remove air gaps, but don’t compact tightly.
- Water to settle: Water well so it runs from the bottom—this helps roots contact the new mix.
- Place in recovery: Most plants like bright indirect light right after repotting.
Aftercare: what to do in the next 2–4 weeks
- Watering: Fresh mix often holds water differently. Only water when needed (use finger test or moisture meter).
- Light: Place in bright, indirect light (unless it’s a true high-light plant, just removed from bright sun). Avoid hot, midday sun briefly, if possible.
- Fertilizer: Hold off! Fresh mix has nutrients. Wait a few weeks before feeding.
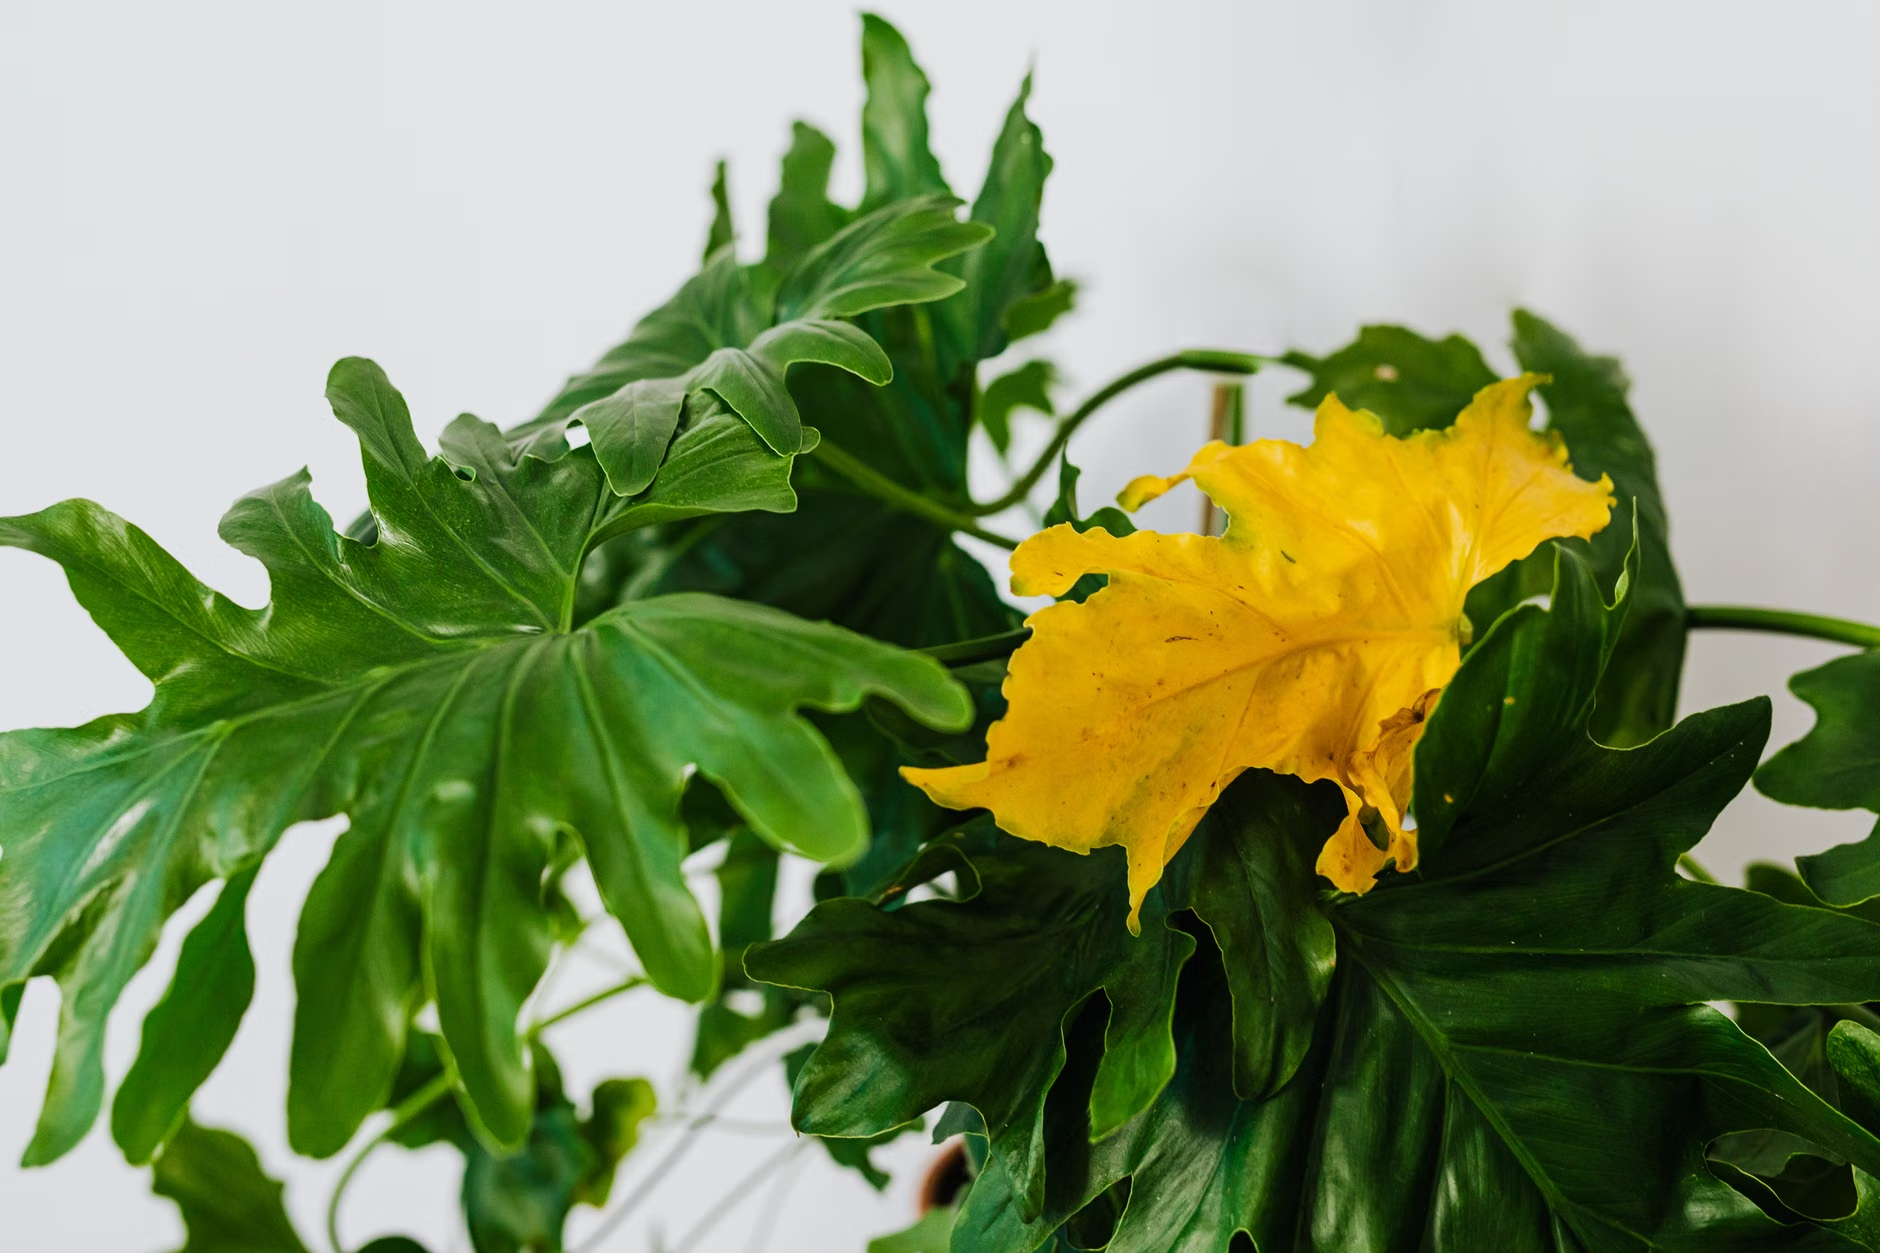
- Leaf drop: Minor stress is normal. Prioritize stable light, temperature, and consistent watering. Don’t change everything at once.
You’ll see new growth in 2–6 weeks (quicker in spring), or plumper leaves. Steady decline and a wet pot = rethink pot size, drainage, and lighting.
Common mistakes when repotting (and what to do if you’re guilty)
- Mistake: Much bigger pot. Fix: Go down a size (or two), use a pot only slightly bigger; water with more caution until roots re-establish.
- Mistake: Burying the whole stem. Fix: Repot again at original soil line—stems need air, can rot if buried in wet soil.
- Mistake: Soiling too tight. Fix: Use chunkier, well-aerated mix; tamp just enough to remove air, don’t compact.
- Mistake: Simultaneously repotting, moving, and changing watering. Fix: Change one variable at a time; repot, keep other aspects the same for stability.
- Mistake: No drainage hole. Fix: Use a nursery pot with holes inside a decorative pot—don’t let the plant sit in drained water.
Repotting checklist (printable-style)
- I checked for root-bound signs by sliding the plant out of its pot.
- I picked a pot only 1–2 inches wider (or one pot-size up).
- The new pot has drainage holes (or I’m using a nursery pot inside a cachepot).
- I used fresh potting mix suitable for this plant type.
- I kept the same soil depth as before (did not bury more).
- I watered once to settle, and will check before re-watering.
- I will keep conditions stable (especially light and heat) for at least 2–4 weeks.
FAQ
Should I always go up 2 inches in pot size?
Not necessarily—but that is generally a good rule for most houseplants. If your home is low-light or you tend to overwater, a smaller jump (+1 inch) is safest. If the plant is extremely root-bound and growing in bright light, +2 inches is often fine.
Can I repot in winter?
You can if you need to (broken pot, severe root-bound, rot, or pests), but don’t jump pot sizes, keep the plant warm, and be stingy with water since growth slows.
Do I need to break up the rootball?
If roots are circling, yes—gently loosening or scoring outer roots will help them push into new mix. If roots look fine and aren’t circling, leaving them alone is often best.
What if my plant looks worse after repotting?
A little droop is normal, but if it lingers, suspect too-large a pot, soggy soil, low light, or root damage. Ensure extra water drains freely, and don’t re-water until the mix dries as usual.
Is it okay to reuse old potting soil?
It’s usually better to use fresh mix indoors. Old mix may be compact, depleted, and unpredictable. If you must reuse, refresh heavily with new material—never reuse from sick/infested plants.