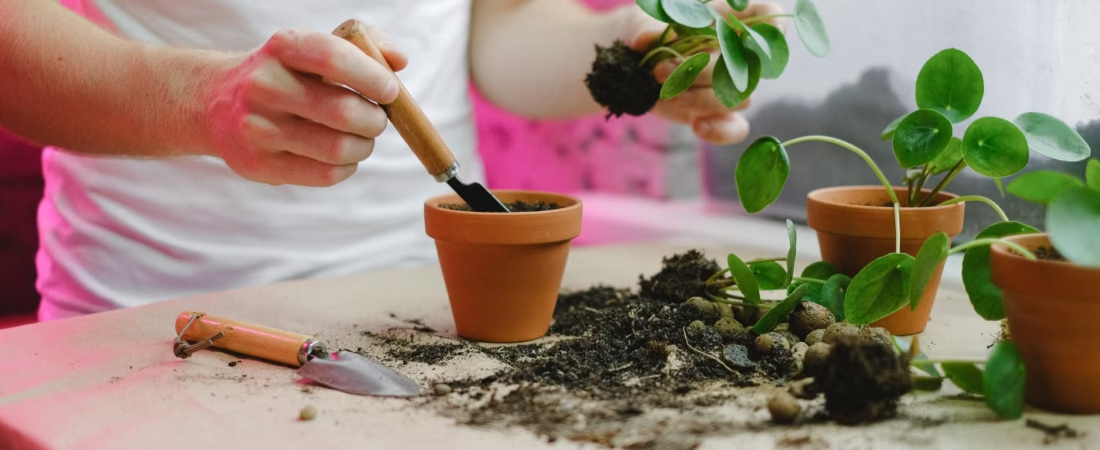
If a houseplant keeps collapsing in a pot that clearly has drainage holes, the problem usually is not the number of holes. Root rot starts when roots stay wet and oxygen-poor long enough to stop functioning and begin to die. A drainage hole helps excess water leave the pot, but it cannot fix an oversized container, a dense mix, a cachepot full of runoff, or a watering routine that ignores light and season. (pubs.ext.vt.edu)
TL;DR
- Drainage holes are necessary, but they are not a complete root rot prevention plan. Roots can still fail when the potting mix stays saturated and oxygen-poor for too long. (pubs.ext.vt.edu)
- A gravel layer at the bottom of a pot does not improve drainage. It pushes the wet zone higher, closer to roots. (ucanr.edu)
- The biggest hidden risks are oversized pots, dense or worn-out mix, water left in saucers or decorative pots, and watering on a fixed schedule. (extension.illinois.edu)
- Good prevention usually looks like this: fresh, airy mix; a pot sized close to the root ball; thorough watering when needed; then real dry-down before the next round. (extension.illinois.edu)
- If roots are already mushy, brown, or foul-smelling, repotting may help, but some plants are too far gone to recover. (extension.sdstate.edu)
Drainage holes fix only one part of the system
Think of container drainage as a whole system, not a single feature. Water moves through potting mix, lingers longest at the bottom of the container, and has to leave while enough air remains around the roots. That is why a pot can have a hole and still stay too wet. Adding gravel or rocks to the bottom does not create a better escape route for water. It raises the saturated layer upward, where roots are more likely to sit in it. (ucanr.edu)
The other weak points are easy to miss. A plant moved from a 6-inch nursery pot into a much larger planter can end up sitting in extra damp mix its roots are not ready to use. Plastic and glazed pots hold moisture longer than terracotta. Lower light and cooler rooms slow water use. And if runoff stays in a saucer, wrapper, or decorative outer pot, the roots can remain effectively waterlogged even though the container itself has drainage holes. (extension.illinois.edu)
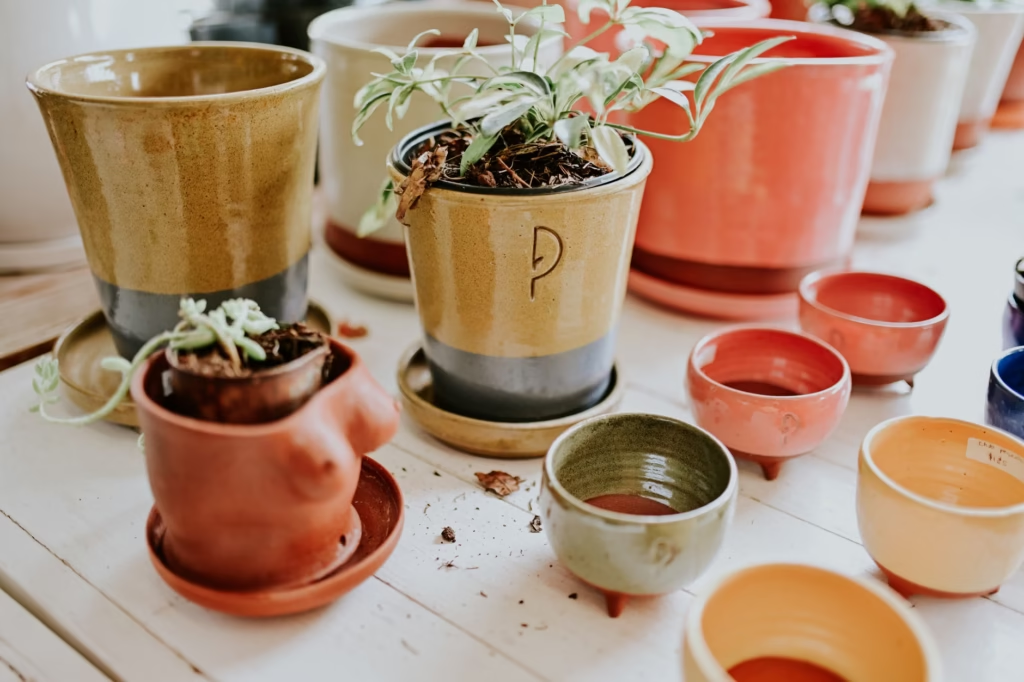
A wilted plant in wet soil is not automatically thirsty. Wilting can also mean the roots are so damaged they can no longer take up water. Watering again can make the situation worse. (extension.uconn.edu)
| What you have | Why the holes are not saving it | Best first fix |
|---|---|---|
| A small plant in a pot more than 1 to 2 inches wider than the old one | Too much unused mix stays wet around a modest root ball | Move back to a smaller pot or down-pot during rescue |
| A nursery pot sitting inside a decorative cachepot with pooled runoff | Water left in the outer pot keeps the root zone saturated | Take the inner pot out to water, then empty the outer pot |
| Gravel or rocks inside the bottom of the container | The wet zone shifts upward instead of disappearing | Repot without the gravel and improve the mix instead |
| A peat-heavy or compacted mix that stays dense for days | Air space is too limited, so roots stay wet and oxygen-poor | Replace with fresh, airy, sterile potting mix |
| A succulent or snake plant in a glazed pot in low light | Water use is slow, so the mix stays damp too long | Use a faster-draining mix, brighter light if appropriate, and longer dry intervals |
| A plant watered every Saturday no matter what | Calendar watering ignores season, light, and real moisture levels | Use dry-down cues instead of a fixed schedule |
Use the DRAIN Audit before you water again
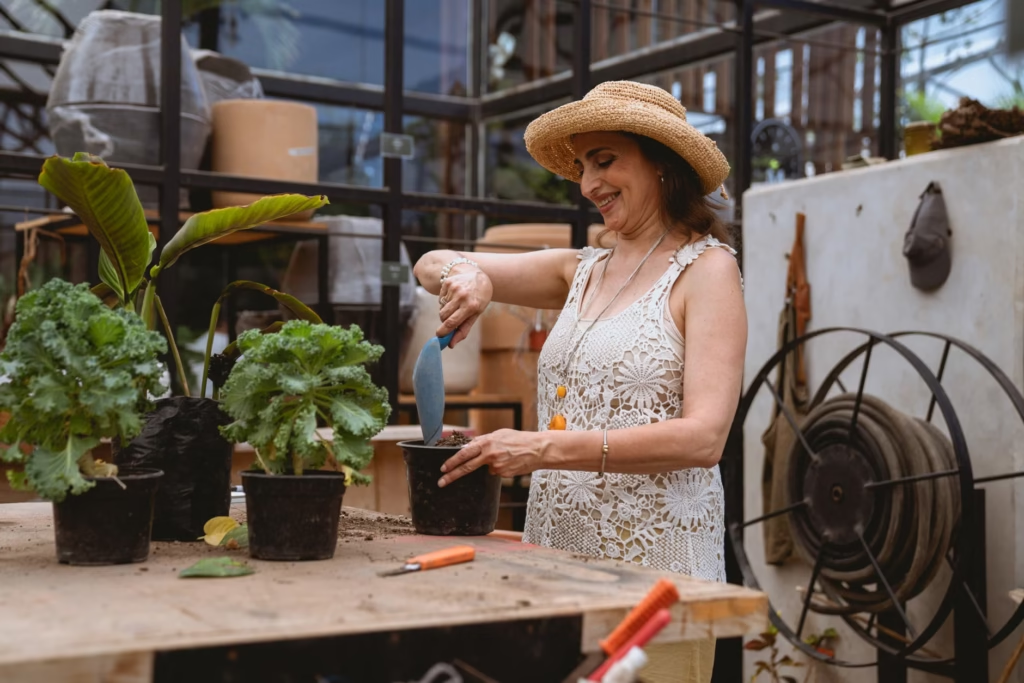
A simple way to catch root rot risk early is to score the whole setup, not just the pot. Use this DRAIN Audit. Give yourself 1 point for every statement that sounds like your plant right now. The higher the score, the more likely your drainage hole is being asked to do a job it cannot do by itself. (yardandgarden.extension.iastate.edu)
- D – Departure problem: Water stays in a saucer, cachepot, foil wrapper, or basin for more than 30 to 60 minutes after watering. (yardandgarden.extension.iastate.edu)
- R – Root mismatch: The current pot is much larger than the root ball, or you upsized by more than 1 to 2 inches in diameter. (extension.illinois.edu)
- A – Air shortage: The mix is dense, old, compacted, or loaded with gravel in the bottom instead of air pockets through the mix itself. (ucanr.edu)
- I – Interval mistake: You water on a schedule rather than checking dryness, pot weight, and actual plant demand. (yardandgarden.extension.iastate.edu)
- N – Needs mismatch: The plant is in low light, cool conditions, a glazed or plastic pot, or it is a dry-soil species such as a cactus or succulent that needs longer dry periods. (pubs.ext.vt.edu)
A score of 0 to 1 indicates low risk; 2 to 3 indicates moderate risk, and it should be advisable to fix the conditions before symptoms appear. A score of 4 to 5 is dangerous, especially if the plant has yellow leaves, soft stems, has fungus gnats, or a bad smell. The scoring system is strict on purpose, as it is much easier to avoid root rot than to overcome it later.
A realistic example: how a plant with holes still rots
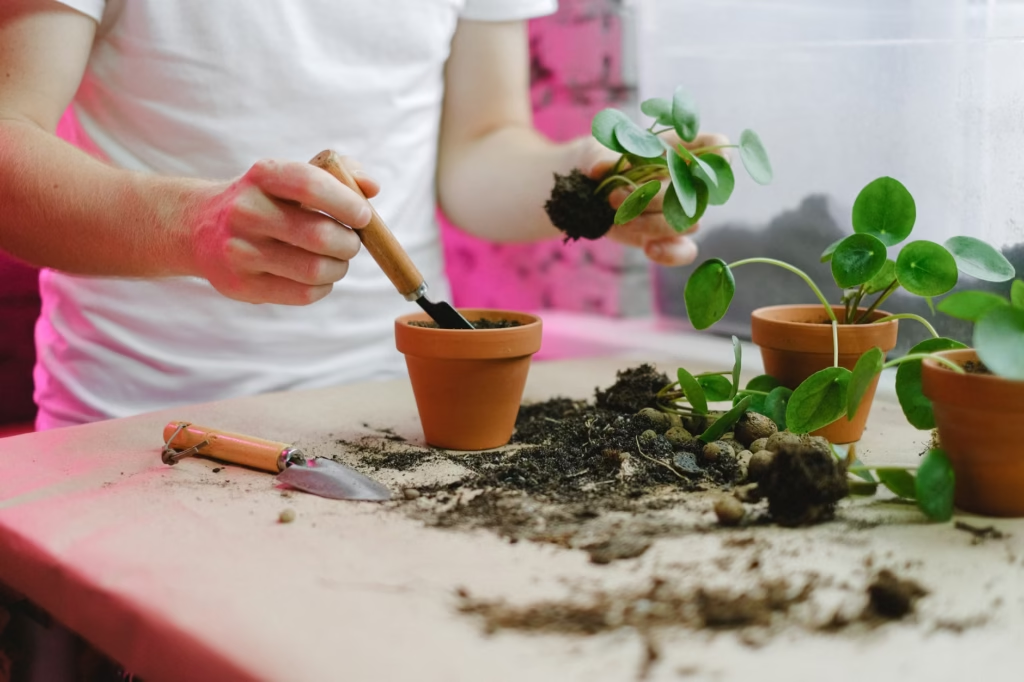
Imagine a pothos that came home in a 6-inch nursery pot and was moved straight into a 10-inch glazed planter because it looked better on a shelf. It gets about 2 cups of water every 7 days. In summer, that might limp along. In winter, in a cooler room with less light, the plant uses far less water, but the larger planter still holds a wide ring of damp mix around a relatively small root ball. If runoff collects in the decorative pot, the bottom of the root zone may never really dry. After a few weeks, the leaves yellow, the plant wilts despite wet soil, and the stems start to soften. (extension.illinois.edu)
The fix is not drilling three more holes somewhere else. The fix is reducing the volume of wet mix, restoring air space, and changing the watering trigger. In practice, that often means trimming damaged roots, moving the plant into a pot only slightly larger than the root mass, repotting in fresh mix, and stopping the weekly watering habit. (pubs.ext.vt.edu)
The reset that works better than drilling extra holes
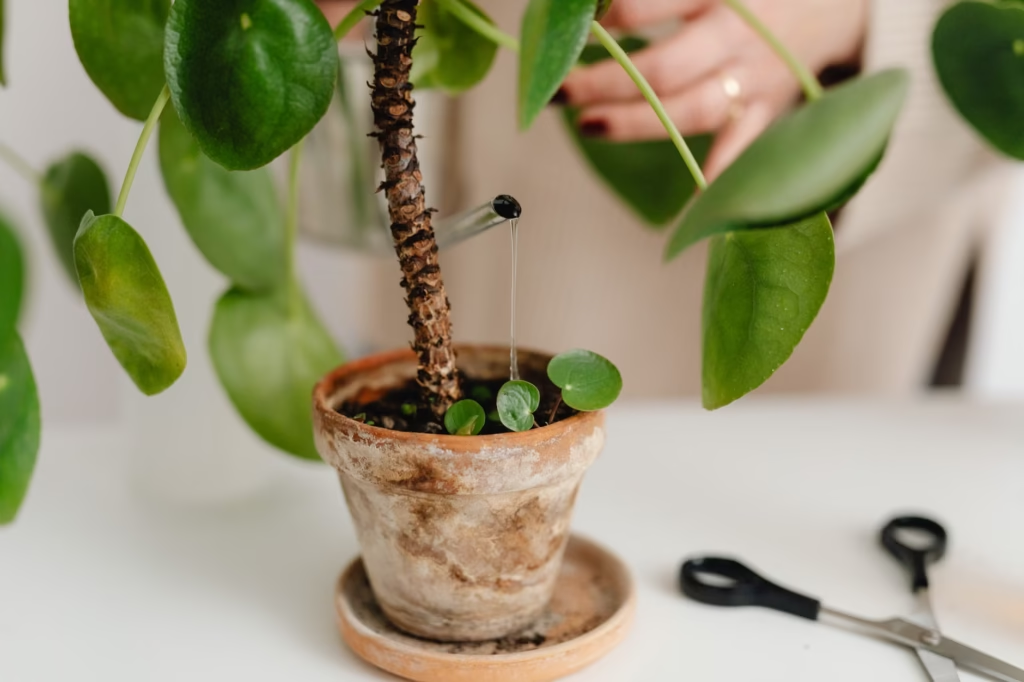
- Slide the plant out and inspect the roots. Healthy roots are usually firm and light-colored. Rotting roots are often brown, mushy, fragile, and may smell bad. (extension.sdstate.edu)
- Remove obviously dead roots with clean scissors or pruners. If the plant still has a decent amount of healthy root tissue, repotting gives it a chance. If very little healthy root mass remains, recovery may be unlikely. (extension.sdstate.edu)
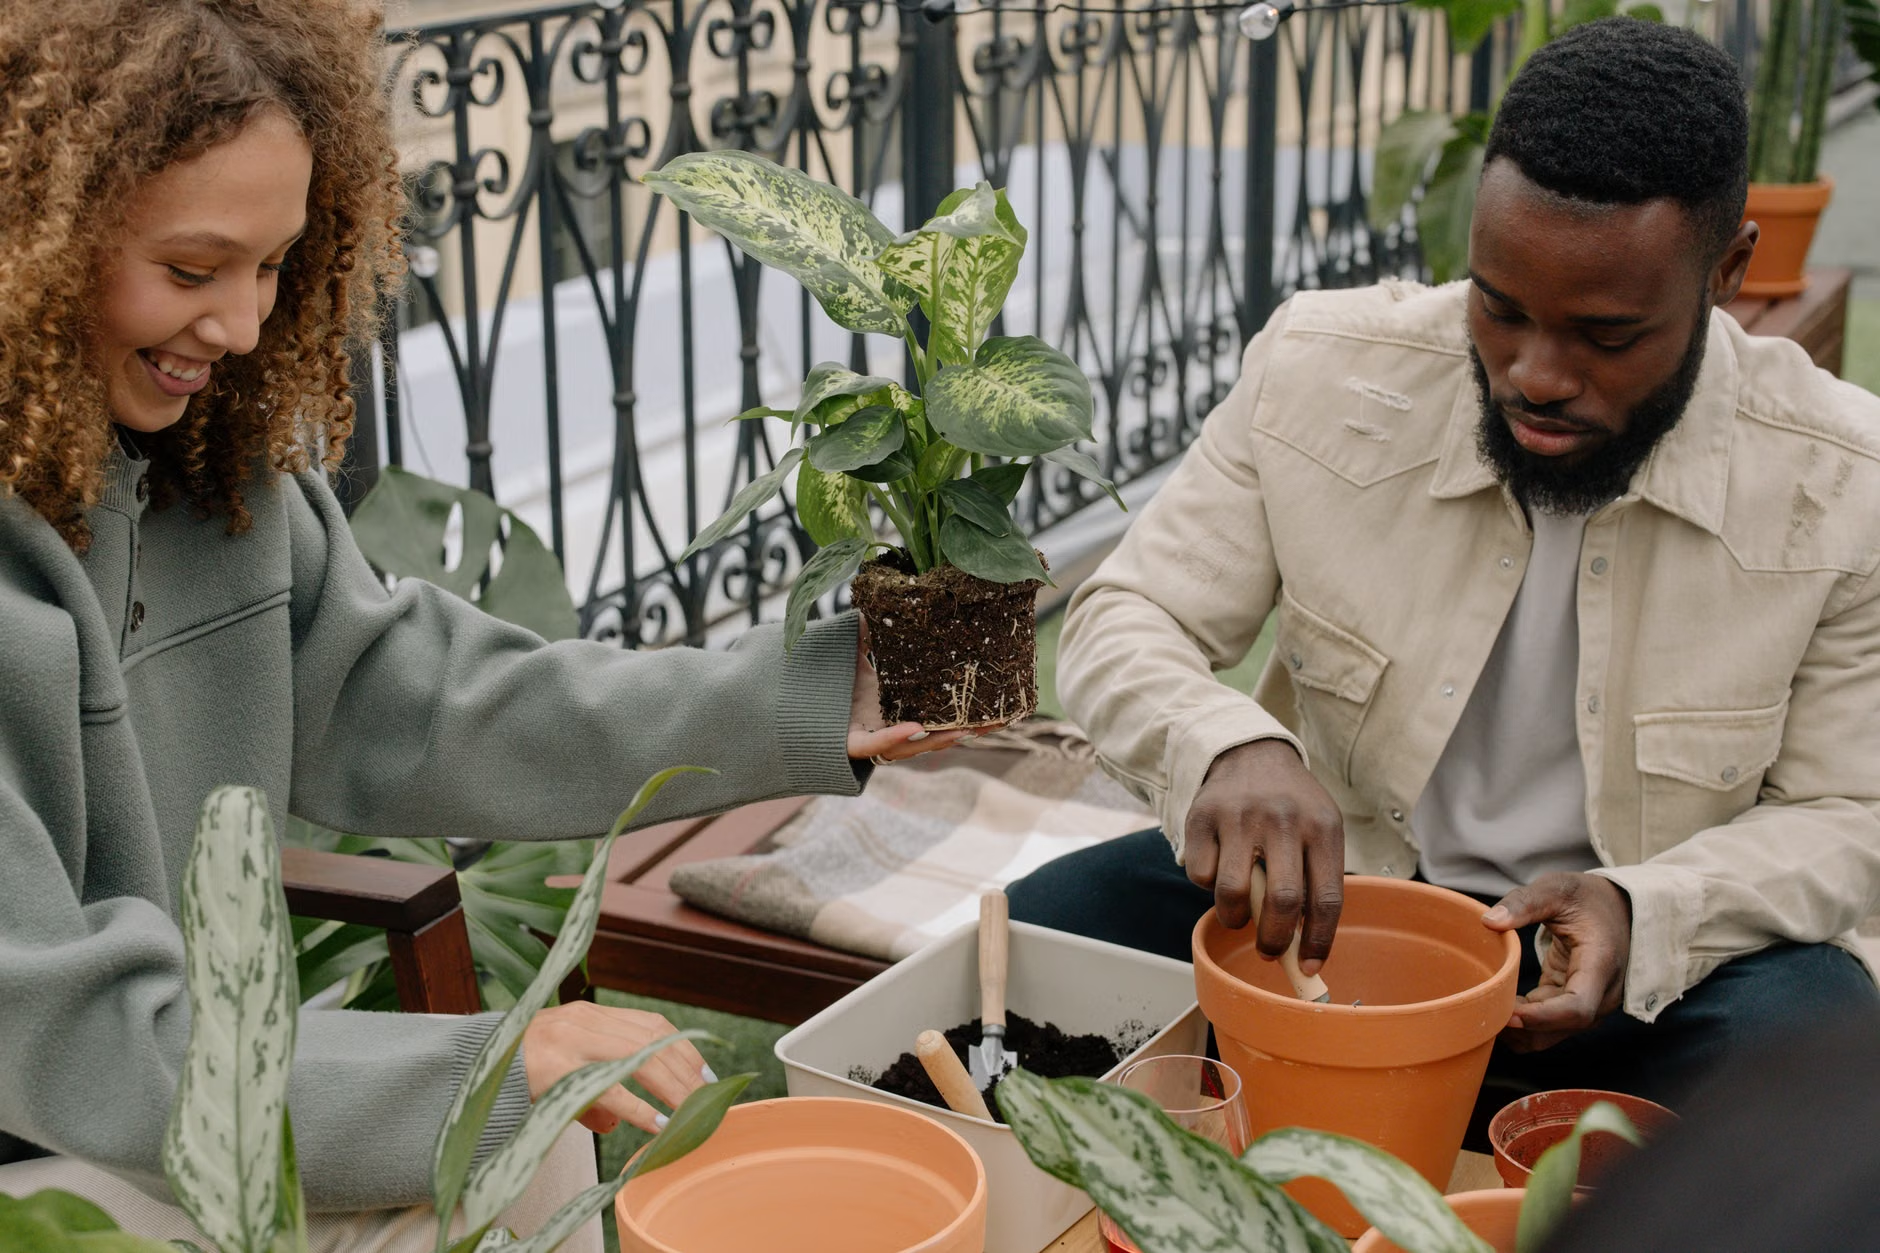
- Choose a pot that matches the remaining root ball. For most houseplants, move only one size up, usually about 1 to 2 inches wider. If you want a decorative planter, use it as a cover pot and do not leave standing water inside it. (extension.illinois.edu)
- Use fresh, sterile, well-drained potting mix. Skip garden soil and skip gravel in the bottom. For moisture-sensitive plants, increase air space with ingredients such as perlite, pumice, or bark, or use a plant-specific mix when appropriate. (hort.extension.wisc.edu)
- Water thoroughly after repotting, but make sure the root ball actually gets wet. If water rushes straight down the sides or out the hole, the mix may be hydrophobic. Rewet slowly in two or three passes, or soak briefly, then drain well. (pubs.ext.vt.edu)
- Rebuild your watering trigger. Check the top inch or so of mix, lift the pot to judge weight, and pay attention to how fast the plant dries in its current room. Water when the plant needs it, not because the calendar says it is time. (yardandgarden.extension.iastate.edu)
- Adjust for season and container type. Bright light, warmth, terracotta, and active growth usually speed dry-down. Low light, cooler rooms, plastic, and glazed ceramic usually slow it. (pubs.ext.vt.edu)
Common mistakes that undo the benefit of drainage holes
- Watering lightly and often. Small sips can leave the top layer wet while the lower root zone stays unevenly moist or poorly flushed. Thorough watering followed by dry-down is usually healthier. (missouribotanicalgarden.org)
- Treating quick runoff as proof the plant is fully watered. Sometimes water channels around a dry root ball and exits without rehydrating the center. (pubs.ext.vt.edu)
- Repotting for looks instead of root size. A small plant in a big planter is one of the fastest ways to create a wet, stagnant root zone. (extension.illinois.edu)
- Using gravel at the bottom as a shortcut for drainage. It does not replace an airy mix and can worsen saturation near roots. (ucanr.edu)
- Leaving water in saucers, cachepots, pebble trays that touch the pot bottom, or decorative wraps. The root zone needs a way to drain and then breathe. (yardandgarden.extension.iastate.edu)
- Ignoring the fact that winter and low light change everything. Many plants need less frequent watering when growth slows. (pubs.ext.vt.edu)
When the first fix still is not enough
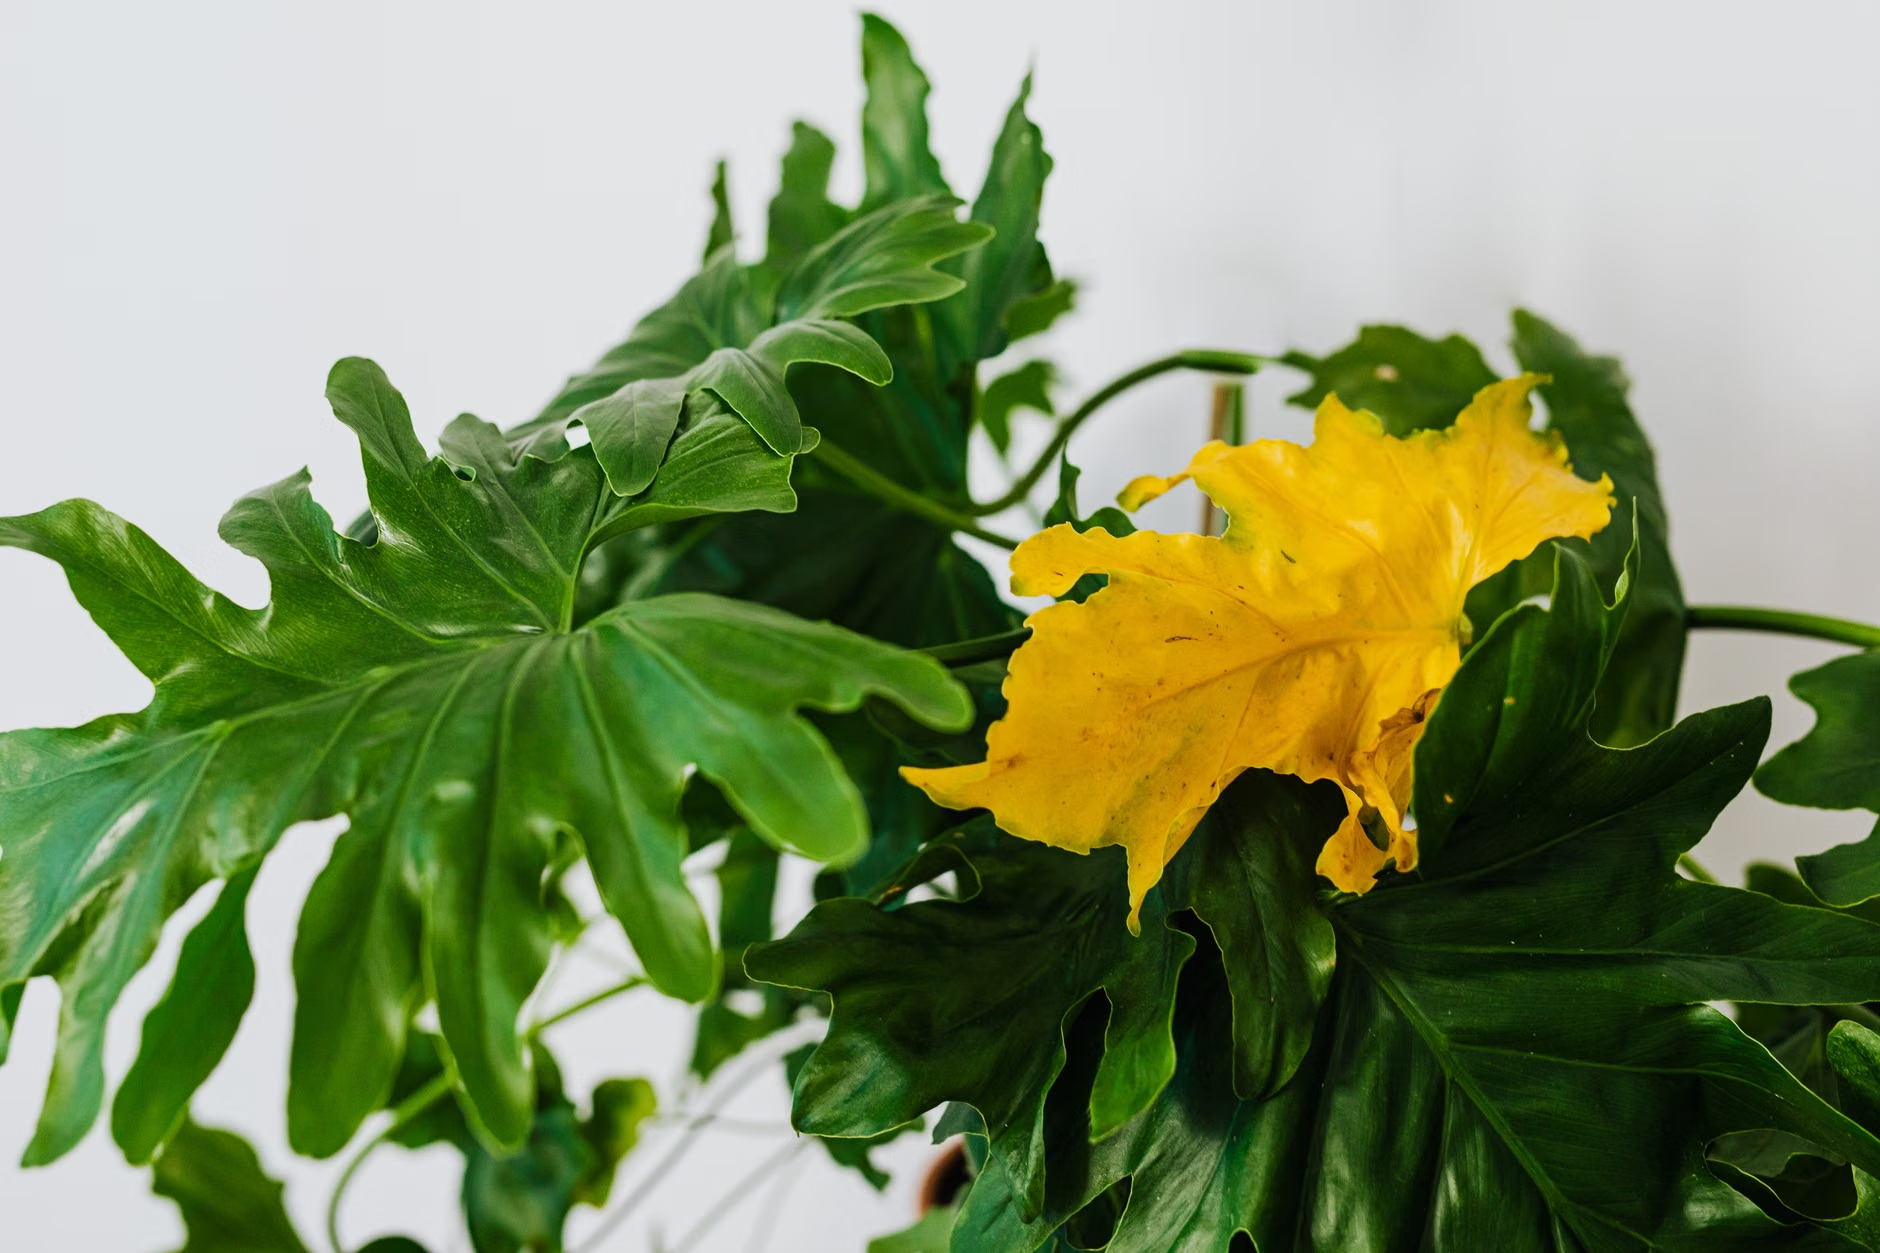
Sometimes the setup is corrected, but the plant keeps declining because the root system is already too damaged. That is common when the base of the stems has gone soft, the soil smells rotten, or only a few healthy roots remain. In those cases, repotting may still be worth trying, but it is reasonable to lower expectations. Some plants are not salvageable, and university extension guidance notes that discarding badly affected plants is sometimes the most practical option. (extension.sdstate.edu)
There are also real exceptions to one-size-fits-all watering advice. Orchids, African violets, cacti, succulents, and plants grown in self-watering containers can need different media or different watering methods. And if you insist on using a pot without drainage, the safer move is usually double-potting: keep the plant in an inner pot with drainage and use the outer pot only as decoration. (pubs.ext.vt.edu)
If a container has no drainage hole and you do not want to drill one, do not plant directly into it. Use it as a cover pot and remove any trapped water after watering. (content.ces.ncsu.edu)
How to pressure-test your new routine
The best plant care advice is the advice you can verify. Instead of guessing that your changes worked, check them. A simple audit over two or three watering cycles will tell you whether the root zone is actually drying at a healthy pace. (yardandgarden.extension.iastate.edu)
- Water thoroughly until the mix is evenly moist and runoff appears, then empty the saucer or outer pot after drainage. That resets the plant to a known starting point. (yardandgarden.extension.iastate.edu)
- A day later, test more than the surface. Use your finger, a wooden skewer, or the feel of the pot’s weight. If the top looks dry but the lower root zone stays cold and wet for many days, the mix or pot setup is still too water-retentive. (yardandgarden.extension.iastate.edu)
- Write down how many days it takes before the plant actually needs water again. Do this once in active growth and once during a slower season. Different light and temperature conditions should change the interval. (pubs.ext.vt.edu)
- If the plant wilts while the mix is still wet, stop assuming thirst. Check the roots, smell the soil, and inspect for rot instead of automatically watering again. (extension.uconn.edu)
Bottom line
Drainage holes are necessary, but they are only one line item in a larger system. Root rot prevention depends on air in the mix, a pot that fits the roots, runoff that does not linger, and watering based on dry-down instead of habit. If you remember one rule, make it this: do not ask a single hole to compensate for an entire soggy setup. (pubs.ext.vt.edu)
If water runs straight out the bottom, does that mean the plant drains well?
Not always. Fast runoff can mean the mix is so dry it has become hydrophobic, or the root ball has shrunk away from the sides of the pot and water is bypassing the center. Slow, repeated watering or a short soak is often needed to rewet the full root zone. (pubs.ext.vt.edu)
Should I add more drainage holes to stop root rot?
Add holes if a pot has none or if the existing holes are blocked. But once a pot already drains, extra holes will not fix oversized containers, compacted mix, standing runoff, or overwatering on a schedule. Those are system problems, not hole-count problems. (content.ces.ncsu.edu)
Is terracotta better than plastic for preventing root rot?
Terracotta usually dries faster because it is porous. Plastic and glazed ceramic hold moisture longer. That can be helpful for plants that like steadier moisture, but it raises risk if you tend to overwater or keep plants in lower light. (pubs.ext.vt.edu)
Can a plant recover after root rot starts?
Sometimes. If enough healthy roots remain, remove the rotted roots, repot into fresh sterile mix, use a clean container with drainage, and reduce watering. If the root system is mostly mushy or the plant has severe stem damage, recovery may be unlikely. (extension.sdstate.edu)
What is the safest watering routine for most houseplants?
Skip calendar watering. Check the mix about an inch down, notice whether the pot feels lighter, water thoroughly when the plant actually needs it, and empty any saucer or outer pot after drainage. Then let the root zone dry appropriately for that plant before watering again. (yardandgarden.extension.iastate.edu)
References
- Wisconsin Horticulture: Root Rots on Houseplants – https://hort.extension.wisc.edu/articles/root-rots-houseplants/
- Virginia Tech: Properly Watering Container Houseplants – https://www.pubs.ext.vt.edu/content/pubs_ext_vt_edu/en/SPES/spes-804.html
- UC Master Gardeners of Santa Clara County: Drainage in Containers – https://ucanr.edu/site/uc-master-gardeners-santa-clara-county/drainage-containers
- University of Illinois Extension: Houseplants Get Started – https://extension.illinois.edu/houseplants/get-started
- Missouri Botanical Garden: Environmental Problems of Indoor Plants – https://www.missouribotanicalgarden.org/gardens-gardening/your-garden/help-for-the-home-gardener/advice-tips-resources/insects-pests-and-problems/environmental/environmental-problems-of-indoor-plants
- NC State Extension: Plants Grown in Containers – https://content.ces.ncsu.edu/extension-gardener-handbook/18-plants-grown-in-containers
- Iowa State University Extension: How to Care for Houseplants – https://yardandgarden.extension.iastate.edu/how-to/how-care-houseplants
- UConn Extension: Watering Houseplants – https://extension.uconn.edu/2013/12/24/watering-houseplants/
- South Dakota State University Extension: Troubleshooting Common Problems: Houseplant How-To – https://extension.sdstate.edu/troubleshooting-common-problems-houseplant-how