How to Acclimate New Plants: Quarantine, Light, and a Watering Reset (Without Losing Leaves)
New plants often struggle because their environment changes all at once: different light, airflow, temperature, and watering habits. This guide gives you a practical quarantine setup, a simple light-acclimation schedule,
This resource is for general plant care education. If you use any pesticide product (even insecticidal soaps/oils), please follow the label exactly and confirm it’s ok for the type of plant you’re using it on, and if it’s ok for indoor use.
The goal: a new plant has normal days until you change anything major
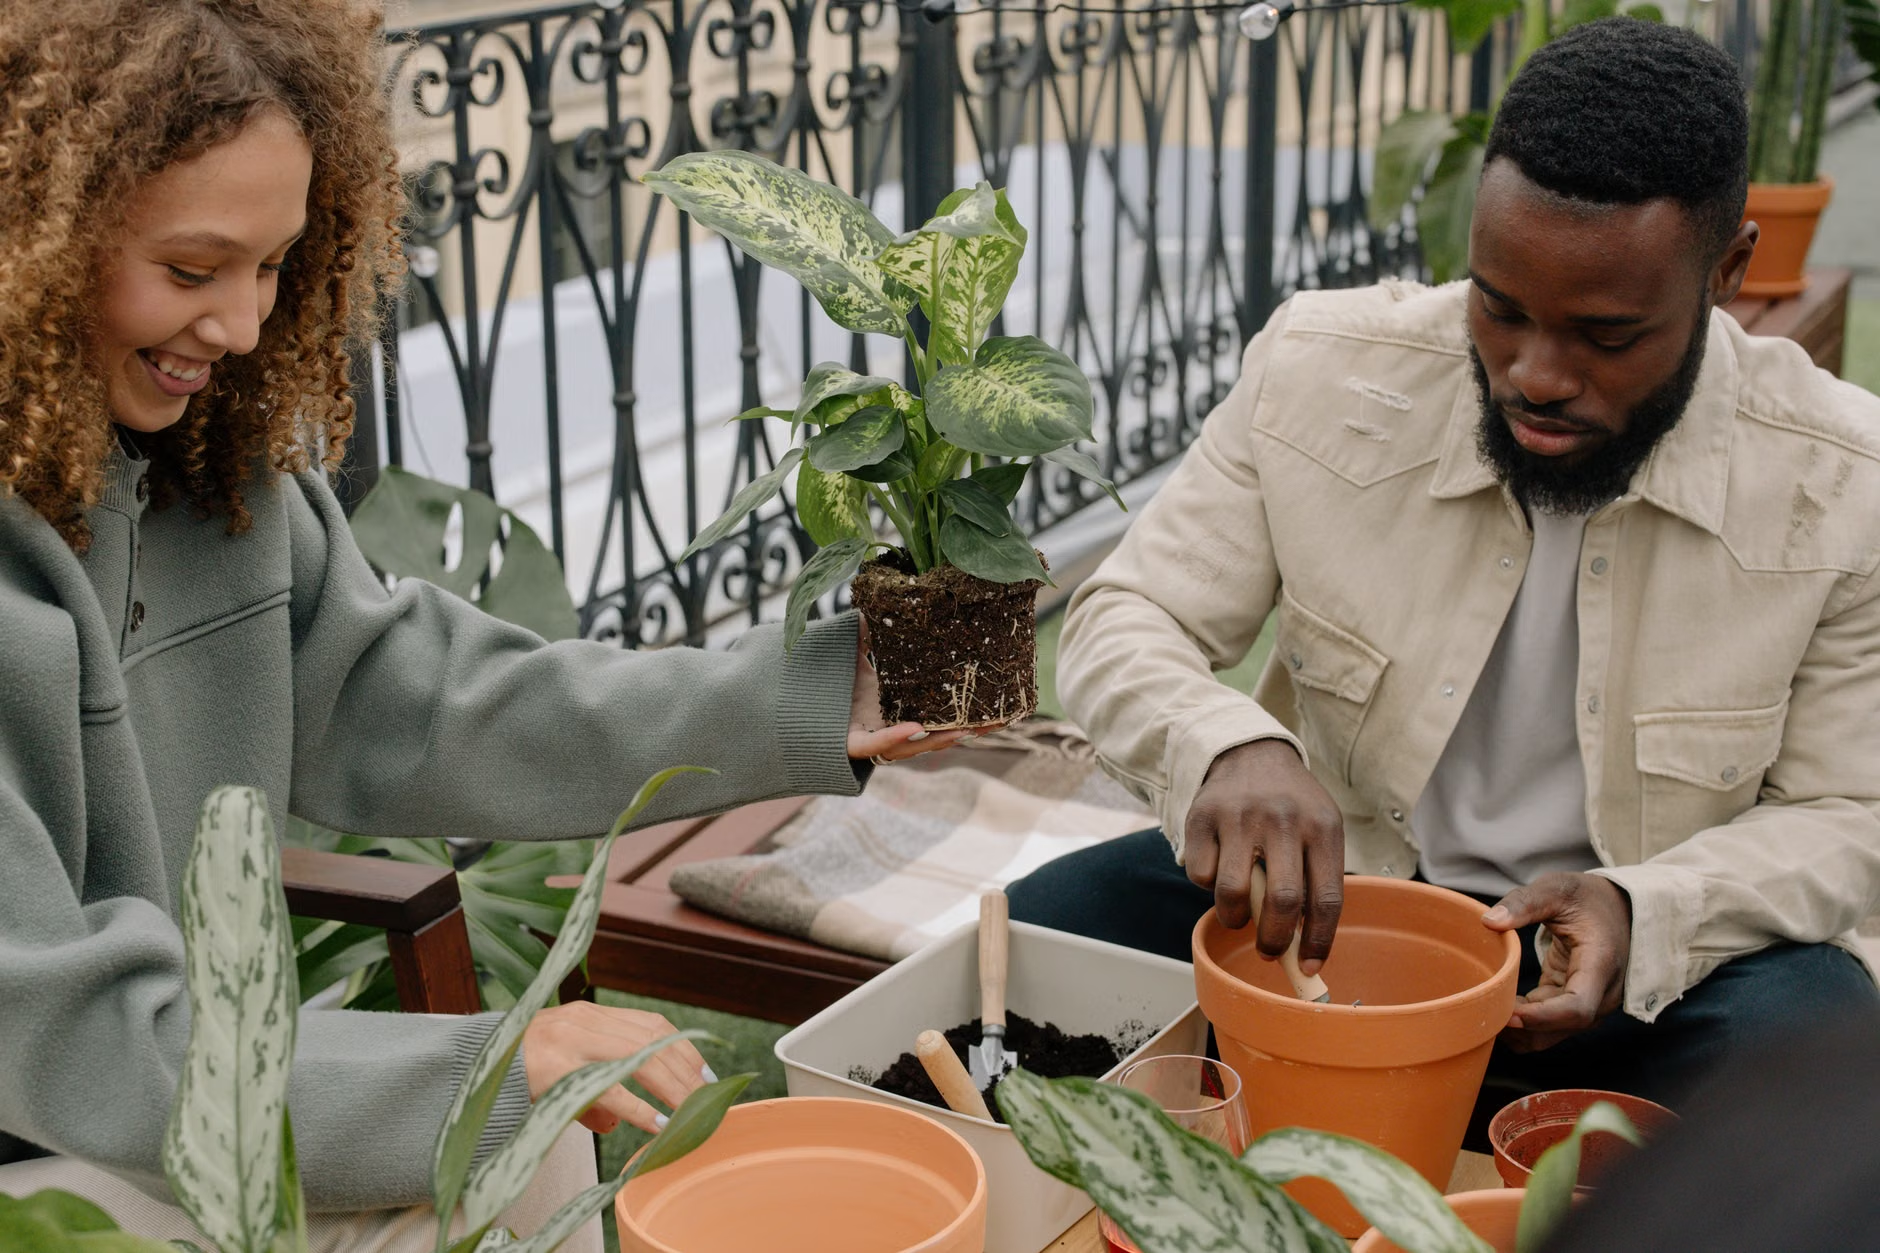
So, your plant’s been through transport stress already; temperature shifts, poor airflow, being bumped around, drying out or getting overly wet. Your job is to create a calm, reliable routine for 1 or 2 consecutive weeks, and observe the plant so that when you adjust light and watering, you are more confident. A simple 14-day-acclimation plan (adjust for very sensitive plants needing slower acclimation): the gist of this plan is to give the plant a “day light-saving” amp ramp-up, and a gentle watering reset to get a sense of the best schedule for its new home.
- DAY 0-2:
Isolate, look over, set a “temporary” spot with gentle light, check drainage. Avoid repotting or fertilizing, do not place in full sun, and don’t frequently move the plant around. Look for visible pests, soggy soil, limp/cold damage. - DAY 3-7:
Start gradual light adjustment; watering reset based on feel of the soil and weight of the pot. Avoid watering on a calendar, and do not let the pot just sit in the “run-off” water; don’t move it around the house too much to see how it looks in light. Watch for new speckling or sticky residue, webbing, and the way patterns of yellowing leaves may show up in a week or two. - DAY 8-14:
Ramp-up light a bit more. Keep watching, treat if needed. Avoid introducing to your main plant shelf too soon. Pay attention to fresh growth vs. ongoing decline; also notice that pests are getting a lot easier to spot.
Step 1: quarantine (your best pest-control tool).
Quarantine means that you keep the new plant physically separated from every other plant long enough for any issues to show. Many extension resources recommend to isolate new (or from outside and the worms came back!) plants and inspect them closely. Isolation times vary from about 1-2 weeks to up to a month depending on risk tolerance and where the plant was purchased or who it came from.
- Minimum quarantine: 14 days- good for most low-risk purchases.
- Better quarantine: 21-30 days if it came from a crowded retail space, a plant swap, or you’ve had to battle thrips/mites/scale before.
- Always extend quarantine when pests are found—start the clock over after the last sign of activity.
How to set up a quarantine zone (fast, realistic, and effective)
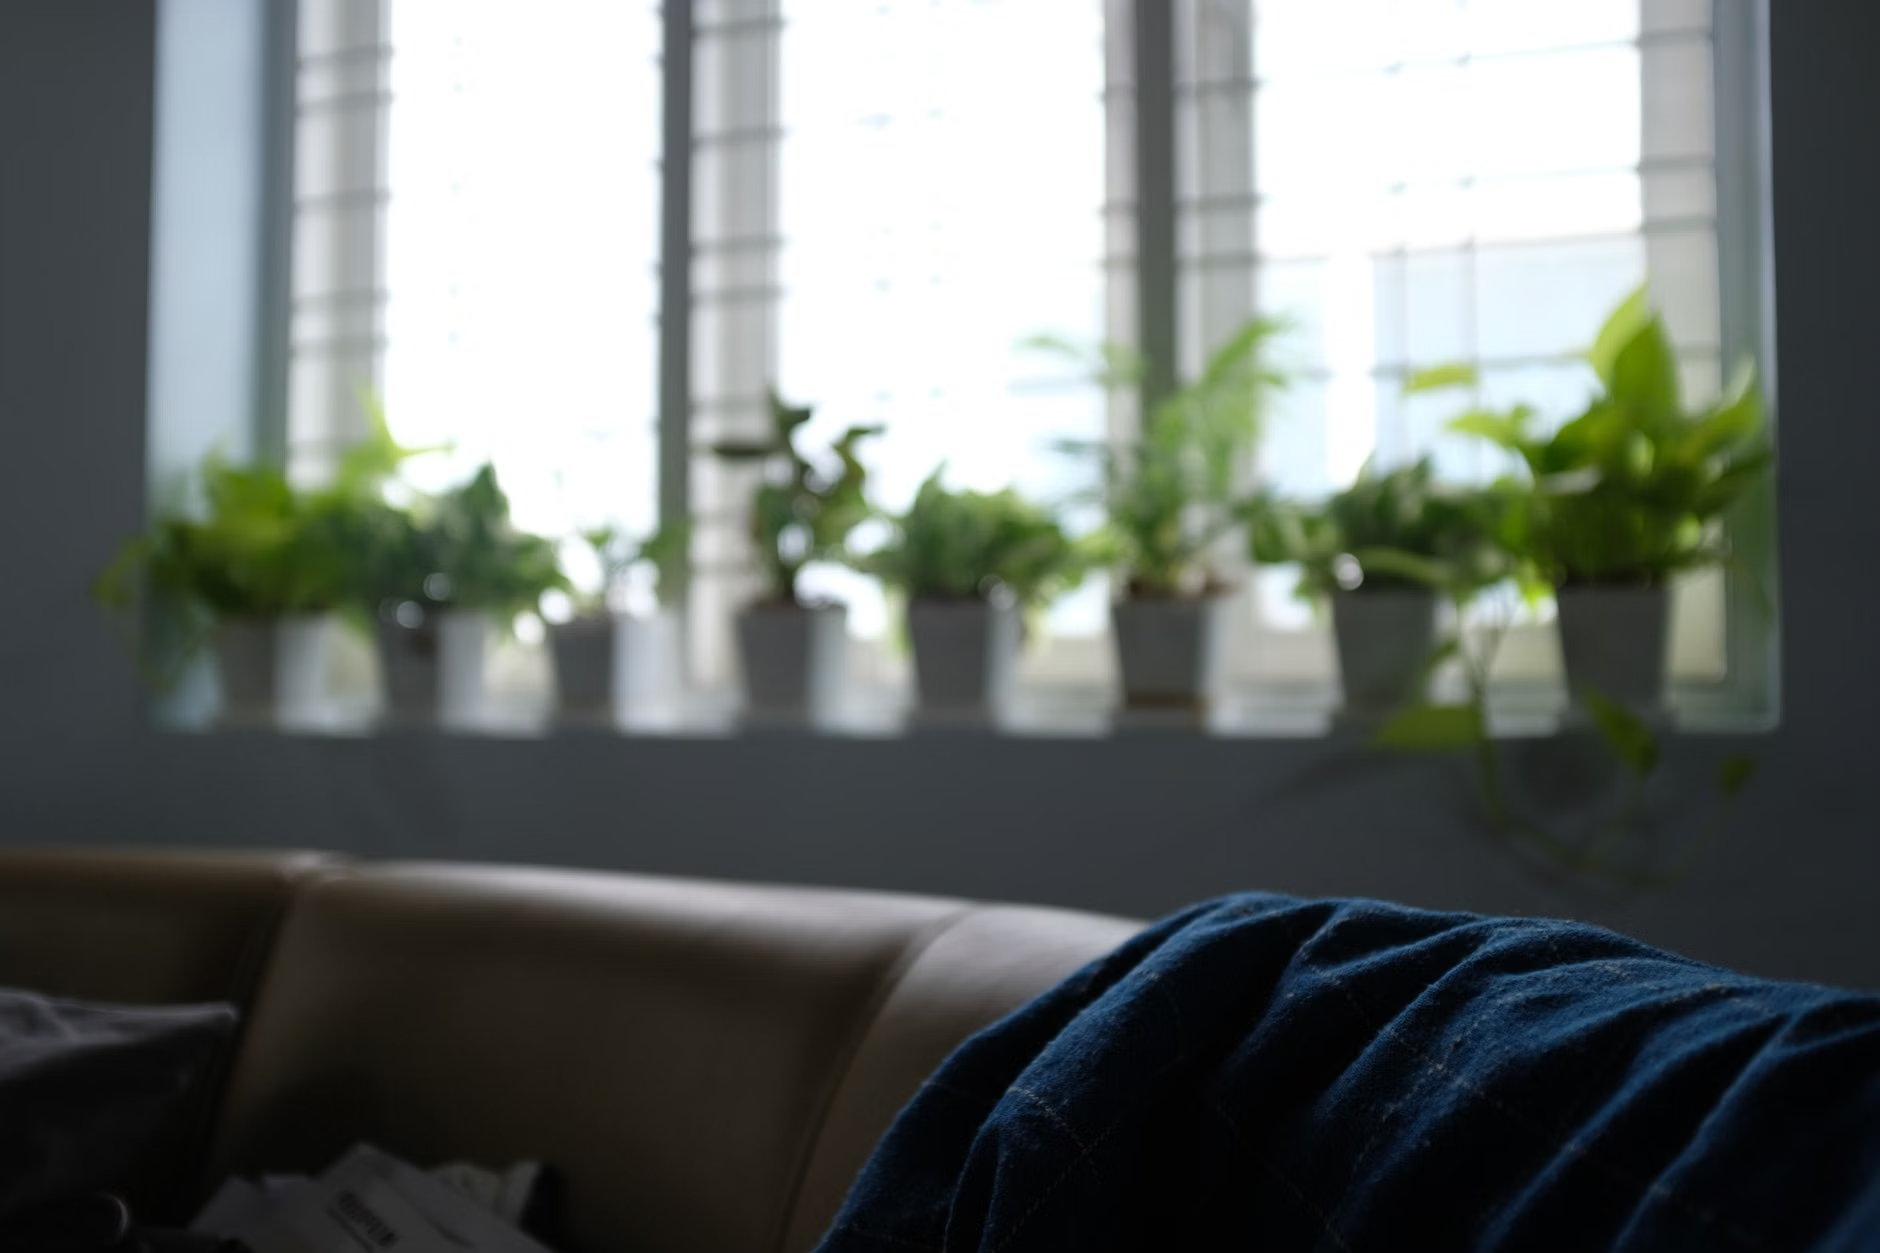
- Choose an out-of-the-way room or corner with natural light (even a bathroom or laundry room works if the light is sufficient).
- Put distance between your outgoing plant and its houses—if you can get it a few feet from your other plants, great. Don’t let a fan blow air across both locations.
- Use a ‘quarantine tray’—keep your new addition on its own saucer/tray so the runoff cannot touch your other plants.
- Use dedicated scissors and watering can if you can. A wee microfiber cloth doesn’t hurt. If you have to share, wash all tools between plants.
- (Optional) Stick a sticky trap next to your new bramble—it can help catch flying pests like fungus gnats or whiteflies flying around trying to find shelter.
- Wash your hands after handling each new plant, and wash watering implements (cough, etc.)
Your inspection checklist under 3 minutes (do this on day 0, and every few days)
- Look on the tops and undersides of leaves—is there stippling, webbing, or cottony clumps, or raised bumps of pest excrement? Do you see clusters of pest predicament along leaf veins?
- Leaf axils and stems—does a crease harbor a pest or two?
- Look carefully along the rim of your pot and in the drainage holes—crevices can be warm and inviting, so be aware of that.
- Look at the surface of the soil—is the fungus gnat digging there still persistent? Is the growth the annoying moldy surface growth? Is the media constantly wet on top?
- Do you see thrips? Your ‘tap test’—hold a white sheet of paper just under the foliage and tap your leaves against it, catching the moving specks you see with a bare eye. Days 4–6: Move closer to direct light each day until the plant is in the window (or brightest room) light it will stay in.
- Days 7–10: Leave in window (or brightest room) light continually.
- Day 11: Move to its permanent spot!
After the 10 days, be aware of other light factors that tend to vary by season or latitude (the duration of light and its angle).
Step 3: Choosing treatments (all diagnoses are rough approx.) (tick tick tick…)
As far as what to apply, treating is an artform—and can become daunting if you don’t love layering in layers. You know your plant best though, and your gut may be able to guide you past your horror of a beetle and into the treatment cocktail the plant is asking for. Finding the right treatment for pests/diseases is often a matter of trial and error both individually, and as a community.
Three cardinal rules in treating plants: beware!
1. Any chemical that affects one thing tends to affect something else (beware cross-over, especially with household solutions). Always consult your local doc if you have questions.
2. Plants have a vivant in sequence. You’re likely to do one full sweep, [dot] crawl, [dot] scrape on a leaf and a week later notice it’s turning crispy! No worries—just don’t let judgment cloud your eye. These things take time just like plants take heart, heat and irrigation.
3. Starve it out! Almost any weed can be starved out when their moisture levels dip. Your neglected plant is likely wilting because of you, not booby traps, candidate chemicals, or dream bugs. Re-remind yourself if capable. Help!
- Days 4-7: Turn it up a notch (closer to the window, or keep the grow-light on a bit longer). Watch for paling, crisping edges and patches of bleached white.
- Days 8-14: Keep going! Get yourself to the unreliably humid forever spot intended. If you see signs of stress, stop upping it and maintain for 4-7 days before gradually resuming.
- Moving outdoors: if you’re bringing plants outdoors, start in the shade and slowly ease them out into the sun over roughly about two weeks. Don’t plop outside in full sun.
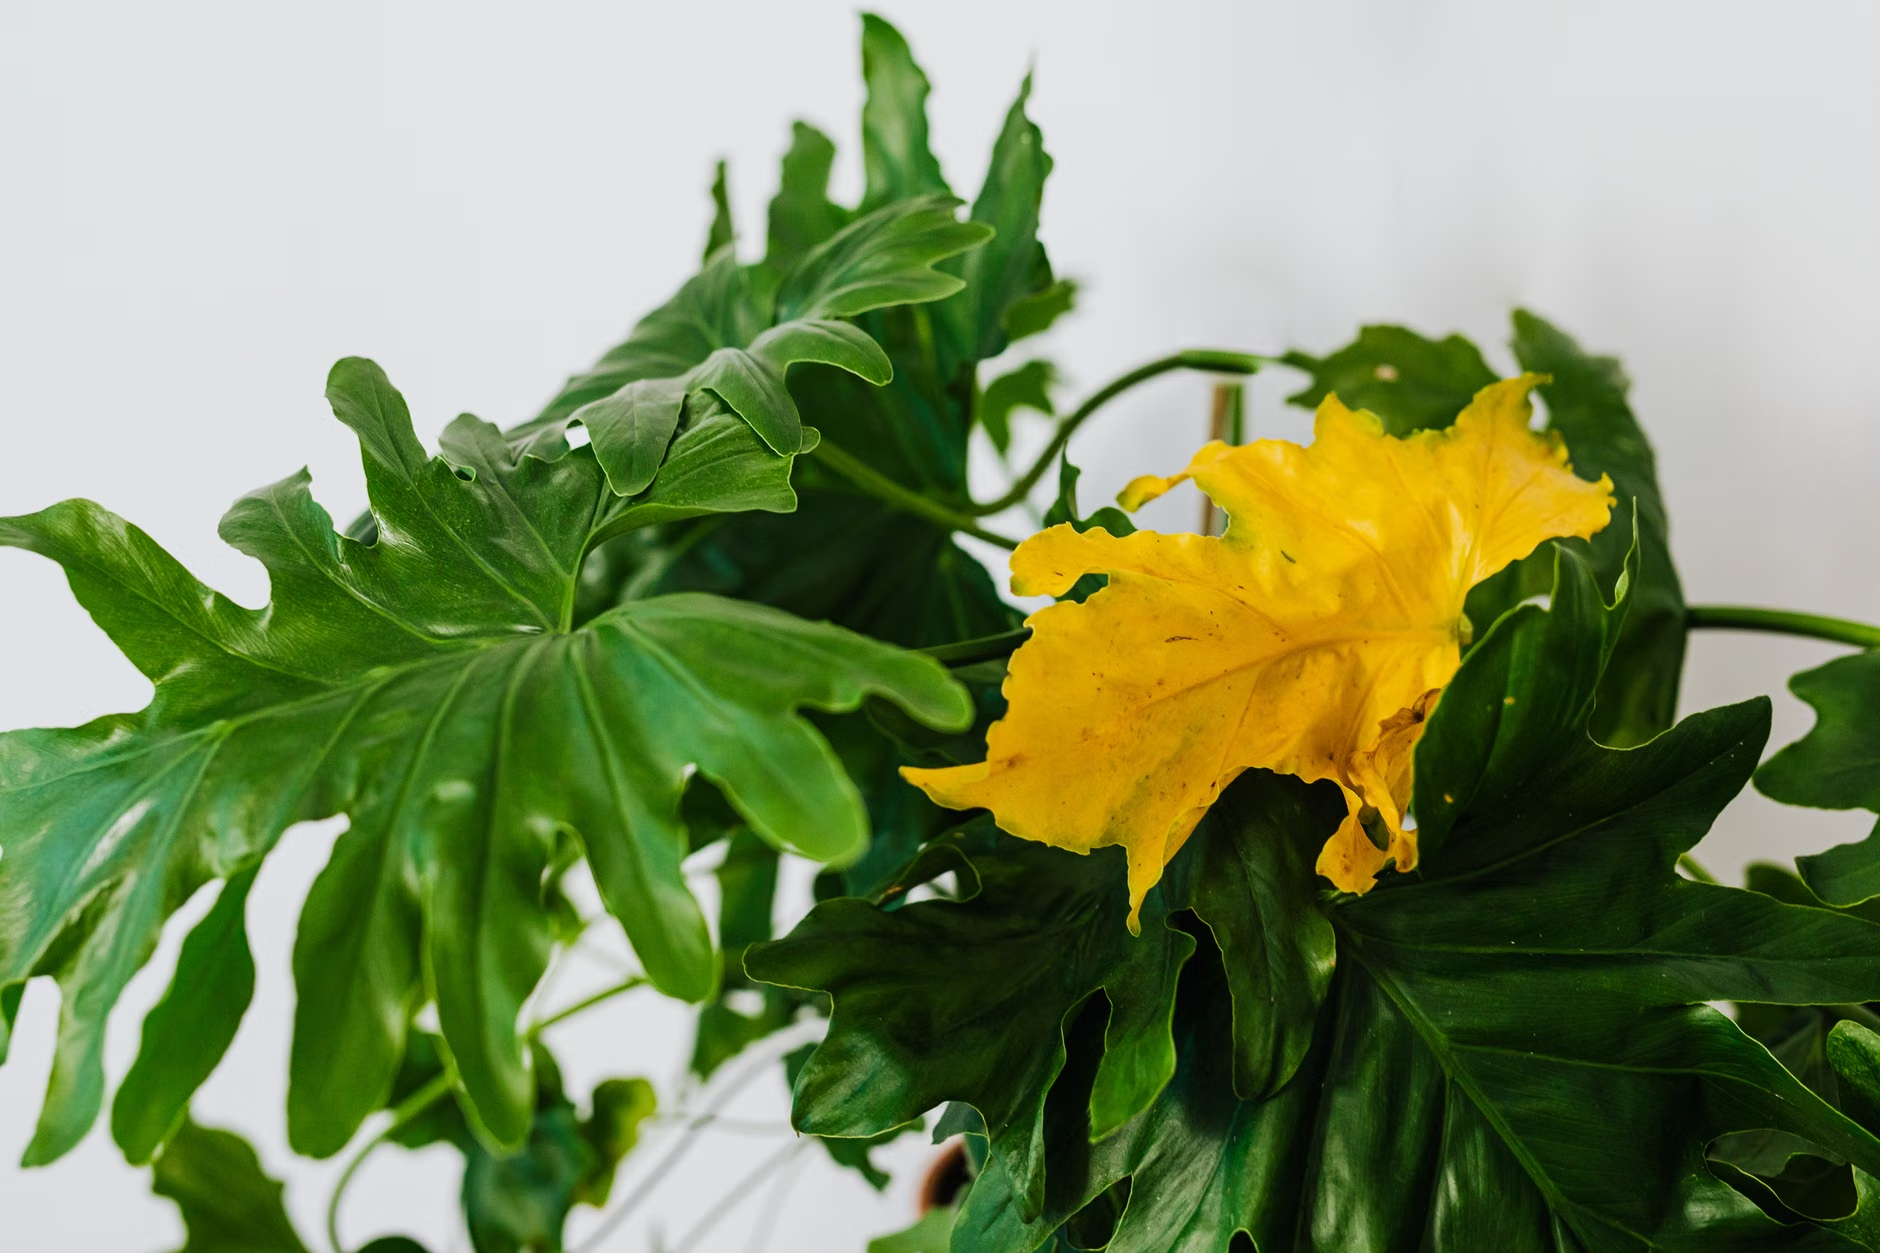
- Sunburn or scorch: bleached patches and crispy tan splotches suddenly appearing, may display sudden curling that carries over from sun even days later.
- Not enough light to support your plant: leggy stretching and stretching. New leaves be smaller too. Soil dries slowly and stays wet for many days.
- “Normal adjustment”: some plants will drop leaves when moved. New growth usually tells the tale. Look for this to start stabilizing in a couple weeks or so.
Step 3: The watering reset (Stop guessing; verify)
A watering reset is stopping the longheld habits of “I water every Saturday,” or similar, and learning to reorg your watering habits based on your specific plant(s) particular potting mix, type of pot, location in the home, and general humidity levels indoors. Many university extension guides pay particular broad attention to the importance of checking for moisture in the soil and not leaving pots standing in water once watered.
First, what did you bring home? (so as to not water blindly)
- Your pot is heavy and soil mats in backsoil: hold off watering, improve air circulation, make sure pot is not sitting in a puddle of runoff. When so, wait for it to dry to the prescribed degree.
- Your soil is bone-dry and pulls away from the edges of the pot: the mix may be hydrophobic, and bottom-water, too, will be more effective at incorporating water throughout the mix than pouring from above on one occasion. If there’s no drainage hole: honor this as a temp cachepot. Kncikers keep it in the nursery pot, with holes inside… or plan to leave soon, because containers with no-drainage are a lot harder to water consistently!
What to do about watering correctly during acclimation (the ‘thorough, then wait’ method):
- Check first (don’t make an assumption!): push your finger about 2 inches in this case (or feel the top few inches on larger pots!). If it is still moist, wait.
- Water thoroughly when the time comes: water until it runs out the bottom. This helps wet the whole root zone, which can help mitigate dry pockets.
- Empty the saucer/cachepot: don’t let the plant sit in drained water, this can starve roots of oxygen, and increase the risk of rot.
- ‘Re-checking’ timing by the pot weight… just ‘lift’ it right after you’ve watered (you’ll notice it’s heavy), and again when it’s dry enough to water, and you’ll notice it’s noticeably lighter. This will be your fastest ‘no tools’ check… don’t guess.
- Use ‘no guess’ to also adjust as light changes: as you’re increasing light, your plant is probably using water faster, so expect your watering frequency to change a little during the first month.
Try not to water with ‘softened’ water, if you can avoid it. Some extension guidance notes that the build-up of unwanted materials through time can stress houseplants. [Farmer’s Almanac] An occasional deep watering that totally drains can leach away excess salts.
A quick ‘watering reset’ decision tree (use this every time you are tempted to water!):
If there is a drainage hole?
If no, treat as high-risk for overwatering and change that set-up (nursery pot inside cachepot) before you change anything else. Soil dry ~2 inches? If no, don’t water yet.
Is the plant wilted but the soil is moist? Hold the phone—this can happen with root stress/rot. Let it dry a bit more and assess the roots later if it continues to decline.
When you do water: Give it a good soaking, then let it drain completely and dump the runoff.
When (and when not) to repot a new plant
Repotting is a big change stacked on top of already switching up quarantine, light, and watering. If the plant looks stable, it’s often easier to wait until the plant is settled-in (typically 2–4 weeks) before rummaging through its roots. Robert’s Rules of Repotting say you can repot “swiftly” when the current setup is already causing problems:
- Repot sooner if: you have no drainage, the mix stays wet for several days, you suspect root rot, and/or the plant is terribly rootbound and drying out too fast.
- Hold off repotting if: the plant is already dropping leaves due to transport shock, you’re still close to quarantine observation territory, and/or you just dramatically changed its light.
- If you do repot: treat it like a new baseline—hold its light steady for a week and be more conservative with watering until you see it resume ‘normal’ dry-down cycles once again.
Common mistakes that sabotage acclimation (and what to do instead)
Quick fixes for the most common first-month problems
| Mistake | Why it backfires | Do this instead |
|---|---|---|
| Skipping quarantine | Pests spread before you notice them | Isolate 14–30 days; inspect every few days; use sticky traps if helpful |
| Putting it in “the sunniest spot” immediately | Sudden direct sun can scorch leaves | Ramp light over 10–14 days; use sheer curtains for buffering |
| Watering on a fixed schedule | Indoor conditions change week to week; schedules cause overwatering | Water only after checking soil dryness and pot weight |
| Letting the pot sit in runoff water | Roots lose oxygen; rot risk increases | Drain fully and empty saucers/cachepots |
| Fertilizing right away | Stressed roots don’t use fertilizer well; can worsen leaf burn/tip burn | Wait until you see stable new growth in your environment |
How to verify your acclimation is working (signs of a good reset)
- The pot has a predictable dry-down time (e.g., it reliably needs water every X–Y days under current light).
- Leaf symptoms are not spreading quickly (a damaged leaf may stay damaged, but new damage stops).
- New growth appears normal for the plant (not tiny, pale, or ridiculously stretched).
- You can move it out of quarantine without “surprises” on the leaves (sticky stuff, webbing, etc.), or suddenly launching flying insects throughout your house.
FAQ: Acclimating new plants
When should I get my new plant out of quarantine?
A practical minimum is 14 days, but many gardeners prefer to quarantine for 21–30 days for higher risk plants and sources. The two big issues are inspection consistency—if you see pests or suspicious-looking signs/wounds, you stay in quarantine— and g/n-what-you-know.
Should I shower or wash my new plant right away?
Rinsing the leaves under plain water (no soap or anything) can help dissolve dust and wash off some soft-bodied pests. It’s also helpful if you can manage to do it at a time of day that allows the leaves to dry in relatively short order (good air circulation). You don’t want leaves to stay wet long enough for mold or leaf spots to develop.
Why are the leaves on my new plant dropping and yellowing after I brought it home?
It happens! Water stress. A new plant is reacting/adjusting to any combination of new light conditions, temperature regime, real or perceived humidity changes. Once conditions are stabilized (consistent light, light watering, no fertilizer), see if the leaf drop tops off and/or is replaced by new, healthy leaves forming (over time).
If my new plant looks healthy, can I put it next to my other plants?
It may look healthy, but still harbor pests and/or eggs. Isolation is primarily accomplished by giving yourself time for the problems to present themselves before spreading.
How do I avoid overwatering when acclimating an incoming new plant?
After you learn to avoid overwatering altogether with moisture content and root watering more generally, the formula is still check, soak, drain, wait: check the moisture level (with your fingers) in the pot down a ways, soak thoroughly but only when the pot warrants it. Always empty the runoff. Wait on watering until the pot is dry down through the soil to your checking fingers. In other words, don’t keep to the calendar, and do check.
When can I start fertilizing my new plant?
When it’s settled into your environment relatively well and is starting to produce healthy new growth. If it’s still adjusting (leaf drop, stunted growth, inconsistent drying), don’t fertilize yet.
Sources
- Penn State Extension — Bringing Houseplants Indoors (inspection, quarantine, and watering cautions)
- University of Minnesota Extension — Managing insects on indoor plants (inspection and isolation guidance)
- University of Maine Cooperative Extension — Tips for Growing Houseplants in Maine: Controlling Insects and Disease (isol
- UC Statewide IPM Program — Houseplant Problems (monitoring, washing leaves, isolation, and management options)
- University of Maryland Extension — Moving Indoor Plants Outside (acclimate to increased light over ~2 weeks)
- University of Maryland Extension — Watering Indoor Plants (drainage, saucer emptying, and moisture depth guidance)
- University of Illinois Extension — Houseplants: Watering (finger test, thorough watering, empty saucer, avoid schedules)
- University of Minnesota Extension — Watering houseplants (soil feel and pot weight checks; root rot note)
- Wisconsin Horticulture (UW Extension) — Houseplant care (watering and drainage basics)
- Penn State Extension — Hardening Transplants (why gradual acclimation matters physiologically)