Indoor Plant Styling: Shelf Layouts That Look Good and Keep Plants Healthy
A plant shelf can be a design focal point—or a slow-motion plant hospital. Use these shelf layout templates and care-first styling rules to build a display that stays beautiful and genuinely supports healthy growth.
- Care-First Styling Rules
- Map the Light on (and Around) Your Shelf
- Choose Deep Bookcases That Help Your Plants
- 6 Shelf Layout Templates That Look Styled (and Work for Plants)
- The Shelf-Safe Pot + Tray System
- A Watering Workflow That Works on Shelves
- Humidity: Help Your Plants Without Making Your Shelf a Mold Problem
- Q. Airflow + spacing: the most underrated shelf health hack
- Diagnostic: The Shelf Configuration and What It Says About the Condition of Your Plants
- Generic Maintenance Protocol
- FAQ
The “Care-First Styling” Rules (So Your Shelf Doesn’t Kill Plants)
Important notes:
- Make your shelf design light first (where the window is, then distance from the window), and your plants fit the “zone” for each outpost.
- Design with drainage in mind, avoid saucer-free pots or pots that keep water trapped, or you’ll damage your shelf or soak the roots.
- Remember to leave breathability, come up with a smart watering plan, and don’t jam peoples’ air flow.
- If the shelf you want is far from a window, plan for a specific “top-shelf grow light lane.” Don’t hope that plants will adapt.
- Design in maintenance: a simple check-in for 5 minutes once a week plus a monthly sprucing up prevents major “shelf problems.”
A shelf filled with houseplants looks effortless when done well. In reality, the “pretty shelf” problems are predictable: plants tucked far from light, pots that can’t drain, crowded leaves that encourage pests, layouts and access points for water that lead to delays in care or ineffective care. This guide is about arranging plants in a way that is (visually) balanced and also supports plants by meeting their most crucial needs: light, air at the roots, and a self-care system you can stick to.
- Light beats aesthetics: Put the highest-light plants where the light actually is, not where they “look best.”
- Drainage is non-negotiable: Every shelf plant should have a plan for excess water (and for protecting the shelf surface).
- Air + access matter: If you can’t comfortably lift a pot to check moisture, you’ll overwater by guesswork.
- Group by care needs, not by color: Similar watering/light needs = fewer mistakes and fewer “one-off” rescues.
- Make the shelf stable: Heavy pots low, trailing plants secured, nothing that can be bumped into a fall.
Step 1: Map the Light on (and Around) Your Shelf
“Before you select a layout, do a ‘light audit‘. Most shelf problems occur because we overestimate indoor brightness (especially as you move even a few feet away from a window, add curtains, or put plants behind other objects). Extensions also note that intensity drops quickly as distance increases, which is why a plant can thrive on a windowsill but struggle on a nearby bookcase.
- Stand where the shelf will live and note the nearest window direction (north/east/south/west).
- At three times of day (morning, midday, late afternoon), look for direct sun patches that hit the shelf. Mark which tiers get sun and for how long.
- Do a simple shadow test: sharp shadow = high/direct light; soft shadow = bright indirect; faint shadow = medium/low; almost none = low.
- Optional but helpful: either a dedicated light meter (or a phone lux meter app) for comparisons between tiers.
- Write your shelf map as zones (Zone A brightest → Zone D dimmest). Use this when placing plants, and deciding where grow lights belong.
Choose Deep Bookcases That Help Your Plants
Pick a shelf that supports the health of your plants, not just the look of your decor. Plants grow outwards and upwards, too. If your bookcase is deep enough, it shouldn’t be a problem, but a staggered arrangement might help you remember the plants that get too tall.
Zoning isn’t about “please don’t put that plant there,” it’s about “sure you can put that plant there; watch it flourish!” (or struggle; feedback is data).
- A (Brightest): Gets the most window light and/or some direct sun. Best on top tier nearest the window, or window-side end of a book case. Succulent/cacti lovers unite here; also many hoyas and strong-light foliage plants.
- B (Bright indirect): Nice and bright room light; not midday sun on leaves. Upper/middle tiers a bit back from glass (filtered light). Pothos and philodendrons do great; many monsteras (often mottled leaves). Peperomia, ivy.
- C (Medium): Usable light but a noticeably dimmer space than next to window (visualize where a plant is likely to do okay in here). Middle/lower tiers; farther from window; often behind decor. Snake plant, ZZ plant, Chinese evergreen.
- D (Low): Decorlight only; plant growth is very slow and watering needs drop. Ideal for shaded corners/bottom tier far from window. Most tolerant low-light plants, or use grow lights.
- If you’re in love with the look of a deep bookcase, treat it like a light gradient! Plants go on the front edge, decor can go deeper. Don’t hide them behind books and frames unless they’re in a true low-light kind of zone.
- Open sided and back are better airflow and easy reach, especially with trailing foliage.
- Adjustable shelves make “light zoning” so much easier.
- Wire shelves are great for airstreams draining around pots, but make sure to load them onto stable trays.
- If the shelf is painted or wood veneer assume a drip will happen. Protect from day one (trays, mats, waterproof liners).
6 Shelf Layout Templates That Look Styled (and Work for Plants)
- The Window-Gradient Bookcase (Best “all-around” layout)
This layout accepts the truth of indoor gardening: light drops off with distance from the window.- Top, window-side: succulents, cacti, bright-light hoyas, flowering plants that need more light
- Middle: pothos/philodendron/monstera type foliage plants (many do well in bright indirect)
- Bottom/far side: ZZ plant, snake plant, other lower-light tolerant plants
- Design trick: keep decor in the deepest part of each shelf; plants stay at the front edge
Common mistake: Putting “statement plants” (like succulents) in the middle of a deep shelf because it looks balanced. They often stretch and fade there. Balance the look with plant stands/risers, not by moving high-light plants into low-light zones. - The Top-Shelf Grow-Light Gallery (Best for shelves away from windows)
If your shelf is more “room decor” than “window display,” stop forcing plants to survive on low ambient light. Dedicate the top tier (or top two tiers) to a clean grow-light install and treat it like a plant gallery.- Choose one consistent light bar/strip style (this looks more intentional than mixed lamps).
- Mount lights under the top shelf so they shine down evenly across the tier below.
- Keep light-loving plants directly under the brightest part; rotate weekly for even growth.
- Use the bottom tiers for low-light tolerant plants, plant tools, or purely decorative objects.
Tip: Make cords part of the design plan—use adhesive cable clips and a single cord channel down the back corner. A neat cord path makes a grow-light shelf look “built-in,” not improvised. - The “Wet Zone / Dry Zone” Ladder Shelf (Best for folks who have overwatering issues)
Overwatering isn’t just “too much water,” it’s often a workflow challenge. A wet-zone/dry-zone layout prevents you from watering every single houseplant because you’re already in the act of watering.How to set up the Wet Zone / Dry Zone Zone What goes here Why it helps plant health Styling move Wet Zone (easy to access) Thirstier plants, smaller pots that dry fast, humidity lovers You will tend to check moisture more often and water, even if you put the watering can back for other plants Put on the middle tier at chest height; use saucers for continuity Dry Zone (less frequent watering) Succulent plants/cactus especially, plants in terracotta, bigger pots You won’t be tempted to “top off” the ones who prefer to dry out Put them higher, for more light and give them visual space - The Bottom-Shelf Care Station (Best for tiny homes and busy schedules)
A shelf stays healthy longer when maintenance is frictionless. Reserve a bottom shelf (or one basket of the shelf) for the things that help prevent common problems—a moisture meter (optional), a pair of snips, a microfiber cloth, a couple of sticky traps, spare saucer(s), a small bin to use as a “watering carry tub.”- If you can grab your tools in 10 seconds then you’ll prune sooner (less stress on your plants).
- If you have a carry tub, you can water at the sink and return them without drips.
- If those sticky traps are stored right there, you’re a lot more likely to actually use them when fungus gnats inevitably show up.
- The Minimal Floating-Shelf Trio (Best for small collections and clean lines)
Floating shelves are beautiful, but two risks go up: water damage and falls. It’s healthier to go with fewer plants, more negative space, and a consistent pot-and-tray look.- Pick 3 shelves: the one at the top for the highest-light plant (or light under that shelf), the middle shelf for medium light, and the bottom for the toughest low-light plant (or just non-planty non-plants).
- Go for wider, stable trays (potters trays) as opposed to daintily tiny saucers so minor drips have a chance to stay contained.
- Choose plants that’re cool with a missed watering here and there and don’t need frequent grooming.
Warning: Do not put floating shelves directly above electronics or upholstered furniture, or anything you don’t want to soak through occasionally. - The Kitchen “Bright + Practical” Shelf (Best for herbs and compact plants)
Kitchens can be lovely for plants (bright light, frequent care!), but heat swings, splashes, and sometimes relative desertion in the winter make them a challenging environment. Keep kitchen shelves simple: plants you use and lots of compact, easy-keeping ornaments.- Prioritize for easy-wipe plants and pots (grease and dust build up faster in kitchens).
- Keep plants away from direct steam from stove tops, and from oil splatter. Plan for a wipeable tray to sweep the shelf clean in one go.
The Shelf-Safe Pot + Tray System (No Rot, No Ruined Furniture)
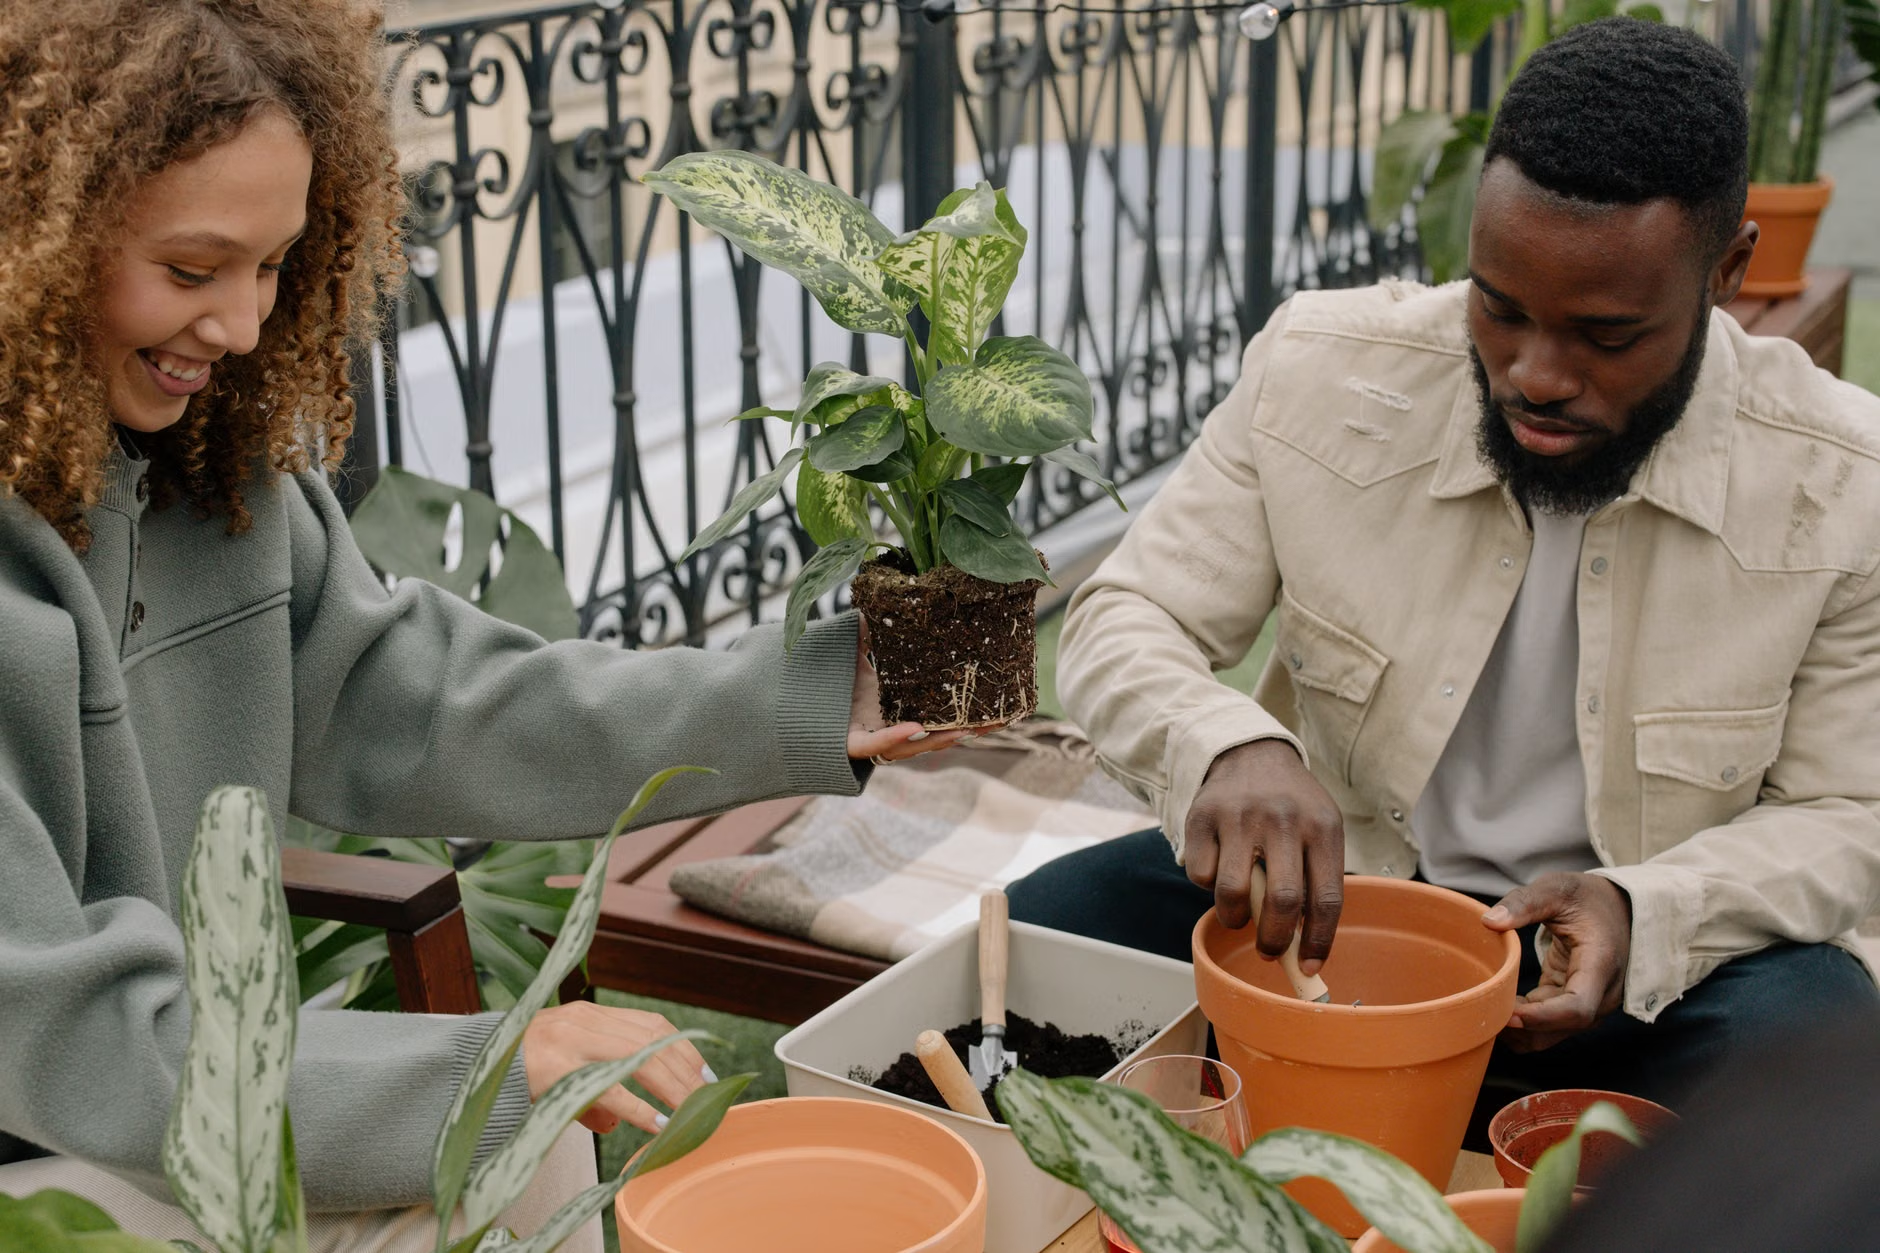
For shelf styling, the most “invisible” improvement you can make is making every plant easy to drain. The solution: keep the plant in a nursery pot (with drainage holes), then place that inside a decorative outer pot (cachepot). You can lift it, water it, let it drain thoroughly, and dump any extra before returning it to the shelf.
- If you love “pretty” pots: use matching cachepots, but standardize the nursery pot sizes inside.
- If you love terracotta: you’ll water more often, so keep thirstier plants in plastic nursery pots instead.
- Add a waterproof barrier under trays on wood shelves (clear mat or liner), so every spill isn’t a permanent stain.
A Watering Workflow That Works on Shelves (No Guessing + No Drips)
Plants on shelves are easy to overwater because we often resist moving them. The solution: plan on movement: a carry tub, sink/shower watering routine, and no pot returns to the shelf while dripping.
- Check before watering: lift and feel soil. If it’s still moist to the suggested depth for your plant, don’t water.
- Lift: pots on the shelf hide standing water. A quick lift gives away whether a saucer’s holding water.
- Water off the shelf: Take plants to the sink/shower/tub, water thoroughly, and let them drain.
- Empty out collected water: Don’t leave pots sitting in runoff—this alone is a common instigator of root-rot.
- Don’t return until drained: Bring it back only when done dripping, or set plants on a drying rack (or towel) for 10–20 minutes first, to avoid drips.
Humidity: Help Your Plants Without Making Your Shelf a Mold Problem
Most homes do best operating with a moderate level of indoor humidity. For your plant shelf, aim for a stable “middle humidity” with little “micro-boosts” for true humidity-loving plants, without making a room damp.
- Best option: small humidifier near (but not blasting into) the shelf—clean regularly.
- Good free option: group plants with the same needs together; they buffer humidity around the leaves.
- Pebble trays under pots: minimal, very localized effect—use if desired, but don’t let them collect stagnant water.
- Avoid shelf liners that stay wet and “always full” trays for all pots—invites gnats and mold.
Q. Airflow + spacing: the most underrated shelf health hack
When plants get squeezed together on a shelf, you’re setting up a chain reaction: slower drying → soggier soil → more fungus gnats → more stress → more pests. Some leaf air space keeps light reaching and air moving through the shelf. If a shelf niche is particularly stagnant, set a small fan across the room to keep air flowing (not directly blowing at plants).
- If two leaves are always touching, you overstuffed the shelf for plant health (no matter how lush it looks).
- Rotate plants weekly or biweekly to avoid permanent leans.
- Prune trailing plants back from a shelf so they’re not shading out the tier below them.
- Use small risers to lift plants in darker corners.
- Use a light-colored backdrop or a white reflector tile nearby to increase overall shelf brightness.
- Keep a consistent saucer and watering system for simplicity.
- Dust leaves regularly for max light pickup.
Diagnostic: The Shelf Configuration and What It Says About the Condition of Your Plants
| What you see | Likely cause | Fix that keeps shelf pretty |
|---|---|---|
| Leggy, stretched growth; small leaves | Not enough light (often mid/back of deep shelf) | Move plant forward to front edge, or use a brighter tier/grow light |
| Yellowing leaves + wet soil | Poor drainage; plant sitting in runoff, or crowding slows drying | Go to nursery pot + cachepot; water at the sink; increase spacing |
| Brown crispy edges (esp. on thin-leaf) | Very dry air + inconsistent watering; near heat vent | Move away from vent, add humidifier, keep a regular checking routine |
| Moldy soil/fungus gnats | Staying too wet; trays never emptied; low airflow | Let dry more between waterings; empty trays; improve airflow and set sticky traps |
| Scorched pale patches on leaves | Unexpected direct sun for hours | Move plant back, use sheer curtain, put sun-tolerant plants on that tier |
Generic Maintenance Protocol (So You Don’t Have to Sweat Too Much On Your Shelves Long Term)
Weekly (10–20 minutes)
- Check moisture for each zone (the bright zones dry faster than lower-light zones).
- Look for pests under leaves (especially on crowded shelves).
- Dump water collected from pots/trays/cachepots.
- Rotate plants to encourage even growth.
Monthly
- Dust leaves and undersides (brush carefully on furry leaves).
- Clean trays inside and out; look for start of water spots.
- Reassess light for all plants as seasons change (sun angle and shelf contour change brightness).
Seasonally
- In spring: watch for faster drying; revisit watering schedule.
- In summer: swap out shelves if a plant has outgrown its spot and is shading others.