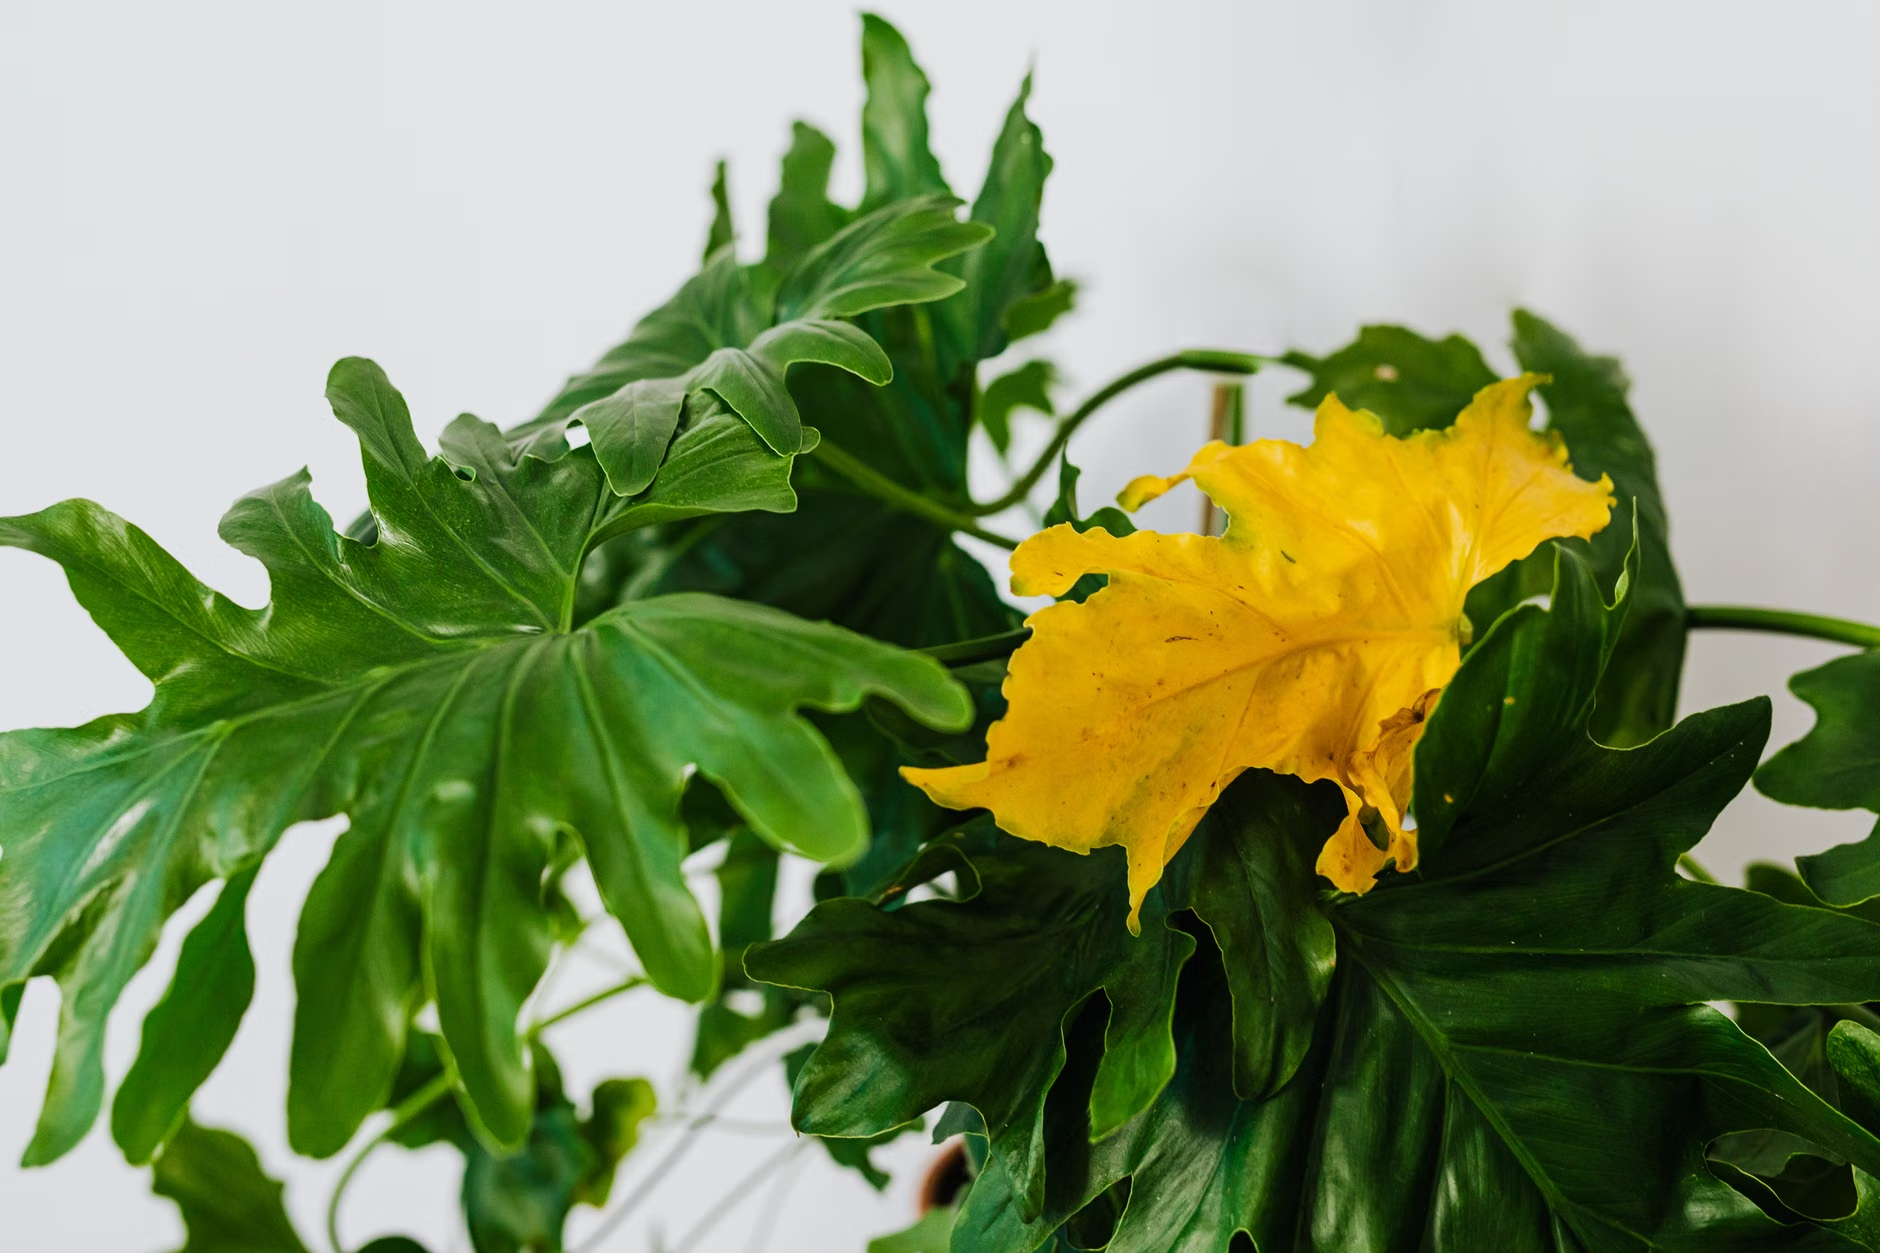
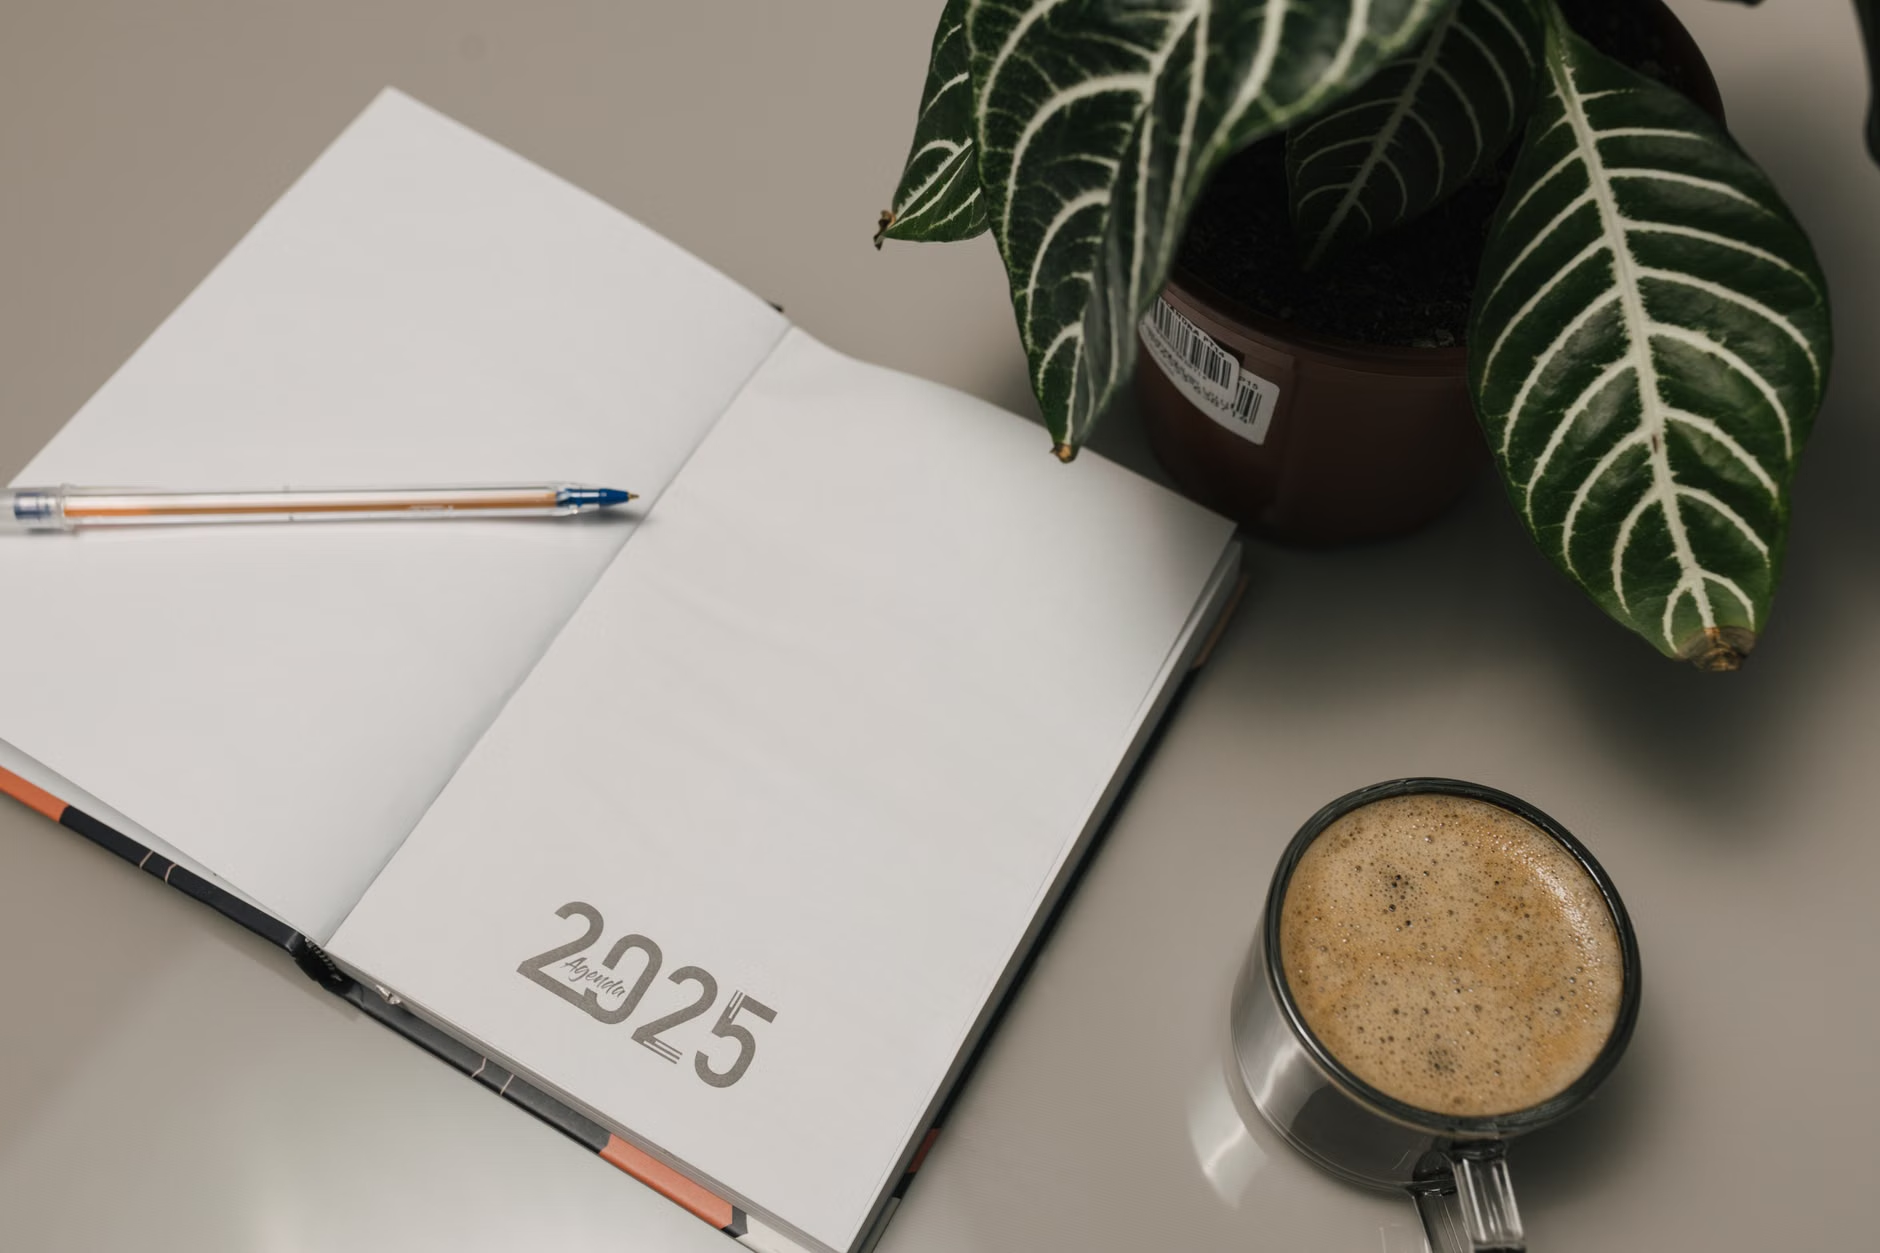
Brown Tips on Leaves: Causes (Water, Salts, Humidity) and Practical Fixes
Brown leaf tips (often called “leaf tip burn”) are usually a stress signal—not a disease. The three most common causes are watering issues, salt buildup in the potting mix, and low humidity. Use the quick checks and step…
- TL;DR
- What brown leaf tips mean (and don’t)
- Quick diagnosis: match the pattern
- Cause #1: Water problems (underwatering, overwatering, and inconsistency)
- Cause #2: Salt buildup (fertilizer + hard water minerals + softened water)
- Cause #3: Low humidity (and hot, dry air from vents/radiators)
- Special note: fluoride/chlorine in tap water
- How to trim brown tips (cosmetic fix that won’t harm the plant)
- Prevention: a simple routine that keeps tips green
- When brown tips might NOT be water/salts/humidity
- FAQ
TL;DR
Brown tips = dead plant tissue—cut them off for looks, but focus on the cause.
Most common causes: (1) erratic watering, (2) too much fertilizer/mineral salts building up, (3) low humidity/hot dry air.
Quick win: confirm soil moisture + pot drainage, then flush the potting mix (if you suspect salt), and raise the humidity around the plant (if your air is dry).
For sensitive plants (spider plant, dracaena, calathea), tap-water fluoride/chlorine worsens tip burn—plant in filtered/distilled/rainwater.
What brown leaf tips mean (and don’t)
A brown tip is usually the point of no return for that section of leaf: the cells dried or were damaged, and went papery, tan, or deep brown. That tissue will not turn green again, even after the cause is eliminated—your goal is to avoid further browning.
Quick diagnosis: match the pattern
Use the table below to narrow it down. It’s normal for more than one to be involved (for example, low humidity + “salty” potting mix), so deal with the likely suspect first and re-check in 2-4 weeks.
| What you see | Most likely cause | How to confirm (fast) | Best first fix |
|---|---|---|---|
| Tips/edges go crispy soon after the soil dries out; plant looks “thirsty” between waterings | Underwatering or inconsistent watering | Soil is dry well below the surface; pot feels very light before you water | Water thoroughly until it drains, then water again only when the plant’s preferred zone dries (often top 1–2 inches for many foliage plants) |
| Brown tips plus wilting even though the potting mix stays wet; musty smell; fungus gnats; yellowing lower leaves | Overwatering/root stress (roots can’t take up water well) | Slide plant out and check roots (healthy roots are usually firm; rotting roots are soft/brown); mix stays wet for many days | Repot into fresh, airy mix if needed; ensure drainage holes; adjust watering frequency |
| Brown tips/margins + white crust on soil or pot rim; you fertilize often; you bottom-water a lot | Soluble salts building up (fertilizer + hard water minerals) | Visible crust; runoff leaves chalky residue; symptoms match “salt injury” pattern | Leach/flush the pot with clean water; reduce fertilizer strength/frequency; consider repotting if severe |
| Brown crispy tips mainly in winter or near heat vents/radiators; leaf edges dry | Low humidity / hot, dry air | Hygrometer reads low RH; plant is near heat/AC source; multiple plants affected in the area | Move plant away from drafts, run humidifier, group plants together, or use pebble tray |
Brown tips keep returning despite “perfect” watering; common on spider plant/dracaena/calathea
Cause: Tap-water sensitivity (fluoride/chlorine) and/or salt accumulation over time
Fix: Switch water source for 3–6 weeks and watch new growth. Or use rain/filtered/distilled/RO water; flush the potting mix; fertilize sparingly.
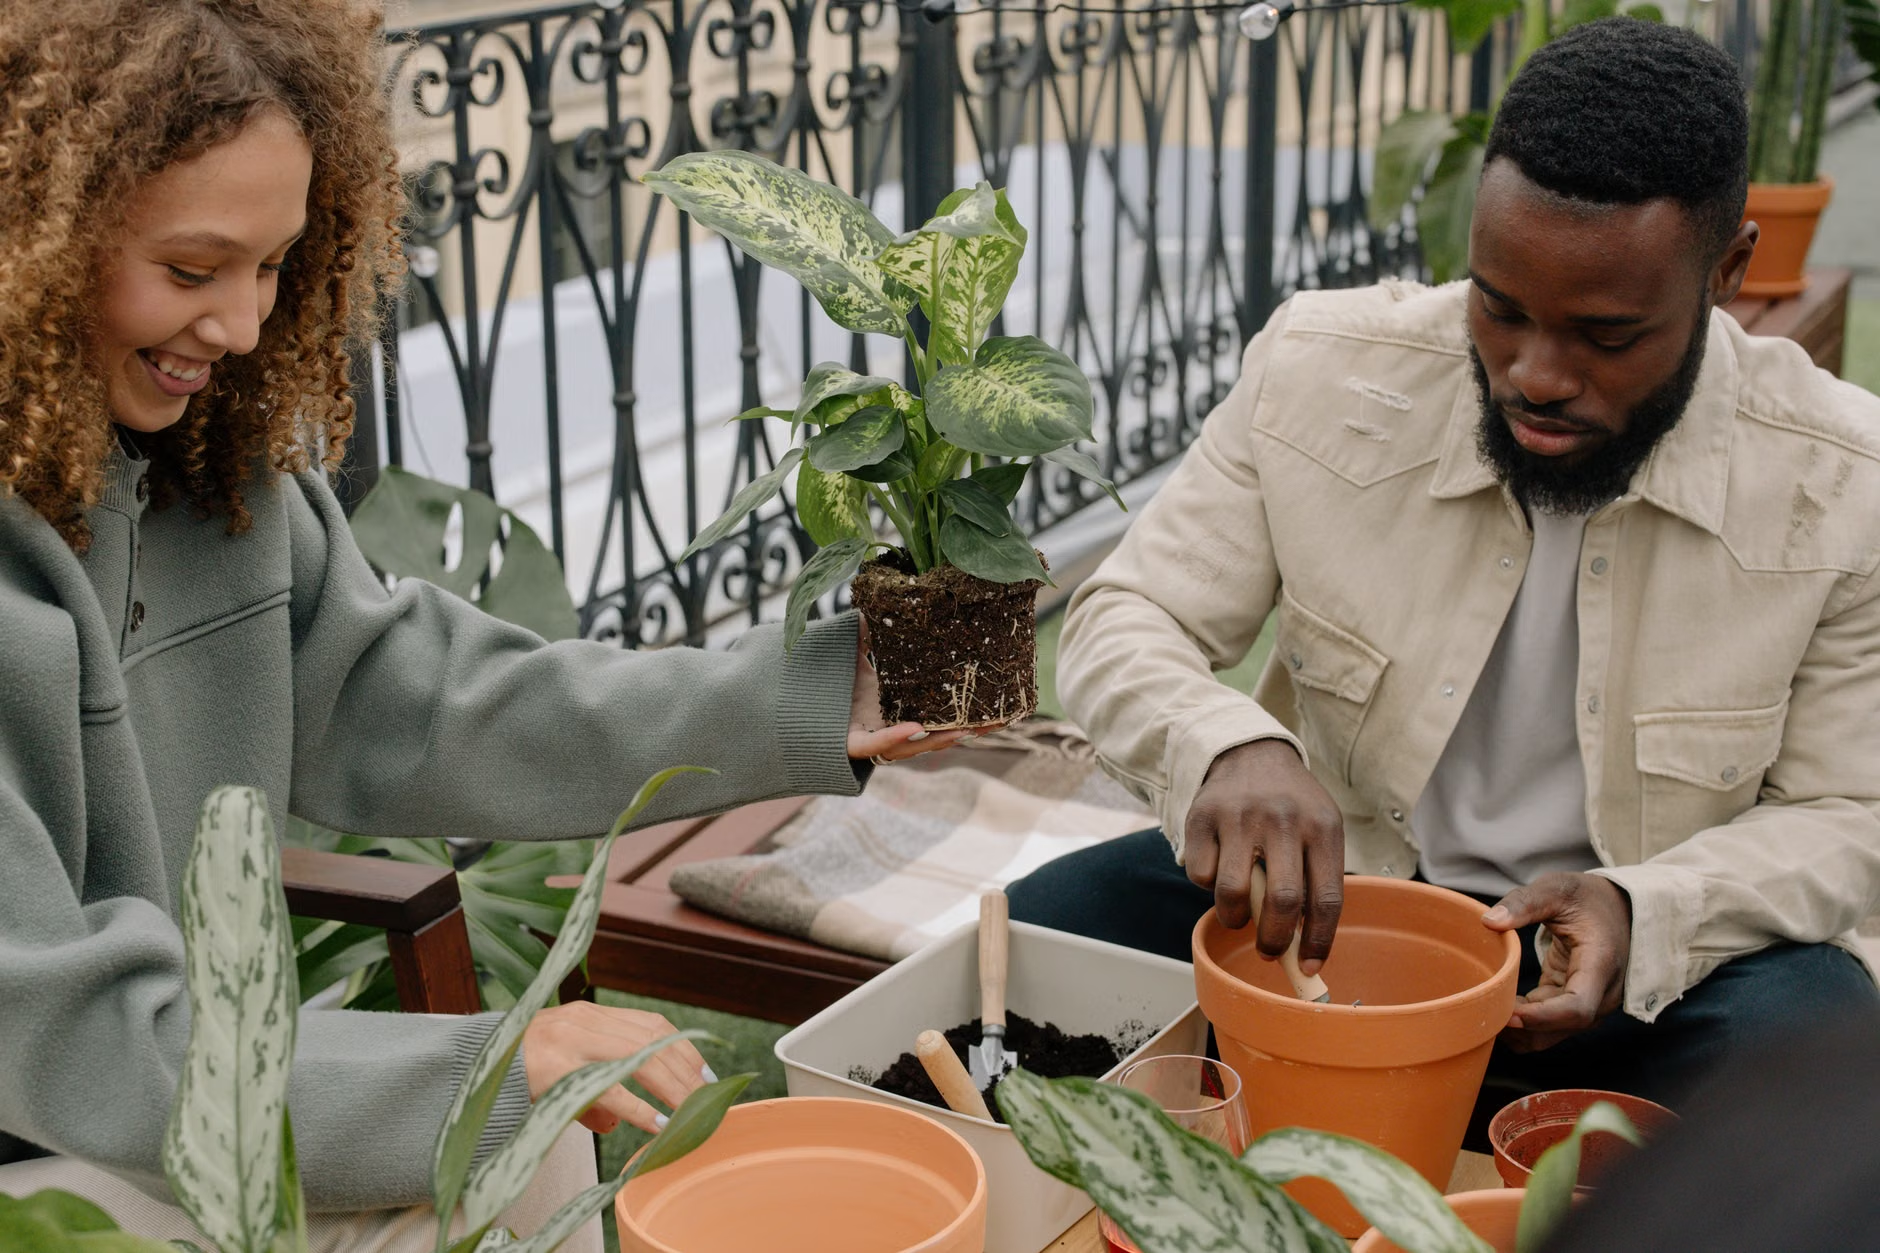
Cause #1: Water problems (underwatering, overwatering, and inconsistency)
Brown tips are often a watering-schedule problem—but “watering problem” can mean too little, too much, or cycles of both. The key is root health: when roots are stressed, the leaf tips are usually the first place that shows it.
How to verify a watering issue (no guessing)
- Check moisture at depth: stick a finger down 2 inches (or use a moisture meter) instead of judging only the surface.
- Use the “pot weight” test: learn how the pot feels right after watering vs. right before it needs water.
- Look at roots if symptoms persist: gently slide the plant out. Soft, brown, or foul-smelling roots suggest staying too wet; brittle, sparse roots can suggest repeated drought stress.
Fix: water deeply, then let the plant dry to the right point
- Confirm the pot has drainage holes. If it doesn’t, repot—no other fix is as reliable.
- Water thoroughly until a steady stream drains from the bottom. (A small “sip” encourages shallow roots and uneven moisture.)
- Empty the saucer/cachepot after 10–15 minutes so roots aren’t left sitting in water.
- Don’t water again until the plant reaches its preferred dryness point (examples: many aroids like pothos/philodendron often prefer the top inch or two to dry; many succulents prefer much drier).
- If the mix stays soggy for many days, upgrade the potting mix (add aeration such as perlite/bark) and consider repotting to prevent root stress.
Cause #2: Salt buildup (fertilizer + hard water minerals + softened water)
“Salts” in houseplant care usually means soluble salts in the potting mix—from fertilizer, mineral-heavy water, or inputs that add sodium. When salts build up, they can damage roots and commonly show up as browning at leaf tips and margins.
Signs that salts are the main issue
- White/gray crust on the soil surface or pot rim (especially if you bottom-water often).
- You fertilize frequently, mix fertilizer “a little stronger,” or combine slow-release pellets with liquid feeds.
- The plant browns at the tips even when watering seems consistent.
- Runoff dries with a visible residue on the saucer or sink.
Fix A (best first step): flush/leach the potting mix
Leaching is simply running clean water through the pot so excess salts exit through the drainage holes. If high soluble salts manifest in potted plants, flushing is the recommendation.
- Move the plant to a sink, tub, or outdoors (shade). Make sure water can drain freely.
- Use room-temperature water (cold water can shock some tropical plants).
- Slowly water the surface of the soil until water begins to run strongly out of the bottom for 30–60 seconds (you’re trying to rinse through root zone, not just wet down top).
- Wait 5 minutes, then repeat again 1–2 more times.
- Let the pot drain completely before placing back in its saucer.
- Hold off on fertilizing for 3-4 weeks, then start up again at lower dose/frequency if the plant is in active growth.
Fix B: adjust fertilizer habits so it doesn’t come back
- Fertilize less often than the label “maximum,” especially in winter or low light (when growth slows).
- Never fertilize a completely dry potting mix—water first, then feed to minimize root burn risk. If you use slow release fertilizer, avoid adding liquid fertilizer on top. (Stacking inputs like this increases risk.)
- Plan a preventive flush: for many plants, leaching them at least once every 1-3 months during active growth prevents buildup (this depends on your water / fertilizer routine).
- Use of a more opaque medium or substrate where the light reaching the developing green parts has high frequency. Bulkyenough crop or large flower trusses sometimes tend to lay upon themselves. This tendency can be counteracted to a certain extent by growing plants in a more opaque medium.
- Use and application of lobes. A sprouting root or bulbous body may easily be made up into a frame, for all lobes probably are.
Fix C: upgrade water quality (especially if your tap water is hard or softened)
If you suspect your water is contributing, try a 4–6 week experiment: water with rainwater, distilled water, reverse-osmosis (RO) water, or a good-quality filtered water and see if new growth emerges cleaner. This can be especially helpful for plants known to be tap-water sensitive.
Cause #3: Low humidity (and hot, dry air from vents/radiators)
Low indoor humidity is a very common reason for crispy tips—especially during winter heating. Some plant resources specifically call out low humidity as a top cause of brown leaf tips and edges in homes.
How to verify humidity is the issue
- Use a small hygrometer near the plant for 24 hours (they’re inexpensive and remove the guesswork).
- Notice placement: plants right next to a heating register, radiator, fireplace, or forced-air draft often brown faster.
- Look for a seasonal pattern: tips worsen during heating season, then improve naturally in spring/summer.
Fix: raise humidity where it counts (around the leaves)
- Move the plant away from direct heat/AC airflow (even 3–6 feet can help).
- Run a humidifier in the room (most consistent option for tip-burn-prone tropical plants).
- Group plants together to create a slightly more humid microclimate.
- Use a pebble tray: set the pot on pebbles/gravel with water below the top of the stones, so evaporation increases local humidity without soaking the pot. Keep airflow reasonable (stagnant, overly humid air can invite mold problems).
Special note: fluoride/chlorine in tap water (common trigger for some plants)
If you’ve corrected watering, reduced salts, and improved humidity—but tips keep browning—tap water chemistry may be the missing piece. Some extensions and plant health references note that fluoride/chlorine in water can contribute to leaf tip burn, especially on sensitive houseplants.
- Plants commonly mentioned as more sensitive include spider plant and dracaena.
- A classic pattern: leaf tips/margins brown while the rest of the leaf stays fairly healthy, and the problem builds gradually over time.
- Switch to rainwater, distilled, RO, or a trusted filtered water for 4–6 weeks.
- Flush the potting mix once (see the salt-leaching steps) to remove accumulated residues.
- If your municipality uses chlorine (not chloramine), letting water sit out can reduce chlorine over time—but it won’t solve fluoride issues.
- Track only new growth: existing brown tips won’t reverse, so judge progress by whether new leaves emerge with clean tips.
How to trim brown tips (cosmetic fix that won’t harm the plant)
Trimming improves appearance, but the browning will return if the underlying issue remains. This is commonly recommended by extension resources for leaf tip browning. Use clean, sharp scissors (wipe blades with rubbing alcohol first). Cut just above the brown area, and attempt to follow the natural outline of the leaf tip for a gentler finish. Don’t cut into healthy green tissue any more than necessary; you’re making a new wound edge, after all. If the leaf is mostly brown, remove the entire leaf at the base, allowing the plant to conserve its energy for healthier leaves.
Prevention: a simple routine that keeps tips green
- Water using “plant need” (moisture at depth + pot weight), and not when it’s Thursday, or whatever. Always ensure drainage and empty your saucers so your plant isn’t sitting around in soggy roots.
- Fertilize lightly during active growth; in low light seasons, cut way back or skip fertilizing entirely, lest salts build up.
- Flush the pot periodically (especially if you fertilize or have hard water).
- Measure indoor humidity if you keep tropical foliage plants—fixing “dry air” is much easier when you can see the number.
- For sensitive plants, be sure you’re using a better water source (filtered/destilled/rain/RO) and follow new growth for improvement.
When brown tips might NOT be water/salts/humidity
If what you’re seeing is spots, webbing, sticky residue, mushy patches, or rapid spreading damage, see if pests or disease are present. Consider light/temperature shifts (drift, heat stress, etc). Poor ventilation and environmental stress can mimic tip burn symptoms, so you’ll want to pay attention to more than “brown at the tip.”