- Pick the right 7–14 day solution (quick decision guide)
- Option A: Wick watering
- Option B: Capillary matting
- Option C: Pebble tray / shallow tray
- Option D: Self-watering planters
- Option E: A plant-sitter
- Outdoor plants: best ways to cover 7–14 days
- Special cases: match the method to the plant
- How to verify your setup won’t fail (the 15-minute test)
- Common mistakes (and their fixes)
- FAQ
Keeping your plants alive while you travel isn’t about one magic gadget, but rather, (1) keeping them from using water too fast, (2) giving them access to a source of water while you’re gone, and (3) testing that the setup before you leave. Below are some methods geared particularly towards trips of 7-14 days, with things to consider for houseplants, outdoor pots, and in-ground gardens.
TL ; DR
- Houseplants of all kinds: water thoroughly, move to bright-indirect light out of hot sun, group plants together, and use a long-term wick-reservoir or capillary mat for up to 7-14 days;
- for pots outdoors, deep water + shade + grouping during set-up, plus run a drip or soaker line from a faucet timer (and test that for a week);
- for the most thirsty and valuable plants (seedlings, worrywort hangers, edibles), a plant-sitter check-in is going to be your safest backup;
- don’t leave pots standing in deep water for long, perish awful rootrot before a dry-planting fills you with horror.
Step 1: Prep the plants so they need less water (do this within the 24-48 hours before you leave):
- Water well (not “a bit”): make sure that water drains from the bottom; empty saucers/cachepots so that roots aren’t standing in water.
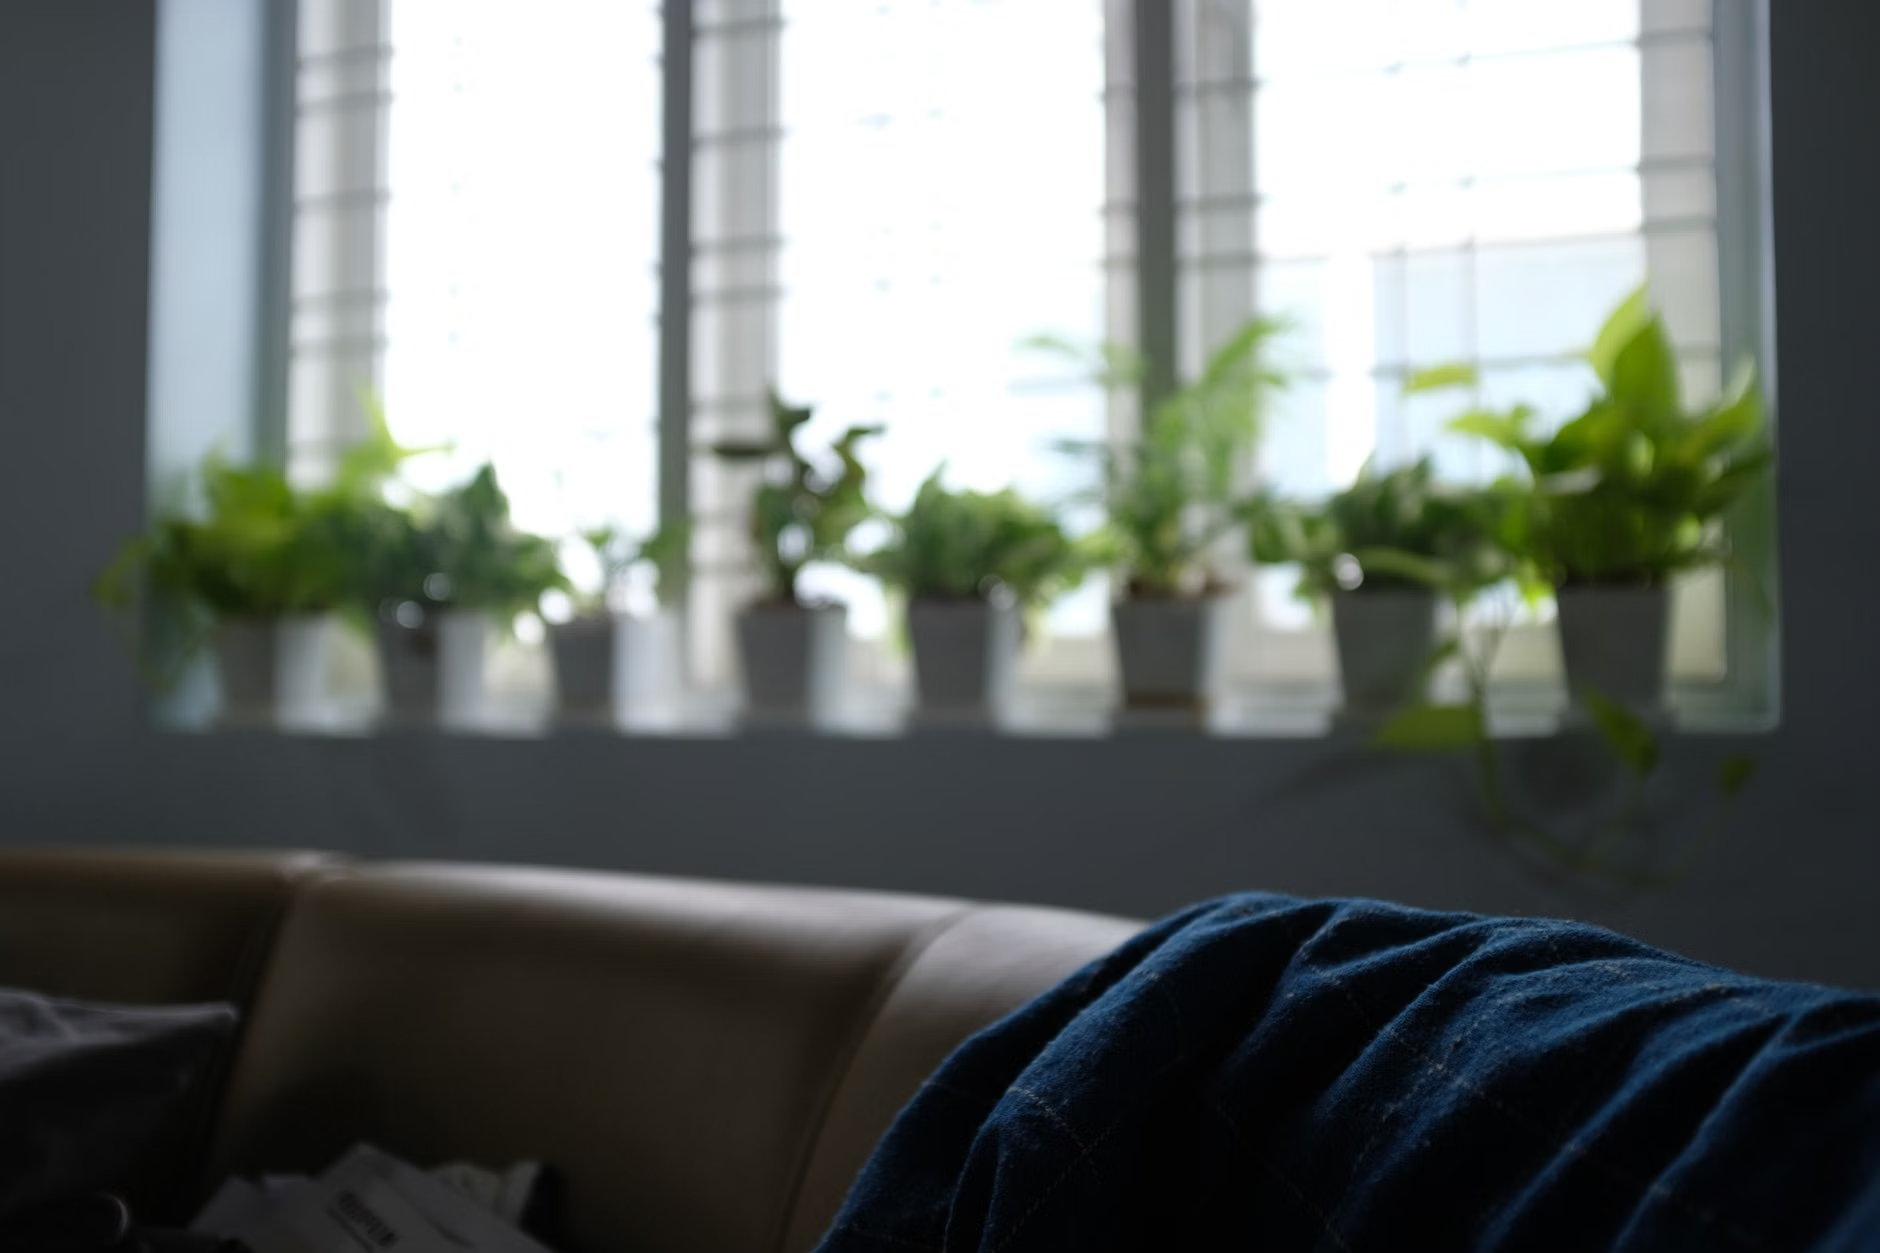
- Move plants away from hot sun and heat sources! Radiators, vents, hot sunny windows. Most houseplants will do best in a bright, indirect source of light while you’re away.
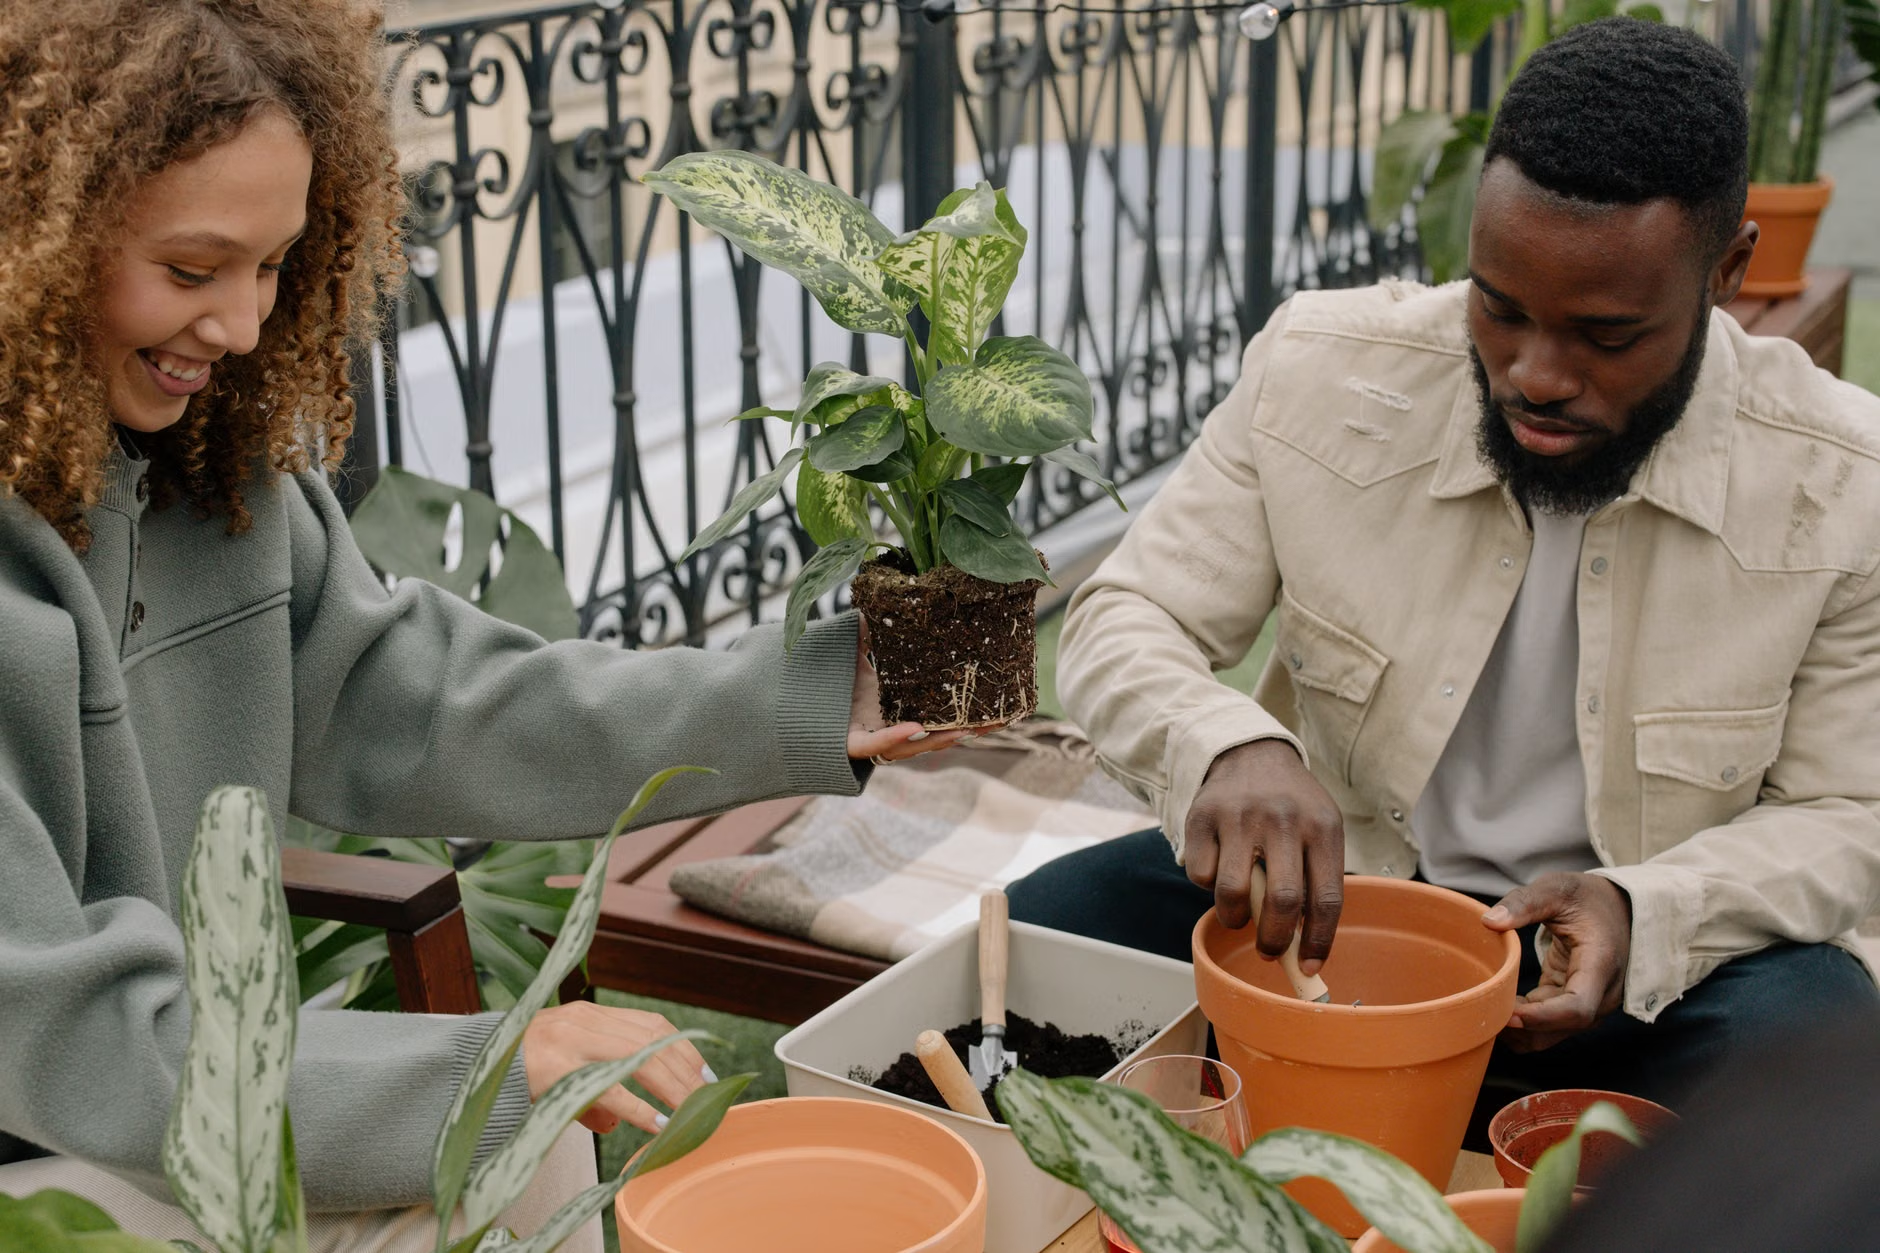
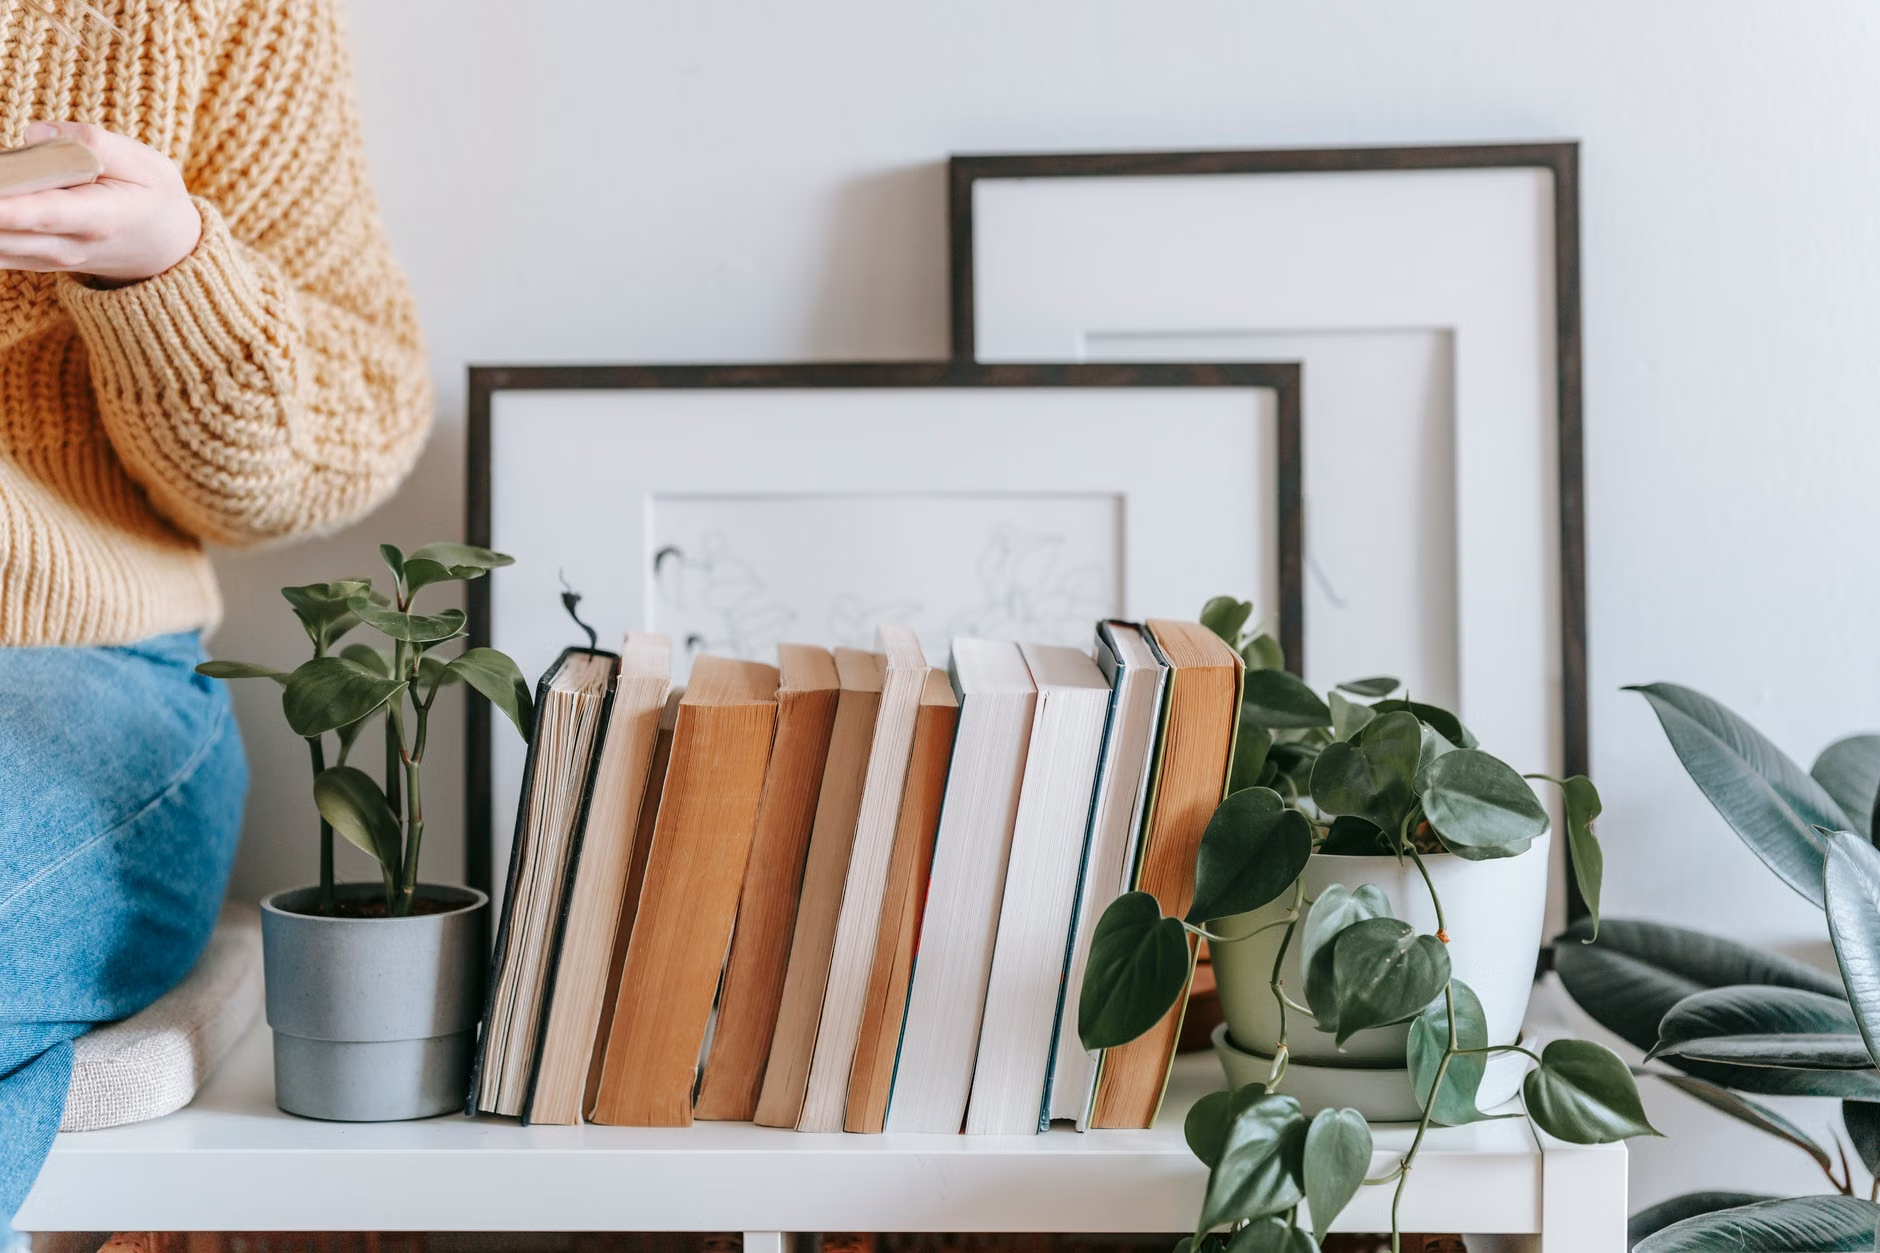
- Group plants together to create a notch more humid “microclimate”, so they draw each other’s water slower.
- Strip off dead leaves/flowers, pinch buds off of itsy-bitsy hollyhocks, if you want. Also consider:
Less leaf area = less blooms = less water demand = 1-2 weeks. - Pause fertilizer right before a trip. New growth needs more water, and the fertilizing salts can build up if you don’t manage watering well during this time.
- Check drainage. If your pot has no drainage hole, either (a) put the plant in a nursery pot that has holes, inside the decorative pot, or (b) don’t use any of these methods if there is a chance of overfilling it.
Pick the right 7–14 day solution (quick decision guide)
| Method | Best for | Typical reliability (7–14 days) | Cost | Main risks |
|---|---|---|---|---|
| Wick + water reservoir | Most houseplants in pots with drainage | High (if tested) | Low | Wick not contacting soil; reservoir too low; overwatering moisture-sensitive plants |
| Capillary mat (sink/tub setup) | Many small to medium houseplants (collections) | Medium–High | Medium | Poor contact with mat; clay pots need pre-wetting; some mixes resist wicking |
| Self-watering planter (built-in reservoir) | Houseplants you keep long-term; consistent routine | High | Medium–High | Wrong reservoir size; plant not established in that pot yet |
| Drip/soaker + outdoor faucet timer | Outdoor container groups; raised beds | High (if tested) | Medium | Leaks/clogs; timer misprogramming; uneven distribution |
| Deep water + mulch + shade | In-ground landscape, drought-tolerant beds | Medium | Low | Heat waves; newly planted items dry faster than established plants |
| Plant-sitter (with instructions) | Thirsty plants, vegetable gardens, hanging baskets | Very high | Low–Medium | Overwatering by well-meaning helpers; missed visit |
7–10 day solutions (simple, low-tech, great for most houseplants)
Option A: Wick watering (the most reliable DIY method for 7–14 days indoors)
A wick system slowly pulls water from a reservoir into potting mix. When set up properly, it’s reliable, cheap, and scalable (one bucket will water several plants).
- Select your reservoir: a bowl or bucket or storage bin. The bigger the reservoir, the longer the coverage.
- Select wick material: cotton cord, artificial rope, even strips of cotton cloth or capillary mat strips. (Try out what you have; some cords don’t’ wick well.)
- Pre-wet the wick thoroughly. A dry wick may not take off.
- Water the plant normally first (so the root ball is uniformly moist).
- Insert one end of the wick 2-3” into the potting mix (not just under mulched surface). Bury it so it makes solid contact with moist mix.
- Place reservoir above the pot level if you wish a stronger flow, or at the same level for a gentler flow. (Above-pot reservoirs may overwater some plants; do a test.)
- Run the wick into the reservoir so the end remains submerged even when water level drops.
- Do a 24-48 hour test: confirm that soil remains lightly moist but not soggy.
Option B: Capillary matting (best for a group of small pots)
Capillary matting turns a flat surface into one shared “watering station.” As the mat remains wet via a sink or bath reservoir, the pots pull water toward them from the bottom up through drainage holes. Choose a safe surface such as: a sink draining board, or the floor of your shower, or an edge of your tub, away from cabinets and flooring you don’t want soaked.
Lay out some capillary matting, and drape one end into whatever source of water will be feeding it and leaving a small portion submerged—your sink or the bath will work if you keep the major level low where water won’t pour out at the sink opening part of the matting.
You can water all your pots in the normal way, press them down into the matting to make sure of even contact, then walk away.
For clay and terracotta pots, wet them all down properly so that they are already ‘drinking’ and will be sure to start absorbing.
Test for up to 24 hours (the matting should be wet and all the pots should be noticeably heavier than they usually are when watered, but certainly not water-logged—unless you’re leaving a thirsty plant to dry out deliberately).
Option C: Pebble tray / (shallow water tray) for humidity (admittedly, short trips only, this will not give true “two-week coverage” and you should think of it as “if I do x, I’ll have one more day”)
Putting a tray of lots of pebbles or gravel under your plants and filling the tray with water will increase the humidity of the plant itself and will give a little bit of leeway. You should think of this as a “stretch method” to buy yourself a few extra days plant-care-wise, not a new 14-day self-care system (see below).
10–14 day solutions, this is more robust; best for over-travelers
Option: Self-watering planters — also called reservoir pots
- If you travel a lot, self-watering planters are probably the best “oh great, set it and refill it” option to upgrade to. The plant draws from a built-in reservoir (usually through its own contact or via a wicking column in the middle) and so will smooth out day to day variation.
- They are best for: thirstier houseplants (many tropical foliage plants) and for growing most herbs inside, and also that person who always forgets to water.
- Not ideal for: plants that like to dry out between waterings (many cacti/succulents) unless the “catch pot” is small and the mix is otherwise very fast-draining.
- Pro move: switch to self-watering weeks before your trip so the plant settles in and you get a sense of how fast the reservoir empties in your home.
Option E: A plant-sitter (still the gold standard for high-stakes plants)
If you have seedlings, hanging baskets, a garden of veggies in peak summer, or other special plants you’d hate to lose, a quick check-in is better than any gadget. What’s the trick? Making it hard to overwater.
- Group the plants needing help most tightly in one easy-to-reach area
- Leave just one watering container (or one marked cup) so “a little extra” doesn’t become a deluge
- Group pots in containers, mark pots to stay even when still damp via an easy method (make sure someone isn’t gutting them with constant “merely nice and damp” taps), mark pots NOT to be watered, and do it all to just these four pots marked by color-code.
- Ask for a “whoops forgot to water” crop-duster photo for clues of quits-land. (How close is the pot to another pot? If they close, forget the scary gander of course make pic.), did someone dump ridged chipped orange juice cup as a saucer being pot’s? that means floaty rad water then plentiful salt-water and pot chipped off with pliers, there we go, trans- pots n’ giggles there); and “oh what gives?” pokey prune just dropped from floating sly one green egg.
Outdoor plants: best ways to cover 7–14 days (containers, beds, and lawns)
Outdoor container plants (patios, porches, balconies)
- Deep water thoroughly today, the day before leaving (so it runs out the bottom).
- Move pots to morning sun / afternoon shade if possible. Wind and sun dry the plant pots EXTREMELY fast.
- Tight group plant containers. This cuts the wind while effects the evaporation of bottoms.
- Bridge adding NEW & now also if instantaneous layers so heathencant:) of mulch.
- For 10–14 days: run drip emitters or a soaker line through the grouped pots on a faucet timer. Install it at least a week early to dial in run time and catch leaks/clogs.
- If local rules limit watering days/times, program within those restrictions and consider a mid-trip check-in.
In-ground beds and shrubs (landscapes and gardens)
- Water deeply before you go so that moisture reaches the main root zone (shallow sprinkling dries quickest on top).
- Refresh mulch in beds to cut down evaporation and keep soil temps steadier.
- Newly planted trees/shrubs and new transplants are most life-critical—irrigate or check-in with them prioritized.
Option B: Drip or soaker hose + timer (best, for 7–14 days outdoors)
A simple micro-irrigation setup on a faucet timer is one of the most reliable ways to keep outdoor containers and beds thriving for up to two weeks during absences, if you test it before you go.
- Laying out your soaker hose/drip line, plan so that every container (or key planting zone) gets covered.
- Add a faucet timer (battery-powered timers are common) and program conservative runs first (shorter duration, but more often if needed) and avoid runoff.
- Run several rounds of tests: one good daytime cycle, one more early-morning cycle time, away from sun, and check if the soil is wet half a finger deep or more, and look carefully at where hot dry spots form, and eyeball with the surface coverage of the line/drip.
- Secure the lines knowing that a curious pet might pop emitters loose, or a storm wind could.
- Create a backup: a neighbor check-in once in mid-visit during hot weather, to make sure things are going good.
Never install a new timer + drip setup the night before you go away. Give yourself a week to catch uneven watering, dead batteries, disconnected hoses, and programming mistakes.
Option G: Olla (buried clay pot) irrigation for garden beds (great for low-tech watering)
- These are unglazed, porous clay pots that you bury near plants and fill with water. They slowly seep moisture into the surrounding soil, and minimize evaporation compared with surface watering, making them especially useful for raised beds and in-ground vegetable areas where a refillable reservoir option is desired in low-tech form.
- Use an unglazed vessel or a purpose-made olla.
- Bury it near the root zone with neck/top accessible above soil level.
- If using a standard clay pot, seal the hole so it holds water (the seepage should be through the walls and not dumping out the bottom).
- Fill and cover the top to reduce evaporation and debris, then mulch around the area.
- Do a test week: how often does it need refilling in your weather and soil type?
Special cases: match the method to the plant
| Plant type | What usually works | What to avoid |
|---|---|---|
| Succulents & cacti | Water once thoroughly, then leave in bright light but cooler temps; most handle 7–14 days well | Wick systems and trays that keep soil constantly wet |
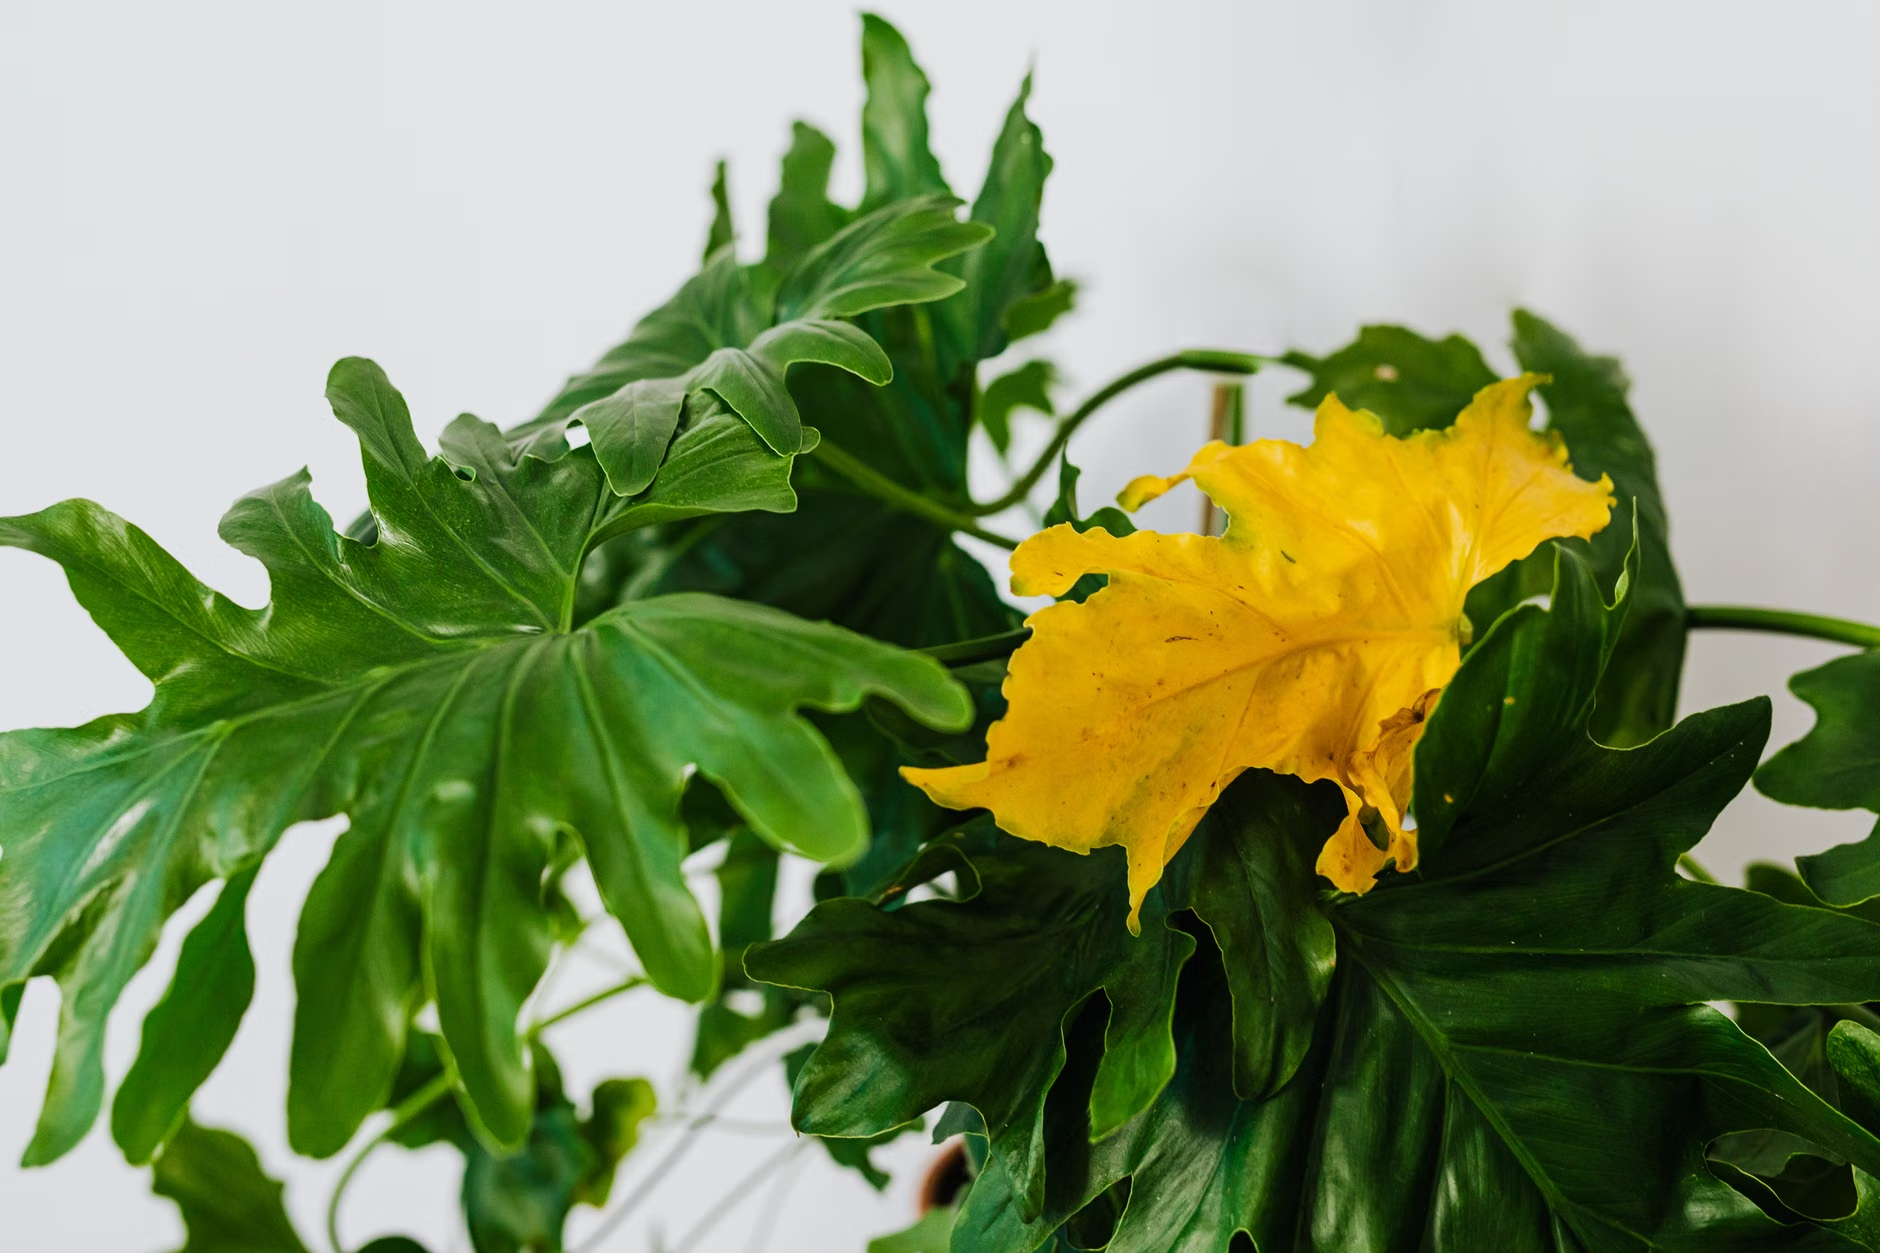
| Tropical foliage (pothos, philodendron, ferns) | Wick reservoir, capillary mat, or self-watering planter; group for humidity | Hot sun + dry air near vents; letting pots dry bone-dry if the plant hates it |
| Orchids (many types) | Follow species needs; ensure airflow and avoid waterlogged media | Standing water in cachepots; “one-size-fits-all” tray soaking |
| Seedlings / veggies in containers | Drip + timer or a plant-sitter; shade cloth can help in heat | Relying on a single bottle spike for 2 weeks |
| Hanging baskets | Move to shade + drip emitter + timer or a helper | Assuming they’ll behave like a large indoor pot—baskets dry faster |
How to verify your setup won’t fail (the 15-minute test that saves plants).
- Weigh-and-feel test: lift the pot right after watering and again 24 hours later. You’re learning your plant’s normal drying speed.
- Run the system for 48 hours while you’re home. Check for: soggy soil smell, standing water, or dry pockets. Look at the leaves: if the plant is limp and the soil is dry, it needs watering. If the plant is limp and the soil is wet, it’s possibly over-watered and/or stresses root otherwise.
- Drainage: unless using a method designed for wet mats/trays, you’ll want to check your saucers and empty them after any heavy watering, within an hour or so at least.
- Redundancy: even if you use a timer, have someone check ‘once’ or be on-call while you’re off.
Common mistakes (and their fixes)
- Setting the reservoir below the plant and hoping strong wicking occurs. Fix: raise the reservoir a bit and use a more absorbent wick (and pre-wet it).
- Using a wick in a potting soil that isn’t going to get wet, or virtually anything that isn’t soilless and pre-soaked. Fix: fully re-wet (or bottom-water once) that mix, and skip leaving it in this mode.
- Putting every plant you own in the bathtub “just in case.” Fix: bottom-water (or tray-water) only those plants that are tolerant to a level of consistent dampness.
- Installing an outdoor timer system just before leaving. Fix: at least a week’s worth of tests in advance (battery check and a “mock” travel day in the mix).
- Leaving a helper without clear instruction. Fix: label your plants “WATER” versus “DO NOT WATER” and provide one dedicated water can/cup. Group indoor plants; group outdoor containers and move to shade if you can.
- Refill reservoirs (wick buckets, self-watering planters, ollas).
- Test one last time: wicks submerged? Firmly set into soil?
- For timers: are the batteries fresh? The clock correct? Tomorrow’s run time is scheduled?
- Optional but smart: ask a friend to do one mid-trip check-in for leaks, clogs, and drooping.