Repotting in Tight Spaces: A Mess-Free Method, the Pot-Size Rule, and How to Prevent Compacted Soil in Small Pots
Learn a clean, small-apartment-friendly repotting setup, a reliable pot-sizing rule to avoid overpotting, and practical ways to keep small-pot soil airy instead of compacted.
- Summary
- Main reason tight spaces contribute to fast compaction in small pots
- A no-mess way to replant: “the tote method”
- Circumstances that Allow for Breaking The Rules
- Detailed step by step instructions for mess-free repotting within a tote with small pot accuracy
- Common mistakes made when repotting plants in compacted soil
- References
Summary
- The tote method, or placing pots in a large plastic tub to catch the potting mix, is effective for minimizing the mess when repotting.
- The guideline for increasing pot size is a little over 1-2 inches, otherwise there is an increased risk of causing the roots to remain too wet and stressed.
- To reduce compaction due to a dramatic lack of moisture in small pots, use a good potting mix (not garden soil) and moisten it prior to planting. Also, avoid pressing down on the soil when filling with soil; and to add air to the mix, add perlite or bark.
- After repotting, water the repotted plant thoroughly only one time and provide time for the mix to dry out and for the air pockets to collapse in small containers. Overwatering is the quickest way to destroy the air pockets in small containers.
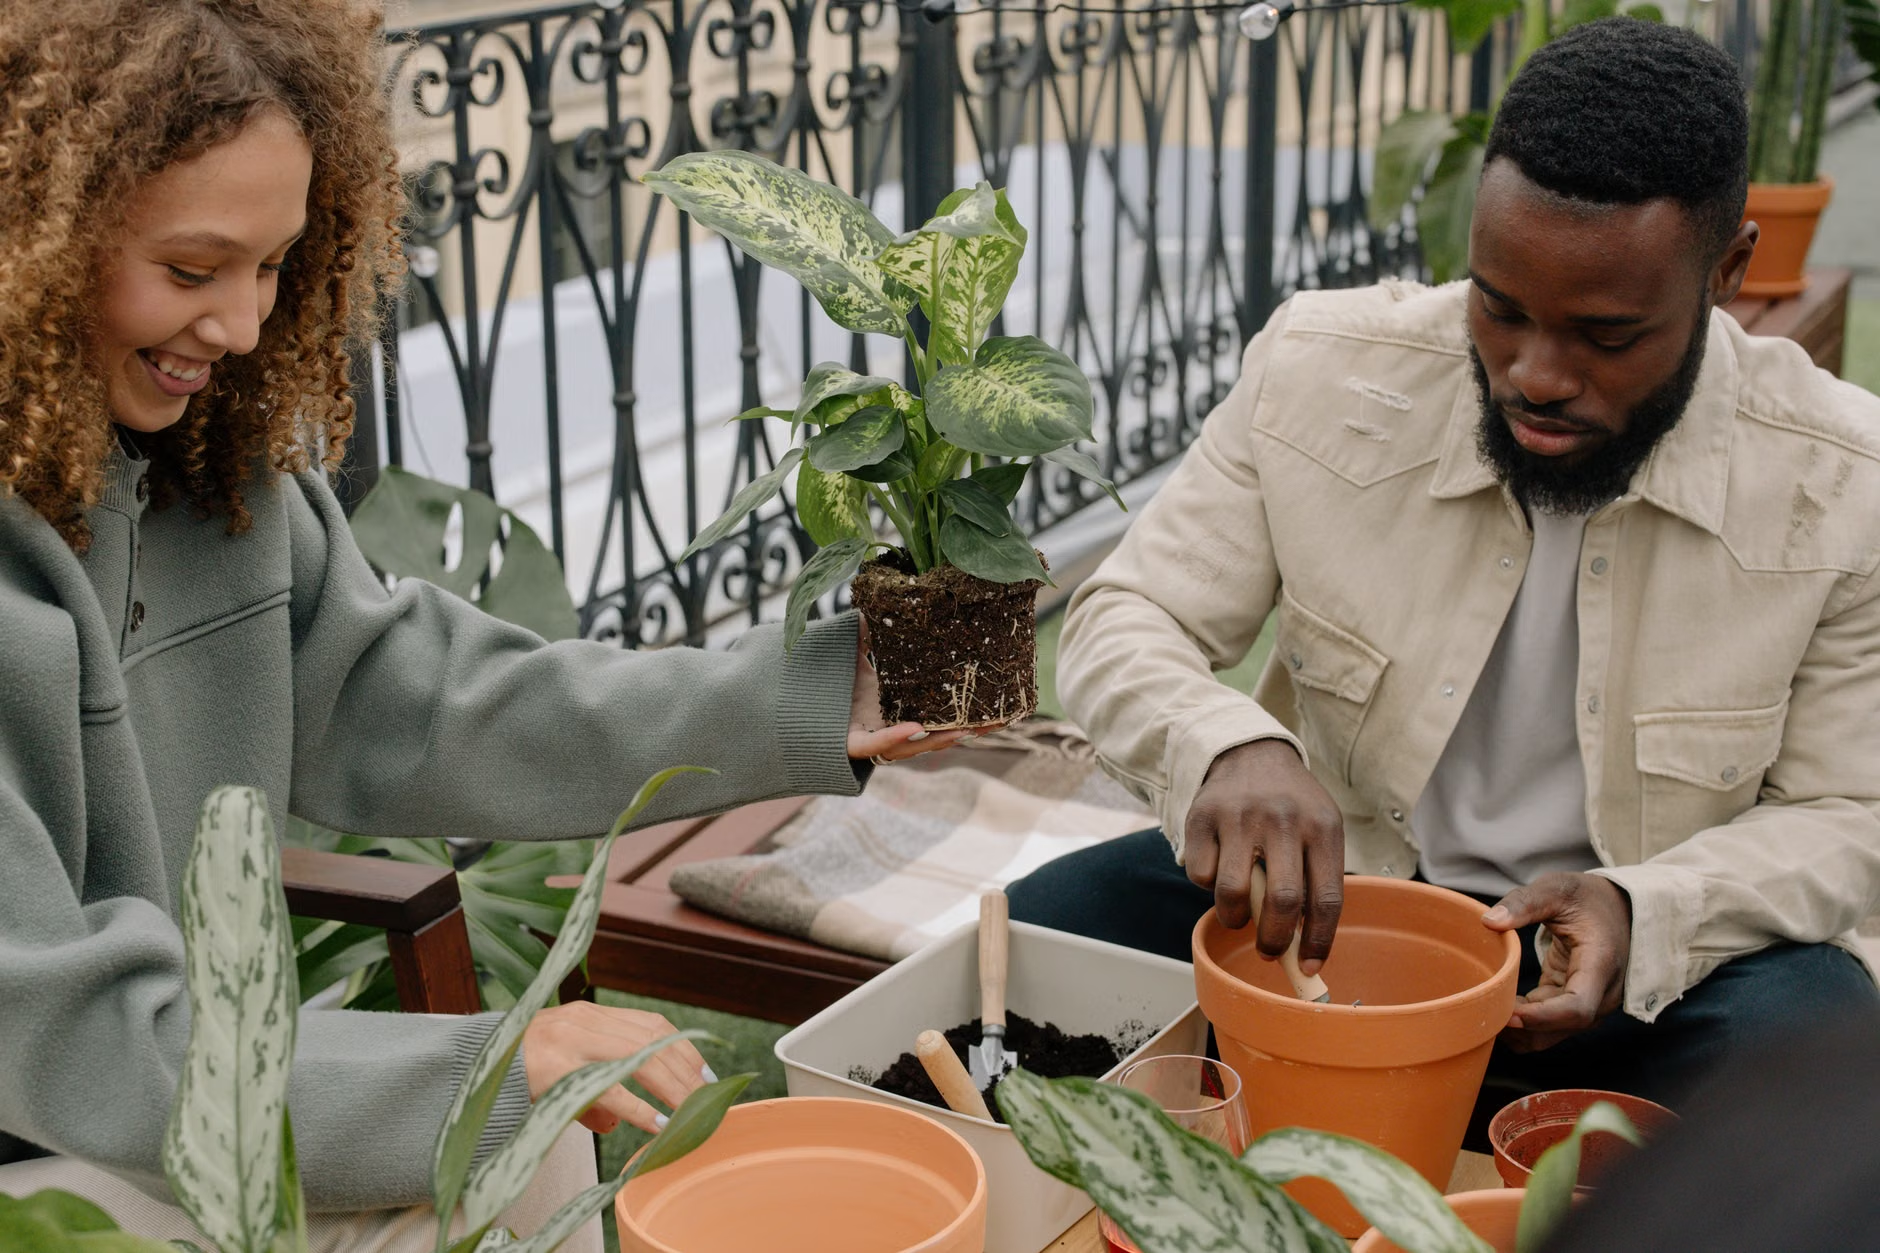
Repotting in a small apartment, dormitory or cramped kitchen can lead to an explosion of dirt, especially with small pots where every pinch of potting mix means the cups could fill with dirt otherwise. The good news is that you can repot cleanly and use a pot that is not considered to be over-potting while keeping small container soils light.
Main reason tight spaces contribute to fast compaction in small pots
Small containers magnify everything about soil, as a little spill creates an exponentially larger mess, a little too much water collects too long, and packing the soil down packs too much dirt into one spot that will eliminate the air gaps needed for root growth. In addition, as time goes by, potting mixes settle naturally, therefore, if the potting mix used to fill the pot is made of mostly small-sized particles or if it is pressed extremely low, you will eventually have compacted and oxygen-deficient soil that does not rewet evenly.
A no-mess way to replant: “the tote method” (works great for small kitchens and rooms with carpet).
The best way to improve replants in tight spaces is to create a portable “workstation” containing all loose growing media (soil). The best option is a large (15-gallon) plastic storage container (e.g., a moving/storage container) because of the design’s ability to prevent growing mixture from coming out over the sides.
- Container: Use a 15–30-gallon container (preferably clear). A good option is a plastic storage tub; other options include deep roasting pans or containers stored under the bed.
- Protect the surface: If you are working on a surface that you want to protect, (i.e., table), put a folded towel under the container to prevent slippage.
- Control soil: Two tools required: one small scoop (plastic) and one chopstick (pencil).
- Cleaning: Use a small vacuum cleaner, or lint roller, during the last 60 seconds of work, particularly on floors and walls.
- Optional: A spray bottle (to keep the growing mixture damp) will improve the quality of the finished product.
Two Clean Ways to Re-pot Plants. There are two very clean ways you can go about re-potting your plants and putting them back in their containers if you’d like to do that, much cleaner than putting rocks on the bottom of the container or around the plant, in fact, much cleaner and easier to clean than what people have always thought was the traditional way of doing it by putting rocks on the bottom of the container or around the plant as well as in the next section of the table below will help you decide which method to use depending on the size of the plant.
To the left of the table below is a question being asked about what type of plant you want to repot and how to prevent it from spilling out of the pot, if any, while you’re repotting it back into its pot. To the right of the table shows a simple method to re-operate your plant, while also providing detailed descriptions of each method of repotting your plant below. Next section shows how to go about cleaning your plants when re-potting them and will describe each of the three methods of cleaning a plant when re-potting it.
- Tote Method
Recommended storage method; easy use for cleaning process with very little to no soil spillage due to the height of the sides of the tote. Also gives you a very easy time storing the soil and plant in the tote. - Bag Method
Recommended method; you just use large trash bag as a container for holding your soil/old soil; dirt gets very messy/dirty, but you can keep all of dirt away from your plant when you use this method and/or repeat as needed until done. Also gives you an opportunity to clean your plants/containers as well as your wall(s), etc when finished; this would all be minimal. - Sink Method
Recommended for using the inside of your sink for dirty plants; dirt will go into sink while cleaning and will continue to go down the sink as long as you clean it with water; not all plants can fit into a sink; therefore, this method is intended for small plants. Also if using this method use an adequate amount of coffee filter so that water will not get into sink.
Determine the diameter across the top inner rim of your current pot. Select the next pot that is only a little bit bigger than your current pot (typically 1″ – 2″ larger in diameter). If you are moving up from a small pot (2″ – 4″), then one size larger is usually plenty. If you are mainly repotting to add new soil to an old pot (not repotting for a larger pot), you can put new soil back into the same size pot after removing the old mix.
| Current pot diameter | Typical next pot size | Reason to use this size |
|---|---|---|
| 4″ | 5″ – 6″ | Enough space to install new soil mix without creating an excessive amount of water in old container |
| 6″ | 7″ – 8″ | Provides support for new roots while staying dry for reasonable amount of time after watering. |
| 8″ | 9″ – 10″ | Small increase helps reduce water sitting in bottom of container by providing good drainage through soil mix. |
| 10″ | 11″ – 12″ | Good controlled increase until you can check to see if plant still needs/wants additional watering. |
Circumstances that Allow for Breaking The Rules
- If you’re splitting/dividing your plant into several sections, each portion may require a much smaller size pot/planter in order to accommodate them properly.
- If you’re root pruning your plant and want to keep it the same size, re-pot in the same container using a new potting soil.
- If you’re potting up a rapidly growing annual, (such as some vegetables) use an appropriate container size based upon mature size combined with watering frequency, instead of using a small increment size up from your existing container.
Detailed step by step instructions for mess-free repotting within a tote with small pot accuracy
- Pre-moisten your potting media the clean way. Put a few handfuls of media into your tote, lightly spraying or sprinkling it with water, then fluff it up with your hands. Make the media “just slightly damp” but not wet. When you use a handful to press it together, it should shape nicely but not leak liquid.
- Prepare the new potting container by ensuring that the drainage holes are clear. If you’re using a decorative cover pot, place the plant being repotted into a plastic nursery pot with drainage holes, so when you place this plant into the decorative cover pot, it is inside of that without any design or outside construction.
- Put down an initial layer of potting media that will allow the plant being repotted to be at the same level as it previously was (unless it is a species of plant that benefits from being planted deeper in a pot).
- Inside the tote, un-pot the plant by tilting it on its side, supporting it by the root base, and sliding the plant out of the container over the tote, not over the floor. If it is stuck to the pot, gently tap the container until the plant will come out (does not need to be forceful).
- Loosen a couple of roots from around the edge (root area that is touching the interior/outer wall of the container) of the plant you want to repot. You can do this by gently pulling on them with your fingers. If you have any plants that are getting root bound, make a few shallow vertical cuts (think score marks, not major surgery) on the outside of the root ball.
- Set the plant in the center of the pot; by placing it in the new pot, rotating the pot to check the gap space between it and the pot, you should have an equal amount of new mix between the two.
- When you backfill the soil around the plant’s root ball, do so lightly. Work in small scoops. As you add each scoop, poke down the sides of the planting mix with a chopstick to remove any large air bubbles. Don’t push down with your palm; settle but do not compress the planting mix around the plant’s root ball.
- When you fill the pot with planting mix, stop when the soil line is 1/2-1 inch below the top edge of the pot. This will prevent excess water or planting mix from running out when the plant is watered.
- Water the plant thoroughly so that water runs through the bottom of the pot and the planting mix settles into the pot at least halfway and top off lightly without compacting.
- Clean up in under 2 minutes; pour the leftover planting mix from the tote into the bag (either with a dustpan or by folding a corner of the tote like a spout), wipe off the tote and store it for your next use.
Common mistakes made when repotting plants in compacted soil (what you’ll want to avoid doing)
When a plant is repotted into a container with compacted soil, it typically occurs due to a combination of either mixing soil or watering soil incorrectly, or because of how the soil is being moved or handled by you while repotting. Fix those three and you can greatly reduce all 3–6″ pots having “brick of soil” effect.
1. Use the Correct Medium (Avoid Using Garden Soil)
Because garden soil is so heavy in containers when used compared to other types of potting medium, it tends to compact quickly and loses some of its air space continuously. The use of a potting mix specifically formulated for use in containers (also referred to as soilless) is the best choice for pots as these types of potting mixes are designed to hold moisture while allowing adequate pore space for oxygen which is a critical resource for roots.
- If the bag you are using states potting mix or container mix you should be OK.
- If the bag contains topsoil or garden soil or looks like dense dirt avoid it for houseplants/small pots.
- If the ingredients have structure-building materials such as perlite, pine bark fines, coir/peat, etc. then you will be able to retain air space.
2. Create Air Insurance (especially if Using Small Pots)
If you are using tight containers you will want a mix that does not break down into fine particles. If the mix is on the heavy side and/or has a high concentration of peat you may want to look for other ways to increase the amount of air within it.
- For most indoor plants: Mix in small amounts of perlite and/or small bark; these materials will increase the number of pore spaces for air flow and also limit compaction (start with small amounts so that you can adjust as needed after you seed).
- For votes that dislike wet feet (many cactus/succulent variety): Use specialty mixes created for cactus/succulent or heavily use materials that allow for high amounts of air spaces.
- Small pots (2–4″) may require more “chunky” textures. When using small pots if the texture is too fine the pot mix may remain very wet and settle with time resulting in the mix going through a “brick of soil” effect.
3. Use “settling” when filling container; not “packing.”
This is the most commonly ignored compaction trigger – people push down on their mix to create stability for the plant. In smaller containers, this pressure will compress the air spaces necessary for root development. Instead, settle your entire mix by allowing gravity and a gentle tap to save the air pockets; use a chopstick to remove only the larger voids.
- Good: lightly tap the tote against the counter (inside of your tote) to settle mix.
- Good: poke down around the edge with a chopstick to get rid of larger voids.
- Bad: push down with your palm or jiggle/shift the surface evenly; #stompping.
4. Water in such a manner as to maintain structure.
Overwatering can result in root complications due to the cyclic collapsing of air spaces. Watering cycle should consist of equal wetting cycles: thoroughly soaking, allowing for drainage, and letting the plant partially dry before next watering.
- Check moisture level before watering with a finger (you may elect to acquire a moisture meter);
- Water thoroughly – allow water to run through bottom so there are not salt build-ups, and less chance of creating dry pockets.
- Allow for enough time for aeration during the time of no water; most especially in smaller containers; oxygen must exist in the potting mix between watering cycles;
- If water pours down outside and flows out very quickly this indicates the potting mixture may be too dry/hydrophobic. Allow at least 10-20 minutes of bottom watering, and then completely drain.
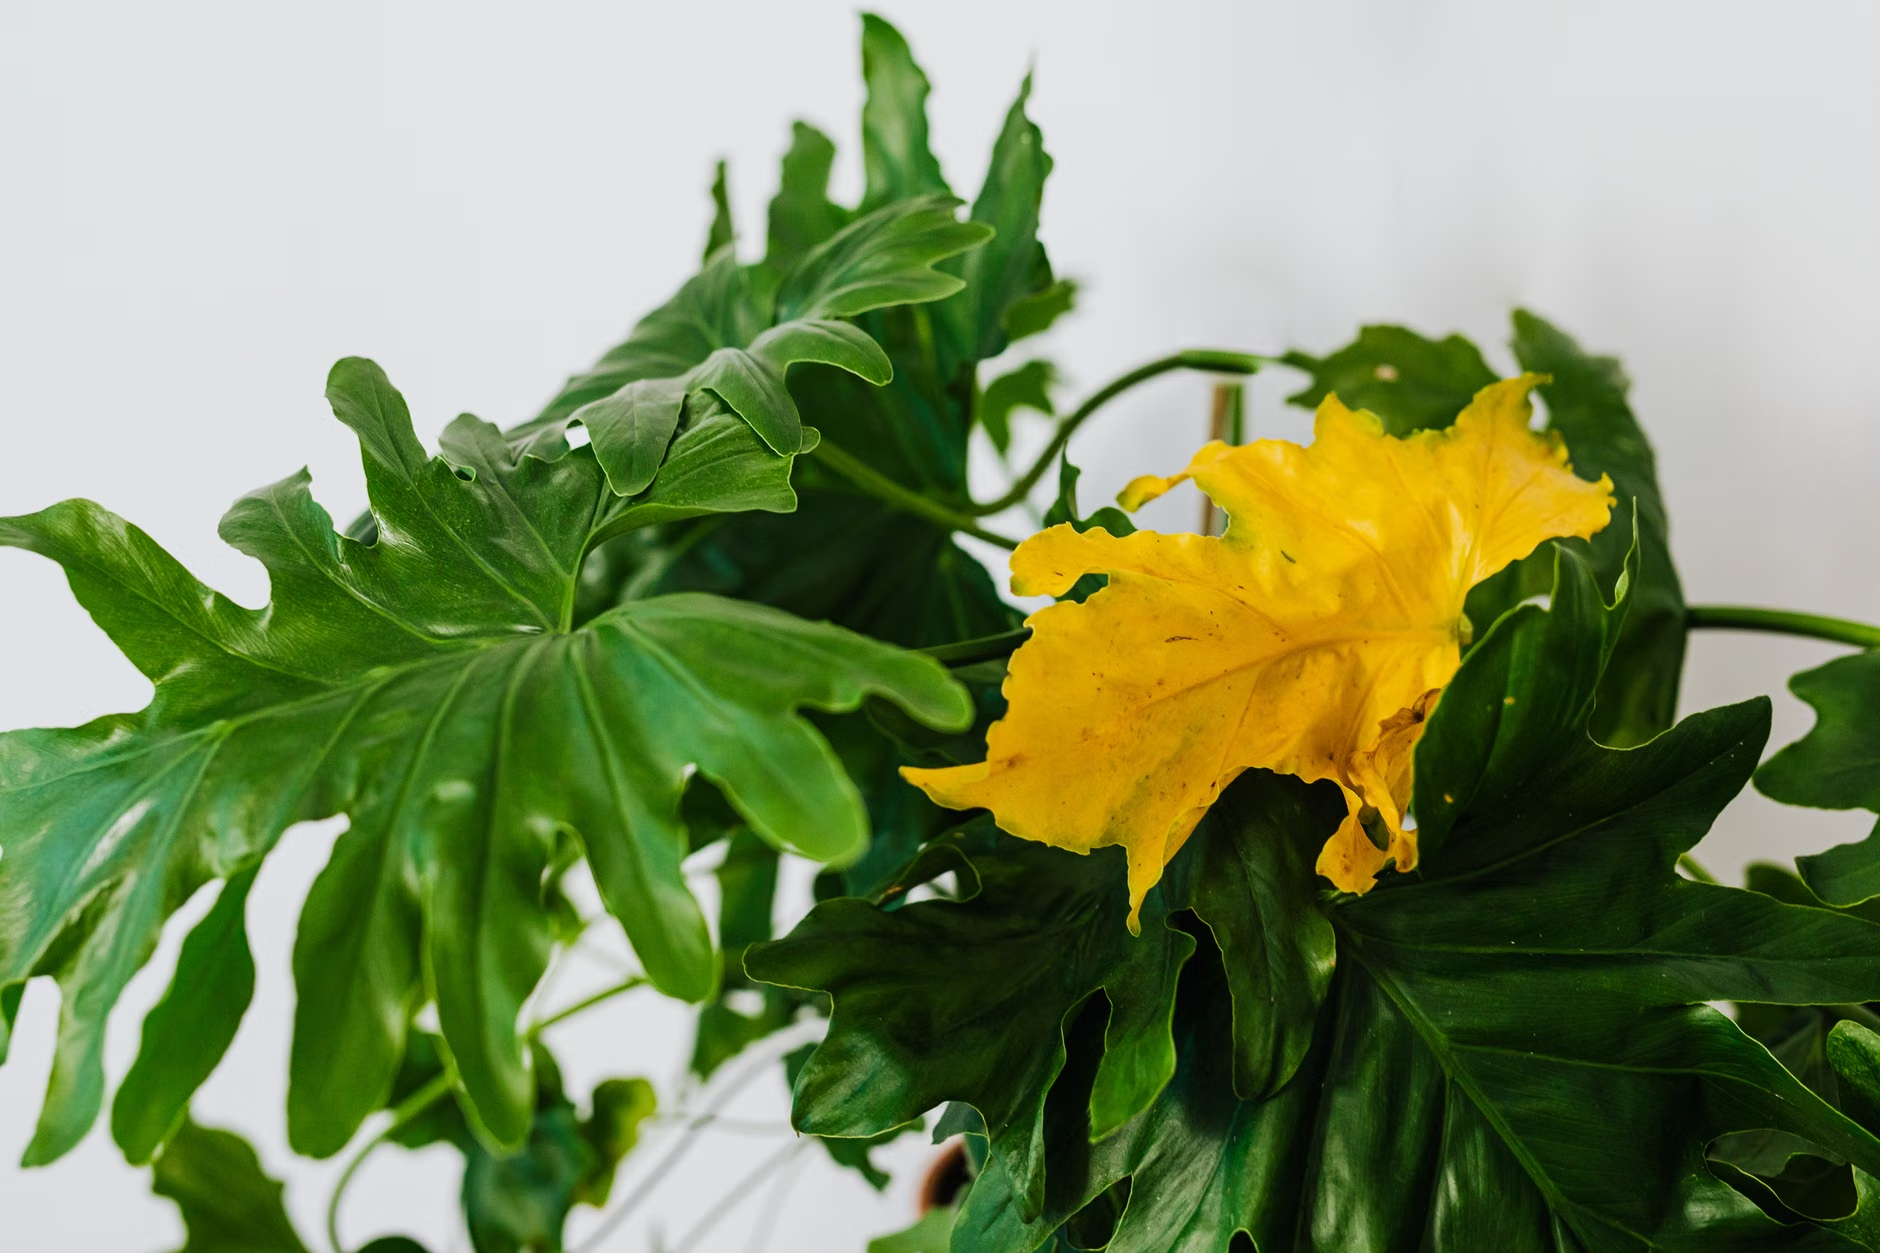
5. Stay on schedule for refreshing your potting/soil (because your potting/soil breaks down)
When your potting/soil is of good initial quality, it will still degrade, over time, into finer particulates. In small pots, this will happen sooner, resulting in your potting/soil becoming compacted, will not have enough drainage, and will show uneven wetting of the potting/soil. So, if your plant appears healthy, but the potting/soil has developed density and crusts. Repotting your plant into fresh potting/soil (even in the same size pot) can make a big difference in how your plant does going forward!
Small Pot Repotting Quick Guide for Troubleshooting Common Problems
| TYPE OF PROBLEM | COMMON MEANING | NEXT ACTION |
|---|---|---|
| The soil surface becomes compacted or crusted over time | Too fine of a mix was used which became tightly compacted when watered and then dried out excessively between watering. | (a) Lightly rake the top 1/2″ to loosen; top dress with slightly larger particle sized material; (b) Review your watering rhythm to determine if you need more or less water each time. |
| Water flows through immediately leaving dry rootball | Either hydrophobic potting mix (such as coco coir) or rootball is potted too loosely causing a very dry condition in the rootball. | (a) Bottom water to hydrate the rootball; next time pot this plant, moisture potting mix before planting and do not let potting mix totally dry out before watering again. |
| Plant keeps feeling wet for a very long time after repotting | Potting container may be too big, or potting mix may be too dense and/or plants are not receiving enough light and/or proper warming temperature. | (a) Try to increase air + light conditions as much as possible; (b) Make sure the container has drainage holes; (c) Consider downsizing your container or switching to a potting mix that offers better aeration. |
| Roots going around the inside edge of the pot very tightly (circular) | Plant is very root-bound; the new roots of this plant will likely have difficulty entering into the fresh potting mix. | (a) Loosen the roots before repotting; (b) If this rootbound condition is extreme, make a few shallow vertical cuts into the rootmass before repotting. |
| Potting mix spills out when watered | Potting mix was filled too high without leaving any room around the rim or excessive force in the stream of water used to fill the pot/ all cause the same result. | (a) Remove some potting mix to create a gap over the rim of the pot so that it fits properly; (b) Water at a slower rate to prevent spilling. |
For indoor repotting without getting fungus gnats, you can reduce the risk: use fresh sealed potting soil, avoid leaving wet potting soil sitting where it will be open to the air, and let the surface dry out a bit each time you water. If you’ve already got fungus gnats, allow the upper layer of soil to dry out a bit before watering again and consider putting in a top-dressing that dries quickly between waterings (consideration on the kind of plant, because some plants will not tolerate top-dressing unless they already have a history of fungus gnats).
Q: Can I put gravel in the bottom of the pot for drainage?
A: You typically do not need to put in gravel for drainage. If there are holes in the bottom of the pot and there is an appropriate potting mix used, putting gravel in the bottom just takes away from the amount of usable potting mix and adding gravel in the bottom of the pot does not fix a dense, compacted potting medium.
Q: Do I need to separate all roots from the root ball before potting?
A: You typically will not need to separate all roots from the root ball before potting. For most houseplants, simply teasing the roots that wrap around the outside and loosening any circling roots should be sufficient. If you remove all of the roots from the root ball, most plants will not be able to tolerate being bare-rooted. Be sure that bare-rooting only occurs if it is absolutely necessary (i.e. severe root rot or only species that are able to tolerate bare-rooting).
Q: My plant is only stable when I compress the soil. What should I do?
A: You can use a stake temporarily or you can use a heavier pot (like terra-cotta) for top-heavy plants. To be sure that your root ball is centered when potting, try to use a chopstick to settle soil around the root ball, because a good balance of the root ball and soil will allow you to create stability through contact, rather than through compaction.
Q: What are the signs of compacted soil in my container?
A: If you observe the following symptoms—water pooling on the surface of the soil, the soil is compacting and pulling away from the sides of the pot, the roots are struggling to grow, and the potting medium remains wet longer than usual—you may have compacted soil in your container. To determine whether your soil is compacted, gently poke the container soil to determine whether it has a dense consistency (not springy and porous).
References
- Royal Horticultural Society (RHS)—How To Repot A Plant
- Colorado State University Extension—Container Gardens
- UF/IFAS Gardening Solutions—Container Media
- UC Agriculture and Natural Resources (UCANR)—Container Gardening Basics
- Iowa State University Extension—Potting Media: Components and Handling
- Westland Garden Health—How To Repot Houseplants