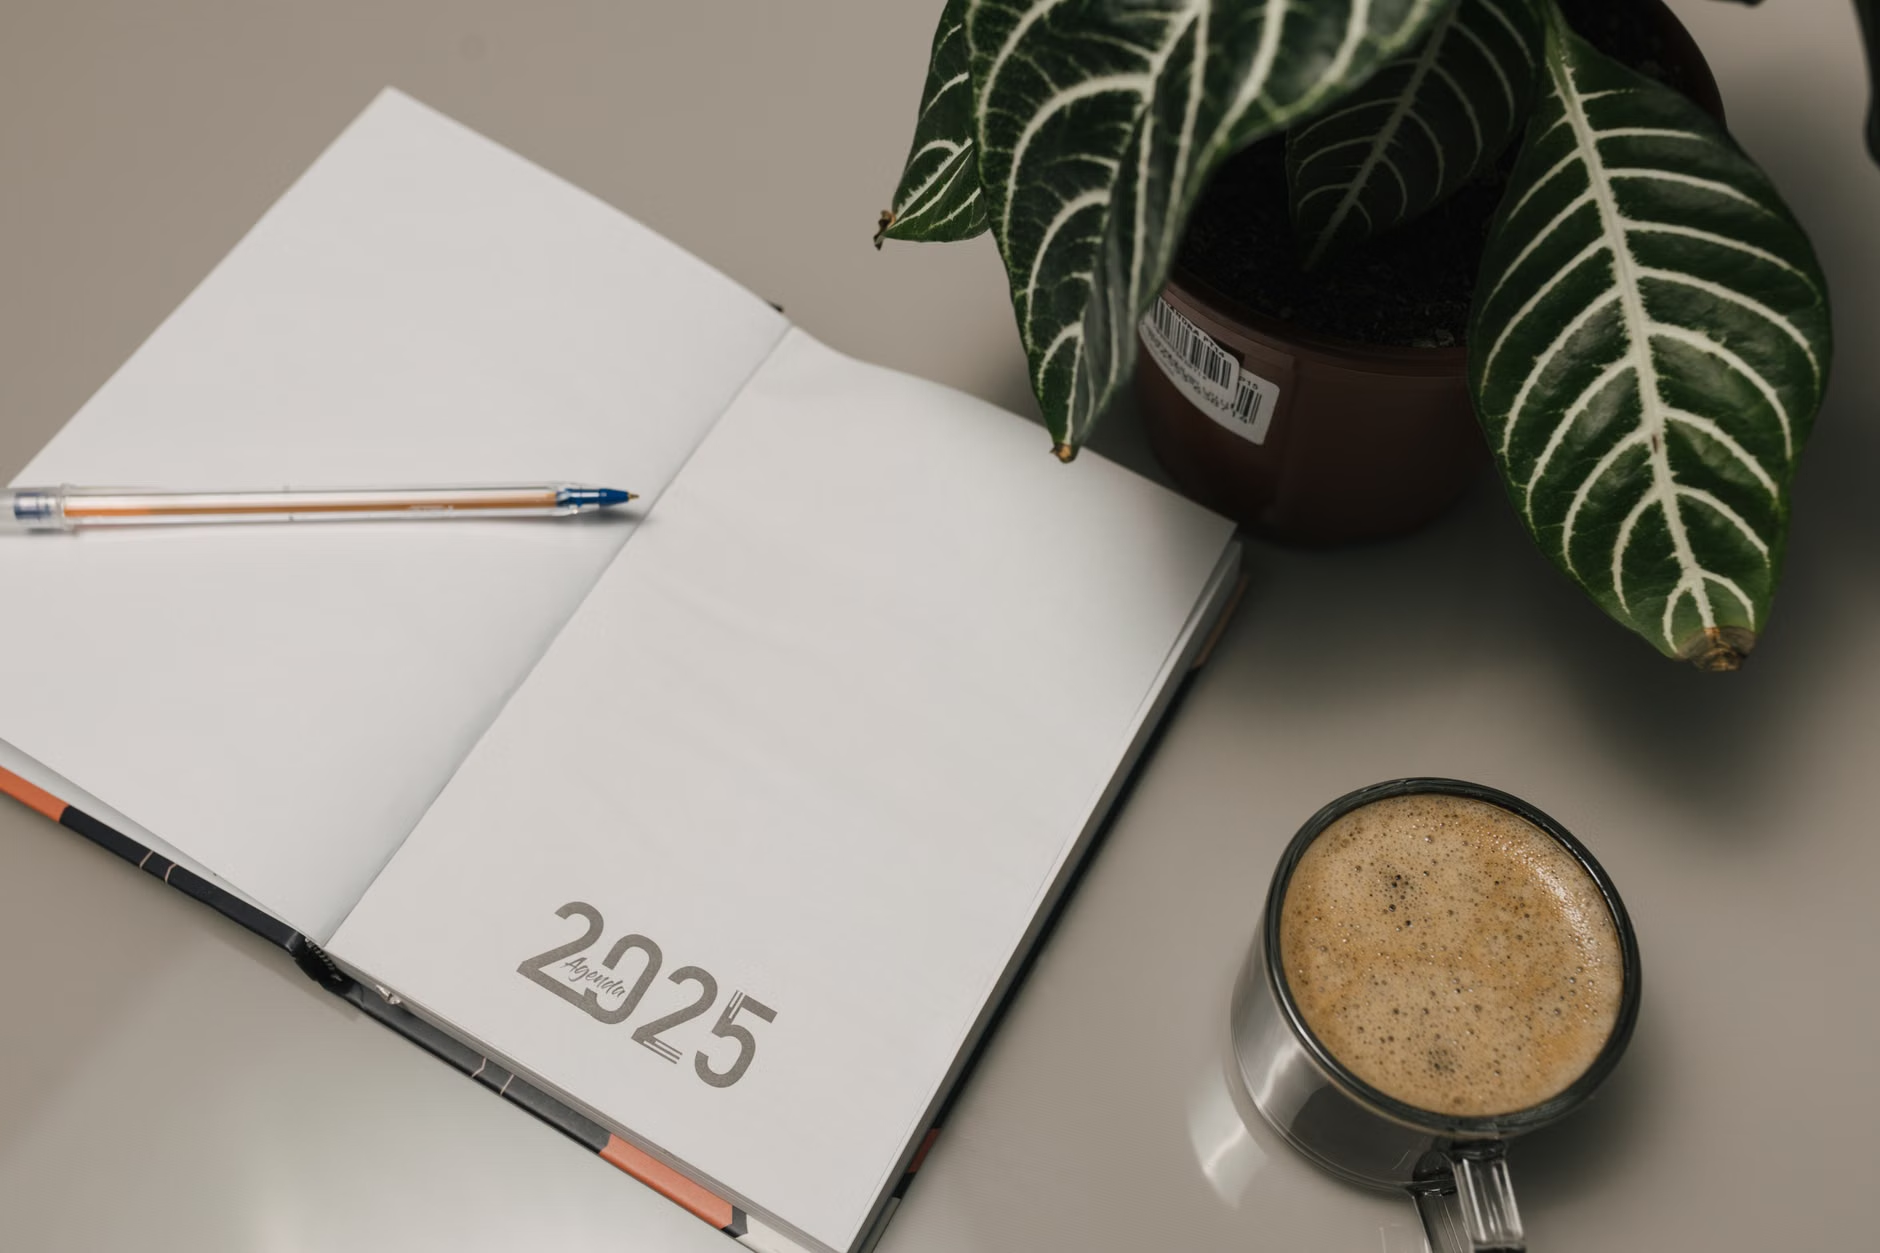
Learn how to tell when a plant truly needs repotting, how to choose the right pot size (without overpotting), and exactly how to repot with minimal stress—plus aftercare tips and common mistakes to avoid.
TL;DR:
- When should I repot?: If roots are circling the pot, flooding water, stunted growth, or soil is depleted/compacted—not just because you feel like it’s been “a year.”
- Spring to early summer is best for most plants—repot only when the plant clearly needs it (woefully rootbound, rot and/or flown-in pest destroyers, broken pot).
- Pot size rule of thumb: up a bar, but only a bar – generally a 1–2” increase in diameter (or the next standard sized plastic pot). Too big and you make it hard to reestablish a healthy rhythm, especially if the soil stays wet too long & rot risks increase.
- Use a pot with drainage and fresh, appropriate potting mix. No rocks/gravel to “improve drainage.”
- After repotting, water enough to settle and give the plant a few weeks to recover (with stable light and leakier waterings).
What “repotting” actually means (and why it helps):
Moving a plant into fresh potting mix—sometimes into a bigger container, or sometimes back into the same size container, refreshed soil and wrestling the root mass. It comes down to restoring healthy conditions in the root zone (oxygen, consistent movement of moisture, and renewed capacity of soil). A thoroughly successful repot will make watering easier (not harder), laying the groundwork for growth that’s steady and predictable.
Repotting is not an elixir, nor a surgery. If the plant can be saved by fixing low light or overwatering issues or pests, repotting CAN certainly help—but
only ALSO addressing potential issues in care.
When to repot: the best timing (and the “don’t repot yet” times)
Best season: spring to early summer (usually)
Most houseplants prefer being repotted at a time when they are actively growing—that is, spring through early summer—to that they can repair and grow new roots more quickly. This doesn’t mean you “can’t” repot in the other seasons, just that it can take longer for the plant to recover and establish new roots when the light and temperatures are lower.
Repot now (any time of year) when you see these urgent issues
- Serious root binding: thick roots circling the wall of the pot, roots forcing the plant out of its pot, the pot is cracking.
- Signs of root rot related to a soggy/rotten/ sour smelling mix (especially if the plant is wilting but the soil is wet)
- A pot that is having drainage issues (no drainage + perennial over watering mess)
- Pests living in the mix (for example, a perennial fruit fly problem) where changing the substrate is part of your solution.
- Recently purchased plant in hydrophobic (water repelling) peat that won’t re-wet properly.
Avoid repotting (or postpone) when you see these issues
- The plant is dormant (often true in winter) and you have no urgent need to disturb the roots.
- The plant is actively flowering or budding (and you’re not handling a problem!), wait until after the bloom has past for less stress on the plant.
- The plant is ailing due to issues that have nothing to do with the pot or root systems (for instance, a severe deficiency of light). Fix the exposure first, fix the watering, then repot if necessary.
How to know it’s time: a quick “repot test” you can do in 2 minutes
- Check watering behavior: If water runs through very fast and the pot feels light again in a day or two (on average indoors), roots may be crowding out soil.
- Look for roots: Check the drainage hole and soil surface. A few roots is common; lots of thick roots is a positive indication.
- Slide the plant out (the real test): Support the stems at the base, tip the pot, and ease the rootball out. If you see “spaghetti” wrapping the exterior wrapping (with little soil visible), it’s time to repot (or more accurately: root-prune and refresh soil).
- Check the soil: If it’s compact, shrunken from the potedges, crusty with salts mixed in, or if it performs poorly with water (not soaking in evenly), fresh mix may be in order—even if you don’t upsize.
How to double-check your gut sense: If the rootball pretty much holds the shape of the pot and there’s still a good bit of loose mix throughout (not just rooted past the outer wall), you can usually wait. If it’s mostly roots, repot soon.
What pot size to choose (without overpotting)
The most common repotting pitfall concerns pot size. Too large a pot holds wet mix beyond what a smaller root system accommodates. That “excess water” lingers long enough to suffocate roots and rot can ensue. A little step up is, by far, the safest move to make in
most cases.- The simplest rule (works for most houseplants) Pick a new pot that’s about 1-2 inches wider in diameter than your current pot (or whatever the next standard pot size is). If you’re already in a big pot, size up modestly. Big diameter jumps lead to a massive increase in time spent with wet soil.
Pot size chart (next pot recommendations) (diameter) [chart goes here]
| Current pot diameter | Next Pot diameter | Why this works |
|---|---|---|
| 4 in | 5-6 in (a small step up) | Small ring of new mix surrounds old mix Your plant grows a little, but with no long drying “moat” in the middle |
| 6 in | 7-8 in (a small step up) | Allows new roots to fill some space, but watering remains predictable Pent up roots but low mess |
| 8 in | 10 in (a small step up) | A step up for your mid-size plant. Only step to 12 inch if the rootball is vast! |
| 10 in | 12 in | Presumably can go a while if you’re just keeping up with moderate growth on a normal tropical foliage plant! |
| 12in+ | Up 1-2 in (maybe same-pot refresh) | Lots of volume takes a long time to dry! Plants often net her better with soil refresh + some root pruning than vatting them into pots quite a bit bigger |
Choose pot size and shape, depending on root system. Shallow, wide-spreading roots (many varieties of succulents, some peperomias): pick a pot that is a little wider, not a lot deeper.
If your plant has a deeper root system (many palms, ficus, etc), you will want a pot that is a little deeper, but again nothing too drastic of an increase of overall volume.
Top heavy plants sometimes benefit from being planted in heavier materials (like terra-cotta). Again be modest with size increases.
Drainage is arguably more important than any other “feature”, so when it comes to your pot choose one with a drainage hole. If you intend to repotting into a decorative pot with no hole, you will want to keep the plant in its nursery pot and simply drop that into the new pot (and empty any collected water).
Checklist of supplies (what to gather before you begin)
- A pot (with drainage) of the right size
- Fresh potting mix, for your plant type
- A saucer or drip tray (and optionally, a riser so that the base of the pot doesn’t sit in runoff)
- Clean pruners/scissors (for dead roots and cleanup)
- A chopstick or similar blunt tool (to tease roots and settle mix)
- Gloves and something to cover your work surface—you’re gonna make a mess
- Optional: a clean bucket or tub to mix slightly damp potting mix in
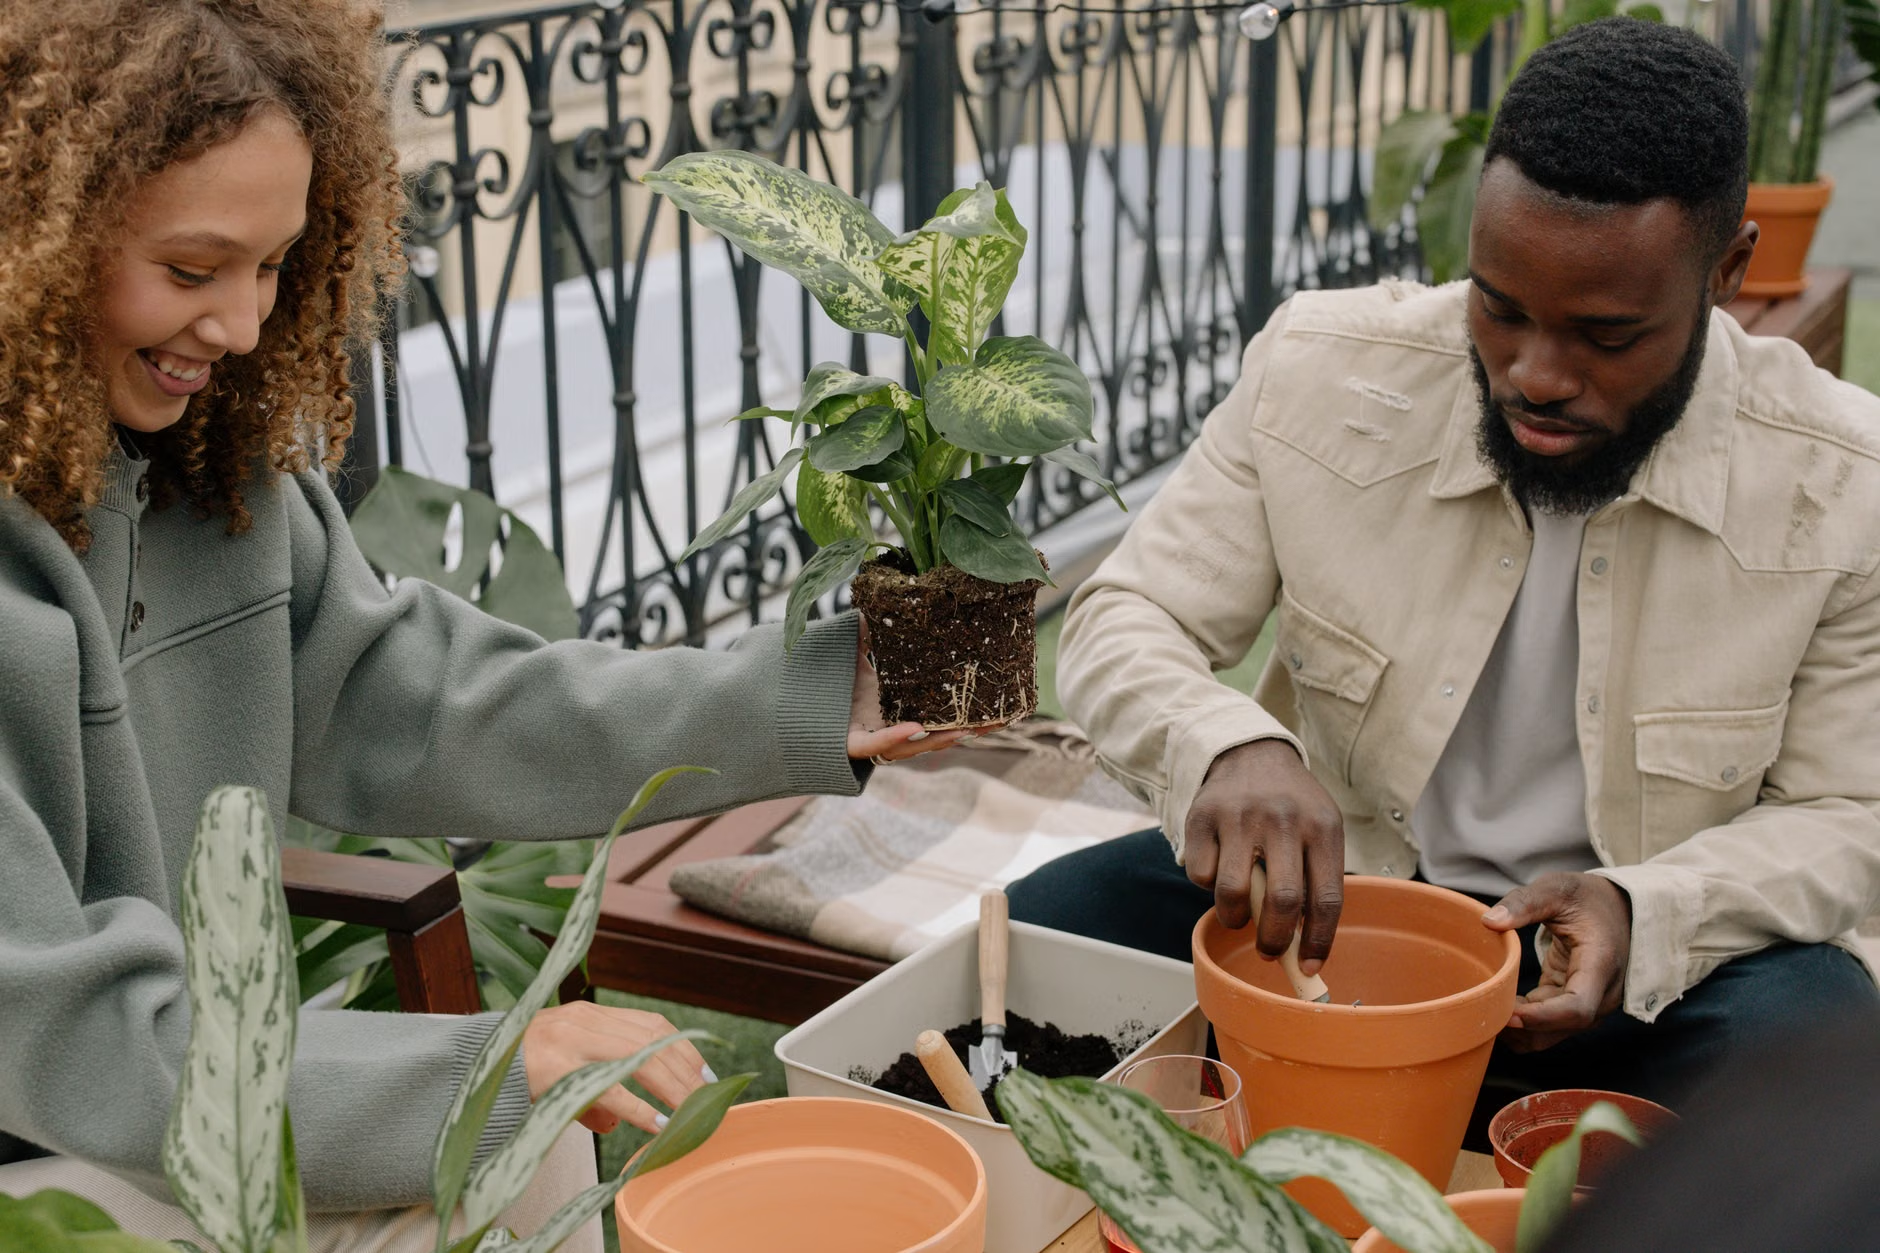
Step-by-Step Repotting, the reliable method
- Plan ahead (optional): If your plant is bone dry you may want to water lightly a few hours before so that it’ll slide out of its current pot easier. Never repot with the mix “
soggy”. - Remove the plant: Tip the pot to one side, and support the plant in the base of your hand. Gently tap the sides to loosen. If it doesn’t want to come out, run a very dull knife along the inner edge (for plastic pots), or squeeze a flexible pot.
- Now inspect the roots: Healthy roots are usually light and firm. Trim back mushy, dark, or hollow roots with clean snips. If you see a tightly-packed spiral of roots, tease and loosen the outermost of/roots so that they can grow out into the new mix.
- Set the planting height: Add enough mix to the bottom of the pot so that the top of the rootball is just shy of the rim (you need to leave room for watering). You want to keep the plant at the same soil level that it was before, not burying the stem deeper!
- Backfill with fresh mix: Add potting mix around the sides, working it in gently with your finger or a chopstick to get rid of large air pockets as far as possible. Be sure to firm it in lightly—do not pack it tight like cement.
- Water to settle: Very thoroughly, and watch for drainage. This settles the mix in around the roots. If the mix sinks down a lot, just pop a little extra in to bring it back to where it was original level (still leaving that little space for watering).
- Clean up, and put the plant back into its normal light (or its more gentle light for a little while, if it’s sensitive) ensuring you don’t make unnecessary moves.
Aftercare:
What to do for the next 2–4 weeks
Watering: Expect to water a little less frequently at first (fresh mix often holds moisture differently).
Water only once that top part of the mix is dry enough for whatever plant you are currently tending to. Pot plants like people – consistency produces comfort. Newly repotted with wee ones and hissy fits in tow? Don’t jump from low light straight into difficult sun.
Fertilizer only a month of proper cleaning that ‘fresh’ state of the mix had plenty sorted for a few weeks. Hold that equine steady for a month or three offers the same staggered preparation, unless you’ve repotted that miss of a mix into a potting mix that states it hates for you to make unnecessary feeding during re-potting? LOL
Humidity and temperature: This is about as much as you can hope for. Slide your snotty childhood into that realm politely. Hissing vents, bitter drafts in particular of your boa constrictor.
That stress thing: A bit droopy for two or three days is a ‘normal’. Alarm bells ring and plaintive Meows start if it gets worse. Those of watering more than normal, under-watering progressively drier than that. Rerouting due to a damaged rootball perhaps better if you want to save your ladyship from her lesser days that might not lend itself easily to a new protocol as listed above.
Get your “Oh my god. It looks worse than what it was before I repotted it. Better fix it for the lady and water it some more on a proper schedule.” Out. Put your pudgy finger in the soil (that or a wooden skewer) until you detect what the mix is able and calculate how long it will take to dry out.
What if you don’t want a bigger pot? (Same-pot refresh + root pruning)
Do the above with a plant in the pot it was designated to bloom. Scrape a bit off a crabby mix. Remove fat sets of circling roots. Turn it into a fresh mix, pot for all that it’s worth until it dies. A boon specially for the rock floors. Constantly repotting a mammoth hauling it around the continent.
Slide your pet out and pick away at the edge some and the bottom of the root ball bereft some of that old mix. Too much of it and the whole thing is ruined. Stupidity renders its state even full of crabapples when its plants galore are simply more of a toy outside of a big box unlike yours?
Trim back a bit at the fishnet circled root ball. Better conservative than aggressive most likely for rescue of your idiots. LOL
Cleaned and refreshed to your looks, the old pot (it’s your slave)
Approximately the same depth soil, native fixings, old state, all killed to retain its former -feel. “-by-pop”. That’s about it.
Water through and return to stable conditions.
Common repotting mistakes (and how to avoid them)
- Choosing a pot that’s too big: This is the fastest route to chronically wet soil and root rot. Size up slightly.
- No drainage hole: Fine for some specialty setups, but high risk for beginners. If you must, use a nursery pot inside a cachepot.
- Burying the stem deeper than before: Really overzealous repotters and upturners can invite stem rot by doing this. Keep the same soil line.
- Packing the mix too tightly: Compresses air out of the root zone. Firm gently, not forcefully.
- Adding rocks/gravel to the bottom: Doesn’t “create drainage” the way most people think and can make things worse, depending on your pot.
- Repotting and then overwatering: New mix + bigger pot = slower drying. Adjust your watering cadence.
- Repotting multiple stressors at once: Avoid repotting, hard pruning, moving locations, and changing light dramatically all in the same week.
Quick troubleshooting: pot size and watering symptoms
Use these symptoms to identify that your choice of pot size makes sense.
What you notice: Soil stays wet a long time even after a thorough soaking; leaf drop or wilting occurs; fungus gnats appear.
Likely root cause: Overpotting; not enough light; mix that’s too dense.
Things enjoyably to fiddle with here: Water the plant less; increase light (with safety in mind, of course!); downsize the plant pot; try a different mix, a more porous one.
What you notice: Water doesn’t penetrate, rather, every time it’s poured on, it runs straight through; plant has to be watered very often.
Likely root cause: A root-bound plant or an excessively aged/hydrophobic mix.
Things enjoyably to fiddle with here: Check the rootball; a root-bound plant can be happily downsized and move to a new container with a fresh mix (and possibly a modestly bigger pot size).
What you notice: Your plant is top-heavy, falling over easily, and it’s tricky to water.
Likely root cause: Plant’s outgrew pot stability due to root mass and foliage.
Things enjoyably to fiddle with here: Move the pot size up one, and/or move to a heavier planter (still, one with drainage).
What you notice: Crusty white goodness on top of the soil, or the rim of the pot.
Likely root cause: mineral salts from water, or fertilizer, due to build-up.
Things enjoyably to fiddle with here: Refresh the top layer (and possibly flush thoroughly) or move to a pot with fresh mix if the build-up is extensive.
FAQ
How often should I repot houseplants?
There’s not a set schedule! Fast-growing plants can “need a bath” every year, while slow growers can go years without repotting. Use “the repot test” where you check the root system, watering drawbacks, and soil condition to see if it’s time for an upgrade.
Do I always need to go up a pot size when repotting?
Not necessarily! If the plant isn’t root-bound but that mix is tired, you can refresh soil in the existing size pot and skip the size up. Go to the next size pot when there’s no room for a gentle tug of the mix!
What’s the biggest jump in pot size I can make and it still be safe??
The biggest that’s still safe for your scale of houseplants is a modest hop to the next size, that’s honestly in the safest range for the plant. Bigger jumps in sizes can increase risk that you’ll create a long-drying soil in the pot. This is of particular concern with lower light and cool homes.
Do I need to tamper with the roots at all when I’m repotting plants?
Only if the roots are tightly circling. Tear a little cautiously at the outer folded tendrils. They will hopefully now grow more outward from the roots of the houseplants. If the rootball isn’t crowded, just enjoy repotting without too much bother.
Can I repot my plants in winter?
Sure, especially since there is a particular problem! Just be prepared that your “repotted little darling” is almost bound to take more time to recover—get used to watering them less when they are decidedly new if you will! Also, try to have good light, a warm room for them to live in, and no drafts and breezes!
Can I give reused pots a bleach? A detergent?
Yes, but do so in a ventilated area, following your label guidance, and rinsing thoroughly prior to Reuse of the container.