How to Rescue a Root-Bound Plant (Signs + a Simple Recovery Plan)
Root-bound (pot-bound) plants can wilt, stall, and dry out fast because their roots have nowhere left to grow. Learn the clearest signs, how to confirm it, and a practical step-by-step rescue plan—including when to tease.
- What “root-bound” really means (and why it causes problems)
- The Recovery Plan: Choose the Right Level
- Step-by-step: how to rescue a root-bound plant
- A realistic recovery timeline (what “better” looks like)
- Special cases and adjustments
- Common mistakes that slow recovery (and what to do instead)
- How can I stop my plant becoming root-bound again?
- FAQ
What “root-bound” really means (and why it causes problems)
A plant has become root-bound (also pot-bound) when the roots have filled most of the container and begin circling the inside of the pot or become densely matted at the bottom within the container. In that confined space water can sluice through in easy gaps, rather than taking time to moisten the roots, and there is only limited access to fresh oxygen, and nutrients in the soil matrix, for the roots. Growth of new top growth may cease because the root system can no longer be expanded.
Root-bound plants are not necessarily dead on arrival—some can cope better in tight spots than others—but chronic overcrowding will lead to tension, watering problems (fast drying) and possible nutrient issues, and repeated wilting. For woody plants, circling roots can become a permanent defect when they keep wrapping like a boa constrictor instead of growing outward. (henderson.ces.ncsu.edu)
Signs a plant is root-bound (what you can see without unpotting)
- A “tired” plant— watering becomes difficult to maintain: the soil dries out too fast, and it wilts way earlier than it used to (even though you water all the time).
- Stunted new growth— smaller new leaves or the plant that just stops growing for weeks at a time during its natural growing season
- Nutrient symptoms that don’t respond well to normal feeding (roots crowded=potting mix depleted AND compacted), appearance of roots out of the drain holes or creeping around the soil surface near the edge of the container (union.ces.ncsu.edu).
- Becoming top heavy, fitsy and tipsy, even lifting itself up off the ground, jack-like, as the root mass expands. (union.ces.ncsu.edu)
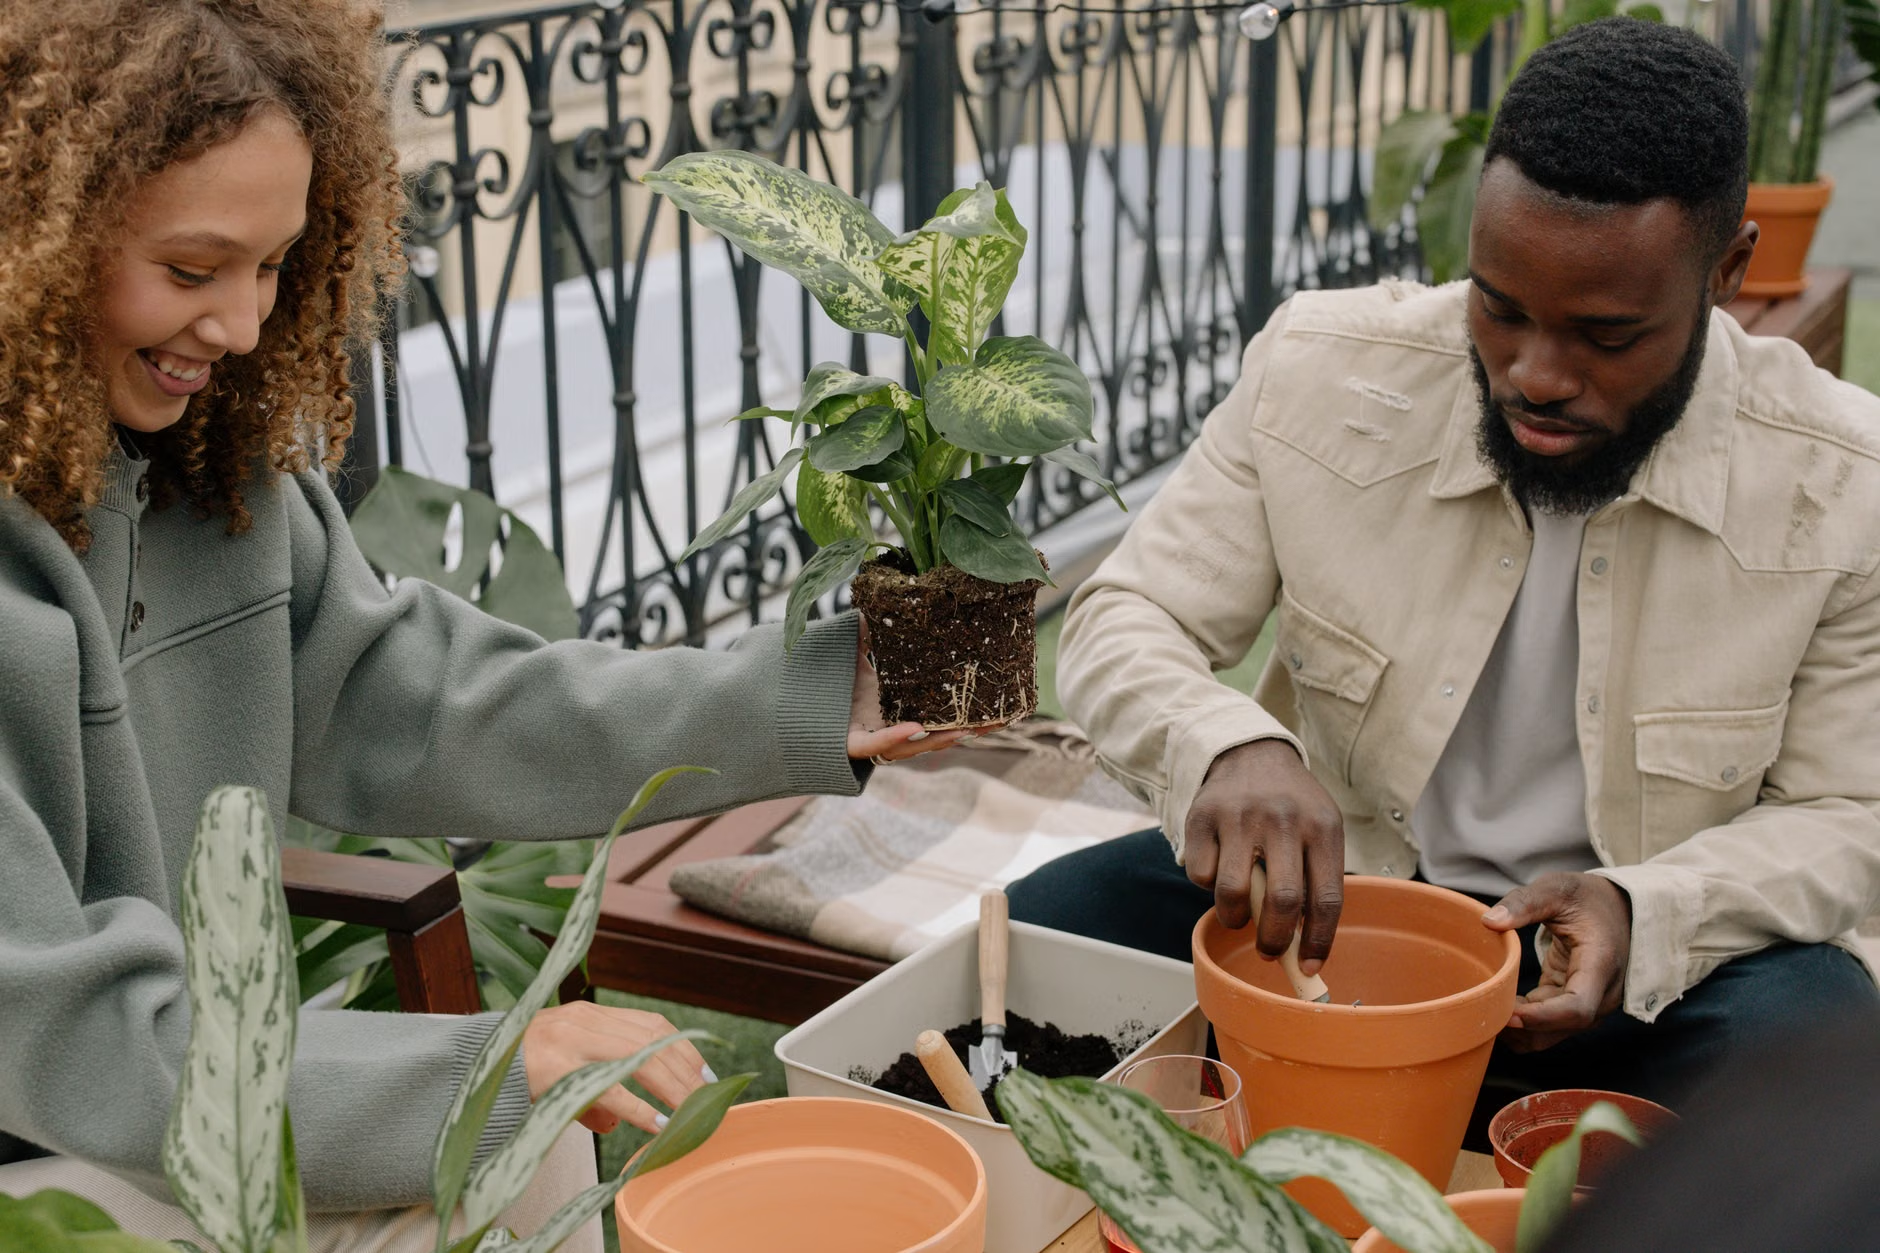
The one sure way to know: 30 sec. root check
- Dampen slightly (optional) If your plant mix is bone dry and pulling away from the pot, giving it a drink ahead of unpotting (1 hour beforehand) will help avoid potential breakage. If wet, skip.
- Gently support plant base and slide The pot over on its side, hand at soil line, and slide the root ball out.
- Look for circling/matting If you see thick roots spiraling across the wall of the pot, or flipping over a dense pad of roots at the bottom State of being root bound. (union.ces.ncsu.edu). Rate severity: Lightly root-bound = some circling roots but soil is visible. Severely root-bound = roots dominate the outer 1–2 inches, and soil is hard to find.
Other Problems: A Quick Differential Diagnosis
- Wilting the day after watering. If your plant is slightly buoyant and the root ball is a tight mass, it may be a sign that your water is running through too fast. If it’s soggy in a pot of dry soil and still droopy, you might have a problem. If wet and droopy—inspect for rot, improve your drainage and watering habits.
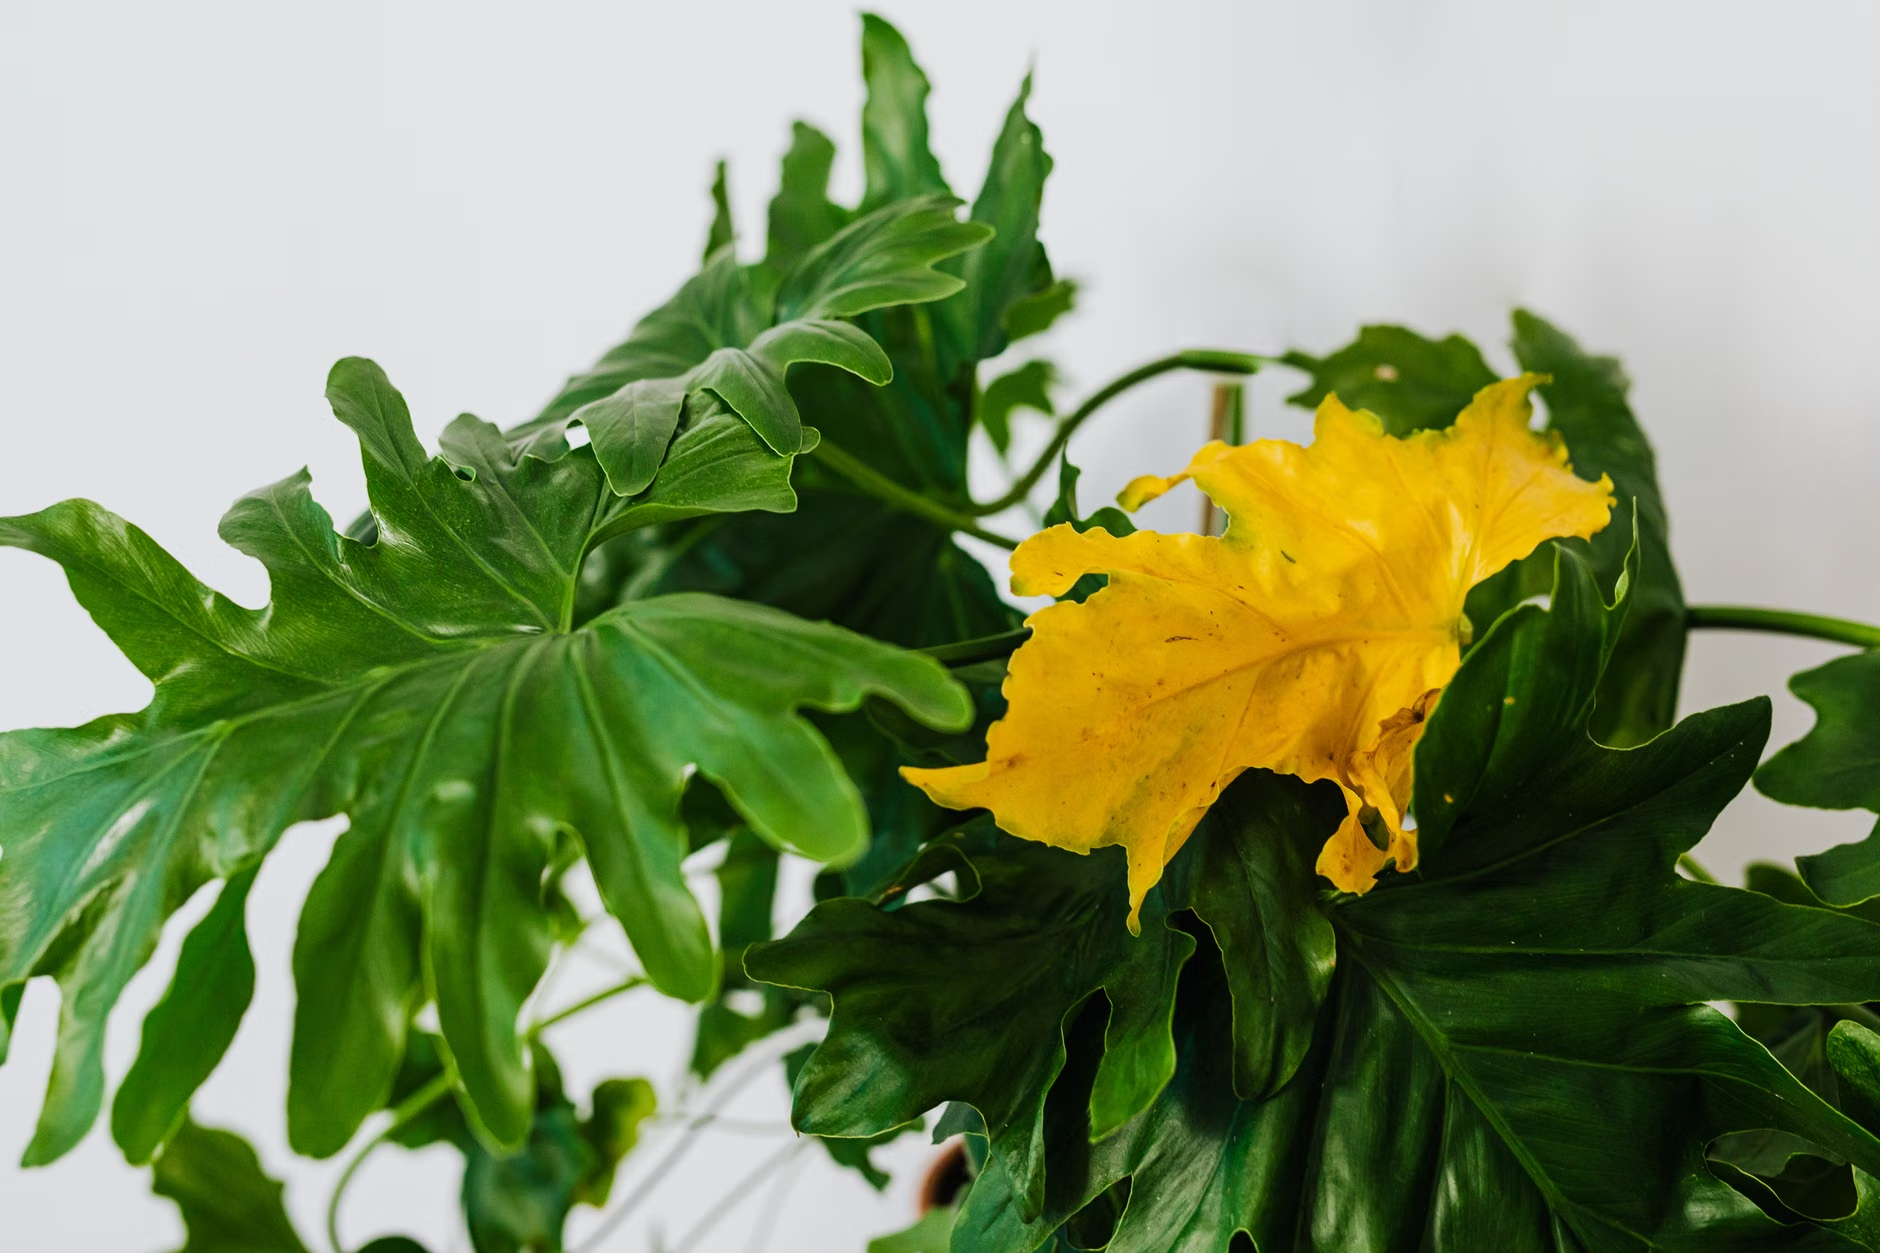
- Yellow leaves. If wilted and a wet mix clued you in to root-bound and elderly, you can take a closer look at the roots to make sure none have overstepped their pot or gotten mushy and dark. If you find rot or soggy roots, you may be able to remove the rotten part and repot into a light, airy mix.
- Stalled growth. Roots visible from the “leakage” condition or circling the pot tell you that the plant is root-bound. If it’s in a low light or cold area of the pod and not actually dying, you’ll have to take care that you don’t disturb the roots too much. The best time to up-pot is when the plant is actively growing.
- Crusty surface + water beads up. If the root ball is dry and hydrophobic because crowded, bottom-water your potted plant a little, forget the rest, gently retop it in a fresh, airy mix. If it’s peat-heavy and dried out unilaterally, you’ll need to chop.
The Recovery Plan: Choose the Right Level
Root-bound in Degrees
- Level 1 (mildly root-bound). Up-pot one size and and “tickle” (carefully tease) three to five circling roots outward. (Do not remove!)
- Level 2 (moderate). Up-pot one size larger, tease the outer mat of roots, and if serious, make a few vertical root-ball cuts to stop spiraling.
- Level 3 (severely root-bound). These plants are the worst of the worst. You can try a controlled “root-prune,” this simply means to trim and/or slice the outer layer of the root to eliminate circling, then repot. Advice for pot-bound plants often mentions teasing out and possibly trimming, and if using the same pot, recommended practice is pruning up to about a quarter of the outer roots. (rhs.org.uk)
- Level 4 (overgrown clumps like snake plant, peace lily, some ferns): Divide into multiples rather than forcing one plant into an ever-larger pot.
Step-by-step: how to rescue a root-bound plant (houseplants and patio containers)
1) Pick the new pot size (don’t overpot)
A bigger pot isn’t always better, and for many container plants moving to a pot that’s only slightly larger allows the root zone to dry out at a healthy rate—a common rule of thumb is going about 1–2 inches wider in diameter (or the nearest “one size up”). Over-potting can hold unused soil wet longer and lead to stressing and rot. (rhs.org.uk)
2) Prepare small tools and workspace
- a new pot, ensuring there are drainage holes, or you reprise the old one if root-pruning
- fresh potting mix suitable for the cultivar, but don’t use heavy garden soil in pots
- SCISSORS that have been cleaned with alcohol is ideal for trimming any roots to be snipped off
- gloves, and a tray or newspaper to protect surfaces from dirt. A chopstick and fingers could help tease roots free.
Note: spraying blades with rubbing alcohol before using them on the next plant will help minimize the spread of disease.
3) Unpot and inspect the roots (this information will help decide what approach to take)
- Slide plant out and take a look. If the sides and bottom of ball show good, active roots they’ll be fairly firm to touch, somewhat yellow/fresh versus brown to black and mushy (or hollow).
- If you see thick “spirals” circling the pot, you’ll want to turn them outwards so new roots can grow into fresh mix if they hit dirt, not into a circle at the bottom. See it here.
4) Loosen, then prune only if you must
So first work with the least aggressive method, gently pulling and teasing with fingers at the sides and bottom root pancake, working on the roots circling the pot wall. If that’s not enough, then with a very clean knife make 3-4 vertical gash cuts through the side rock into the top of the ball and lightly rough the bottom. This approach is also used on container-grown woody plants. (content.ces.ncsu.edu)
If you’re not downsizing, controlled root pruning can be useful (for large houseplants you can’t size up). Remove a thin outer layer of roots and potting mix and repot with fresh mix. A commonly used guideline is pruning up to about 25% of the outermost roots when refreshing a pot-bound plant in the same pot. (rhs.org.uk)
5) Repot at the same depth and eliminate air pockets (without compacting)
- Add a base layer of mix, then place the plant so the top of the root ball sits slightly below the rim (for easy watering space). (rhs.org.uk)
- Maintain the same soil line: don’t bury stems or crowns that were above the soil before removing.
- Backfill around the sides with fresh mix, gently firming to eliminate large air gaps but don’t tamp hard.
- If you removed surface roots/mix, add just enough fresh mix to lightly cover exposed roots—don’t mound the soil up against the stem/trunk. (rhs.org.uk)
6) Water once thoroughly, then switch to “recovery watering”
Right after repotting, water until you see water exit the drainage holes—this settles the mix and confirms it’s hydrated throughout. Then, for the next 1–2 weeks, be extra careful watering vs. normal because the plant temporarily has fewer effective roots while regrowing into the new mix. This “don’t keep it soggy” approach is especially critical if you moved up in pot size. (rhs.org.uk)
7) Give Low-stress Conditions for 7–14 Days
- Light: bright, indirect light is usually ideal (avoid sudden hot sun that increases water demand).
- Temperature: keep stable—avoid cold windowsills and heating vents.
- Humidity (optional): modestly higher humidity can reduce leaf stress while roots regain their footing.
- Fertilizer: wait until you see signs of new growth (often a few weeks). Many pros recommend delaying fertilizing after repotting to lessen the shock to freshly disturbed roots. (thespruce.com)
A realistic recovery timeline (what “better” looks like)
| Time after repotting | What you might see | What to do |
|---|---|---|
| Day 0–2 | Leaves may droop slightly (normal transplant stress) | Keep out of harsh sun; don’t fertilize; monitor moisture |
| Week 1 | Wilting should be less frequent; soil may dry at a more normal pace | Water when the plant indicates it needs it (finger test/pot weight) |
| Weeks 2–4 | New leaves or new growth points begin (varies by species and season) | Gradually return to normal light; begin light feeding only if actively growing |
| Month 2+ | More consistent growth; improved vigor | Maintain pot-size discipline; plan the next check in 6–12 months |
Special cases and adjustments
If it’s winter (or the plant is semi-dormant)
Most houseplants handle repotting best during active growth (often spring into early summer), but severe root-binding can justify repotting outside the “ideal” season. If you must repot in winter: keep the pot increase modest, avoid heavy pruning, and be extra cautious with watering because growth is slower in lower light. (bhg.com)
If the plant is flowering (or about to)
If the plant is healthy enough to wait, postpone major root work until after flowering to reduce bud drop and stress. If it’s badly root-bound and declining, repot anyway—but keep it gentle (tease more, cut less) and keep conditions stable afterward.
Succulents and cacti (rot risk after disturbance)
Use a gritty, fast-draining mix and a pot with excellent drainage. Minimize root tearing; remove only obviously dead roots. Some growers wait a while after repotting before the next full watering (species and conditions vary). When in doubt for the first week, go drier to avoid rot.
Trees and shrubs going into the ground (root-bound nursery stock)
Where “working with plant material of commercial origin” or otherwise container-grown woody plants are concerned, incorporating their correction when planting helps to avoid most subsequent defects (see also our introduction to general issues regarding tree and shrub planting in the home landscape), and practical guidance for container-grown trees includes having someone shave off or slice circling roots around the edge and bottom (as needed), and then making several radial slices on the (remainder of the) root ball in order to encourage those roots to grow outward perpendicularly into surrounding dirt.
And: keep a maintop root flare/root collar above adulational dirt or mulch; planting the maintop too deep contributes to (decline, tipping, and other problems), but with trees in particular, is even associated with girdling roots and other issues.
Common mistakes that slow recovery (and what to do instead)
- Jumping to a much bigger pot means an increased chance of waste in wet soils, so go slightly bigger instead.
- Failing to address circling roots means the plant remains spiral and tries not to bear down or start anchoring into new soil as soon, so tease and/or slice to redirect circling roots outward instead.
- Packing the soil tight means reducing oxygen, and is no good; firm in gently, just don’t tamp down hard.
- Fertilizing straight away: can upset roots that have been disturbed, wait until you see some new growth start. (thespruce.com)
- Repotting and then keeping constantly wet: the recovery roots need to breathe and wet constantly will drown them water thoroughly once and then water to suit plant and its drying out. (rhs.org.uk)
How can I stop my plant becoming root-bound again.
- Do the “slide-out check” once a year and in the season – taking the plant out and looking at the botty for roots circling within is vital before it becomes serious.
- When you up-pot go only one size at a time , rather than many sizes at a leap. (rhs.org.uk)
- Buy better plants when you do. Upon visiting you nursery, slip the plant gently out of its pot and be sure not to select plants encased in circling roots, or so bound that roots over-run the holes in pots. (union.ces.ncsu.edu)
- If your plant is woodier, examine the roots and prune any defects promptly before the habit of circling roots becomes established. (henderson.ces.ncsu.edu)