Why Your Plant Is Not Growing: The 6-Factor Troubleshooting Checklist
Use this practical 6-factor checklist to pinpoint why a houseplant (or container plant) has stalled—then fix the real limiting factor without guesswork.
TL;DR Don’t try to change five things at once. Pick the most likely limiting factor, tweak it, and wait for two to four weeks to see what happens.
Most of our “not growing” problems really come back to light, water, roots, soil/oxygen, nutrients (and salts), or environment (temperature/humidity/airflow).
In low light, the plant uses less water, which means your plant may be more prone to overwatering even if you water “normally.”
Root problems can simulate underwatering; your plant can wilt and die in damp soil if its roots are rotten or gasping for air.
If unsure, measure; try a simple light reading to begin with, pot-weighting to verify watering needs, and a thermometer/hydrometer to monitor the room.
When that lovely houseplant “isn’t growing,” the quickest way to fix it is to drop the confusion and pinpoint the single factor most limiting growth. Plants are generally poised to endure rather imperfect care—until one of their basic needs dips below the minimum. Here you have a quick-and-dirty six-factor checklist you can run through in ten minutes or so, and some specific fixes you can monitor over time to verify.
Before you troubleshoot: make sure it’s really “not growing”
Check the calendar and the plant’s natural cycle; many ordinary houseplants may take on a winter rest when they receive less light even indoors.
- Look for growth in the right place: some plants grow most of their roots before sending out new leaves (especially after potting; the graphics below are ALL rooting).
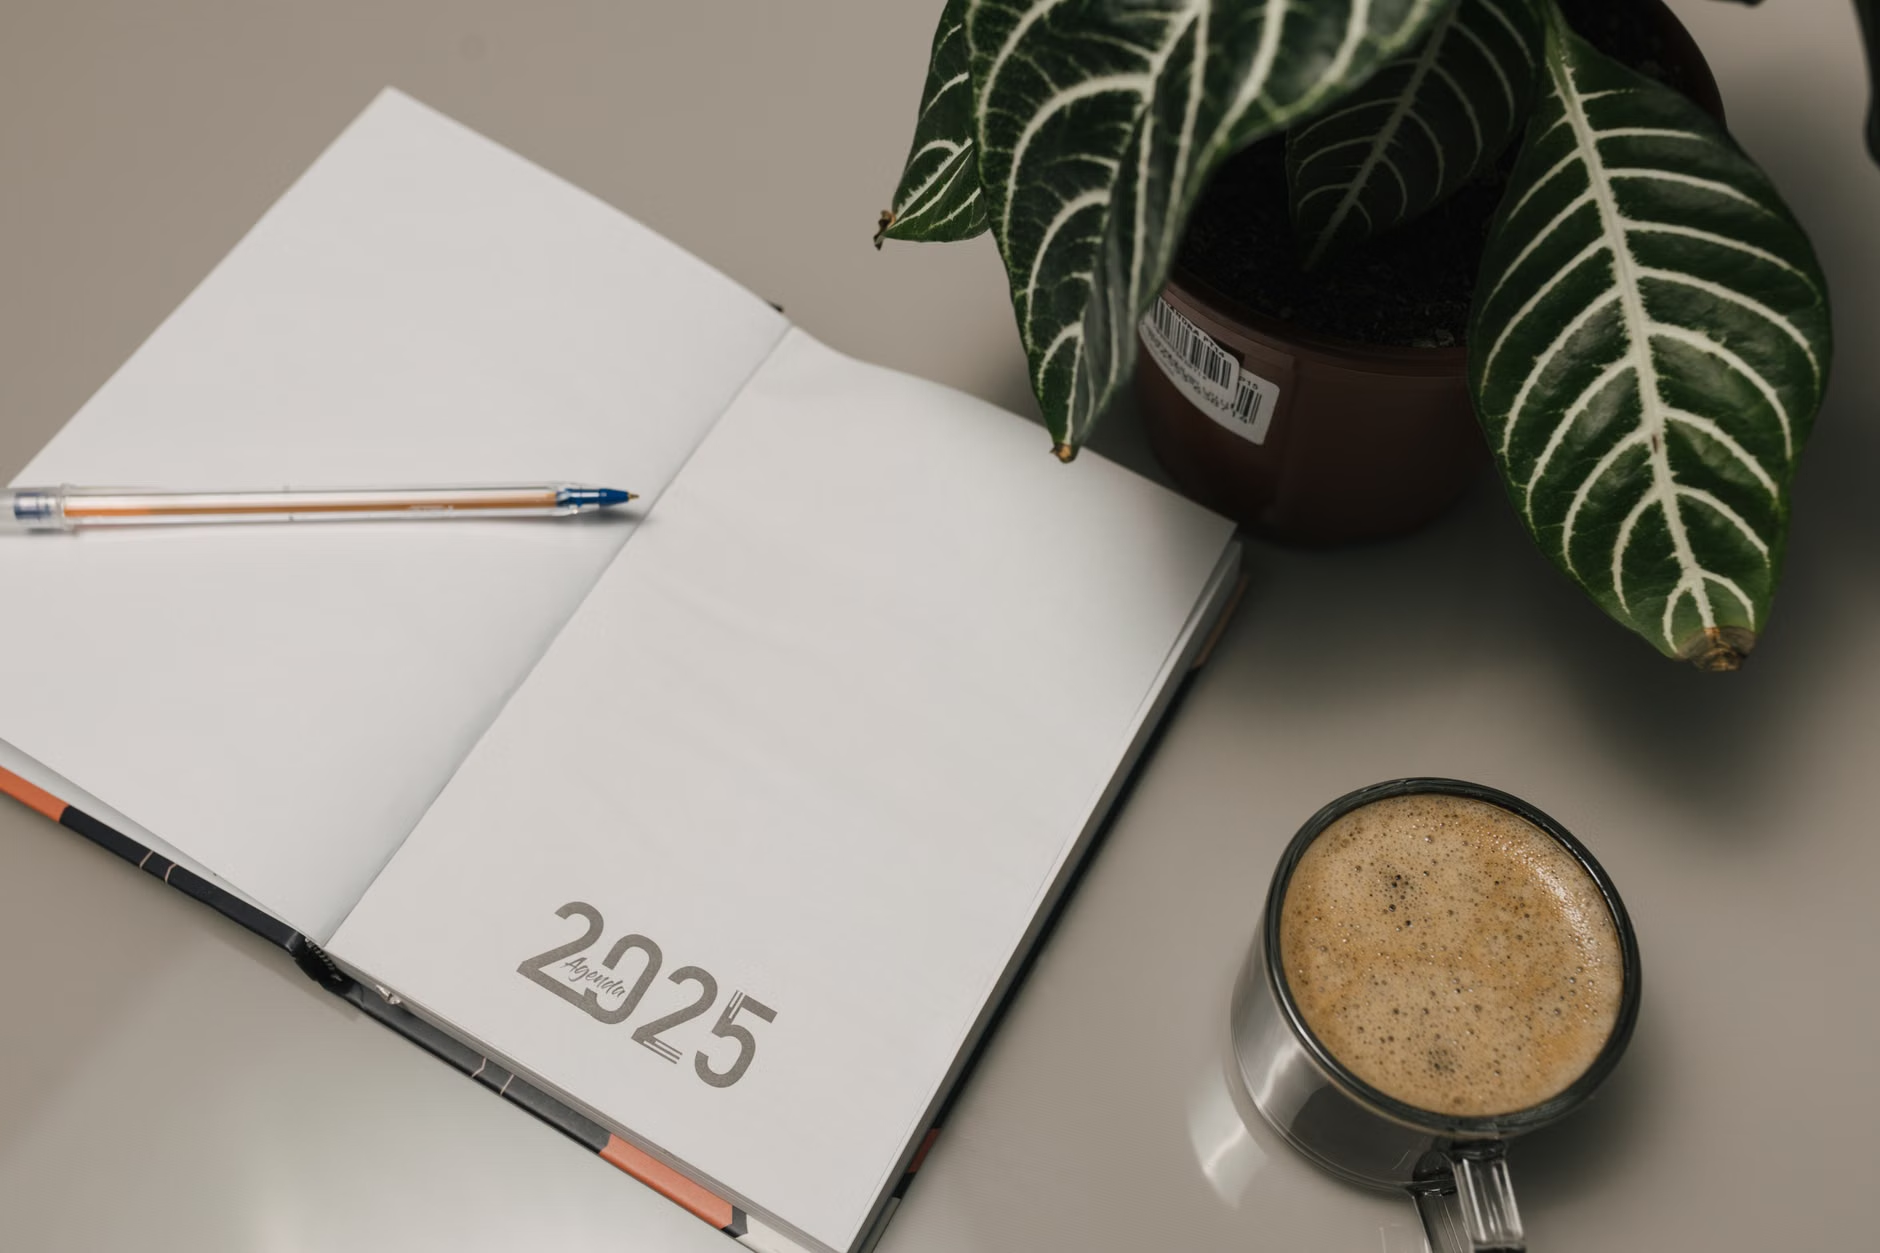
- Use a baseline so you’re not simply relying on your memory: take a photo today, then another every 7 days from the same angle, and if you can, measure one stem (or count leaves).
The 6-factor troubleshooting checklist (fast triage)
| Factor | Fast symptom clue | Quick check (1 minute) | First fix to try |
|---|---|---|---|
| 1) Light | Long, weak stems; little blooms, small leaves | Is that farther than you think, from a window? Breeze blocked by trees/ buildings/ curtains? | Try moving closer to a bright window or add a grow light, add dark time at night, too. |
| 2) Watering | Wilting then dropping leaves/patterns. Risky for too dry or too wet. | “Finger test + pot weight”. Does it feel wet after several days of finger digging? | Water well only when appropriate, empty saucer always. |
| 3) Roots + pot size | Dries out fast, stunted, roots circling pot edge | Roots tight with little soil between; roots coming out of drainage holes? | Repot to one size up with fresh mix; is it stable and well-fed? |
| 4) Soil structure + oxygen + drainage | Soil stays wet; fungus gnats; musty smell | Is water pooling on the surface or running down sides? Does the pot have drainage holes? | Use a well-aerated potting mix, and make sure there are drainage holes in the pot; don’t put “rocks in the bottom.” |
| 5) Nutrients + salts | Very slow growth; pale leaves; brown tips; white crust on soil/pot | When did you last fertilize? Are there crusty deposits? | Hold off on feeding if light is low; be sure to flush salts; resume gently feeding when active. |
| 6) Environment (temperature/humidity/airflow) | Leaf edges crisp; buds drop; growth stalls near vents/windows | Is it in a draft, near a heat register or cold glass? | Move to a stable place; raise the humidity locally; avoid hot/cold blasts. |
Factor 1: Light (intensity, duration, quality)
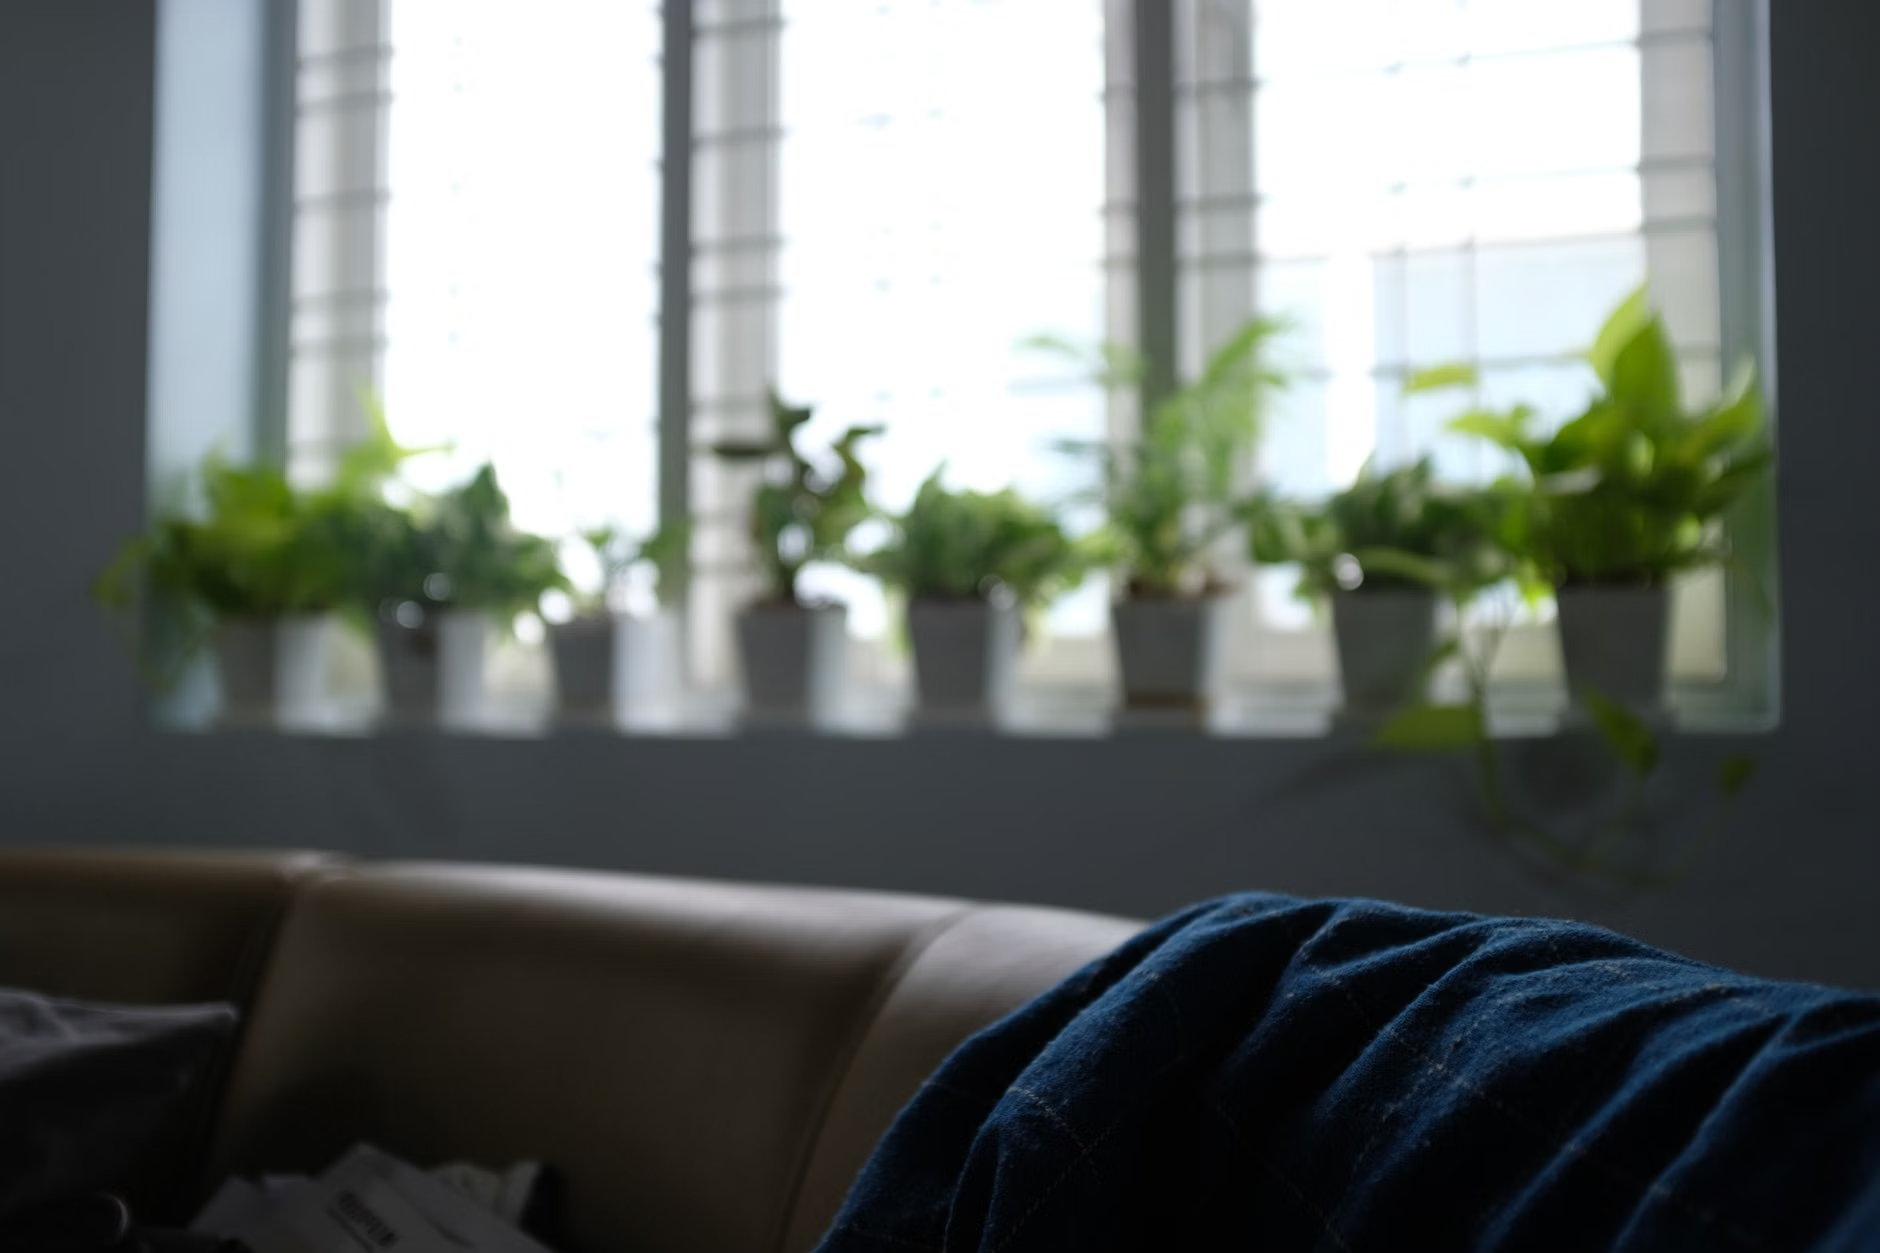
Light is the commonest “silent limiter”. Many spaces we call bright are paltry light levels for photosynthesis. If your plant has stalled, view light as suspect #1—especially in fall/winter or it has been placed further from the window). Not enough light often looks like: lanky growth, longer gaps between leaves, smaller new leaves, fewer/no flowers and leaning towards the window. Too much direct light can look like: bleached patches, brown crispy areas, wilting leaves if moved close to a sunken window. Do the shadow test at midday: a strong shadow indicates strong direct light, a fuzzy shadow indicates bright indirect light, and little to no shadow means it’s low light.
Check distance: light drops off quickly, so if your plant is several feet back of the window, it could be in “low light” even if the room feels bright.
Rotate your plant weekly (a quarter turn). If it’s leaning, that’s one way to avoid one-sided growth while it’s correcting itself on light.
Factor 2: Watering (not frequency, root health is the goal)
Improper watering is the most common reason potted plants fail. The tricky part? Over-and underwatering can cause similar signs since both can mess up the plant’s root zone. Don’t live by a watering schedule; water when the plant needs it, when appropriate “pot size” and light conditions permit, and based on how quickly or slowly the mix dries out in-between waterings.
- Overwatering pattern: would look like soil remaining damp for many days, unnoticed and fungus gnats, yellowing of lower leaves, and growth noticeably slows.
- Under watering pattern: soil pulling away from pot and becoming very dry, leaves drooping, and no new growth until moisture arrives.
- Warning: the plant can droop even in wet soil if the roots are rotting or starved out of oxygen—adding more water to that won’t help. Use two checks before watering: (1) finger test a couple inches down, and (2) pot-weight test (lift it). With practice, “dry” and “wet” feel dramatically different.
- When you do water, water thoroughly until excess drains out. Then empty the saucer/cachepot so roots aren’t sitting in water.
- If the mix has become so dry it repels water, re-wet gradually (for example, water, wait, then water again) rather than flooding once and assuming you soaked it in.
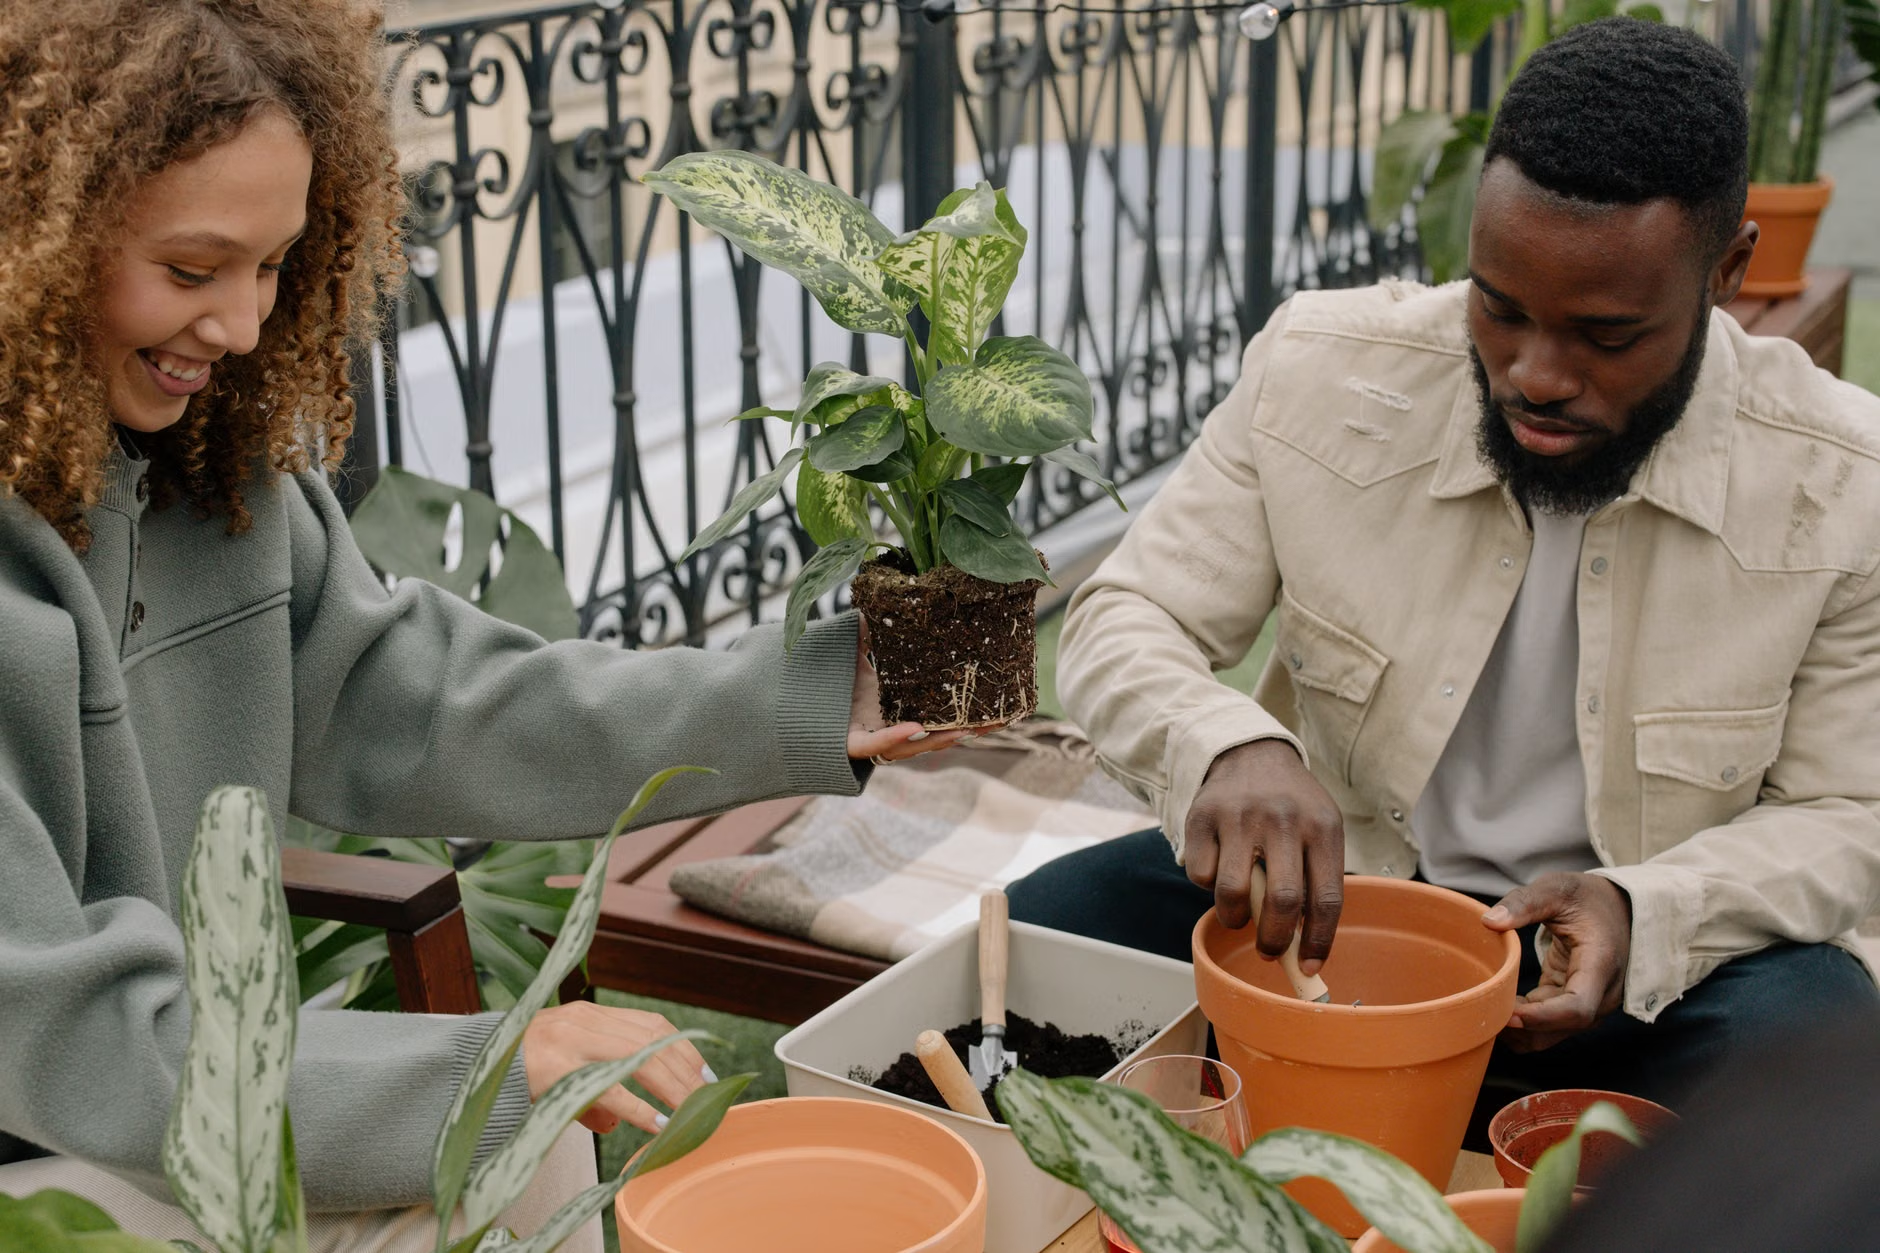
Factor 3: Roots and pot size (rootbound, roots damaged, or transplant shock)
A plant’s food factory (the top) can only grow as quickly as its roots can deliver them with water and oxygen. If your plant is drying out unusually fast, if it needs water daily, or is stalling despite good light, check if it has outgrown its pot—or if its roots aren’t healthy.
- Slide the plant out (support stems, tip gently): healthy roots are typically firm; rootbound plants often show tight circling roots around the outer edge.
- Look for roots coming out of the drainage holes or a root mass of the shape of the pot with little soil left in ‘tween—both indicate it’s time to repot.
- Repot “one size up” (not a huge jump). A pot that is too large will stay too wet too long and heels, rot or other problems are more likely.
Factor 4: Soils, oxygen, and drainage (the “hidden” butt-kicker).
We think of roots needing water, which is true enough but they also kind of need air! If your potting mix doesn’t have a good structure (too compacted, broken down, permanently packed into a pot with no drainage), the roots can suffocate and you end up with slow growth, yellowing, and a plant that just seems ‘off’ regardless of how carefully you water it.
Red flags: Water pools on top before soaking in. Soil stays wet for a shockingly long time as (especially if it smells musty). You may even have fungus gnats or be forced to water frequently despite the soil still being wet.
Drainage holes: And those nifty Decorative pots? Forget it, you are water logging your plant with no warning unless you eliminate that horrific “debacle” pot with holes entirely and use a pot-with-holes inside of it.
Take the pot, and confirm it has holes. If it doesn’t, learned “pot-in-pot” method, where Nursery pot, with pots with holes (just like your plant deserves), has been moved inside the delightful Decorateive cover pot.
Now, check for compaction. If the surface is rock hard like that sponge that never quite rehydrates, OR, the opposite and mud-like and airless, you are going to need to do a refresh on the mix. And skip the myth of adding in rocks/gravel or what have you at the very bottom. That usually (maybe usually not) doesn’t do what folks think it does to oversee a drainage scenario, and can mean a perched water zone in detached portions of the indoor growing container mix.
Factor 5: Nutrition — and the (common) companion issue of fertilizer salt buildup
The health of your plant might feel off, the growth slow, and it can be tempting to blame your fertiliser. Sometimes it is, but very often low light or root stress is to blame and extra fertiliser is just adding salts that further damage roots. What we want is balanced, steady nutrition during active growth, not a flower bed blaring in flashing neon. In an indoor plant, the sign of a strong and healthy plant, think ‘until a season’ not ‘a week.’
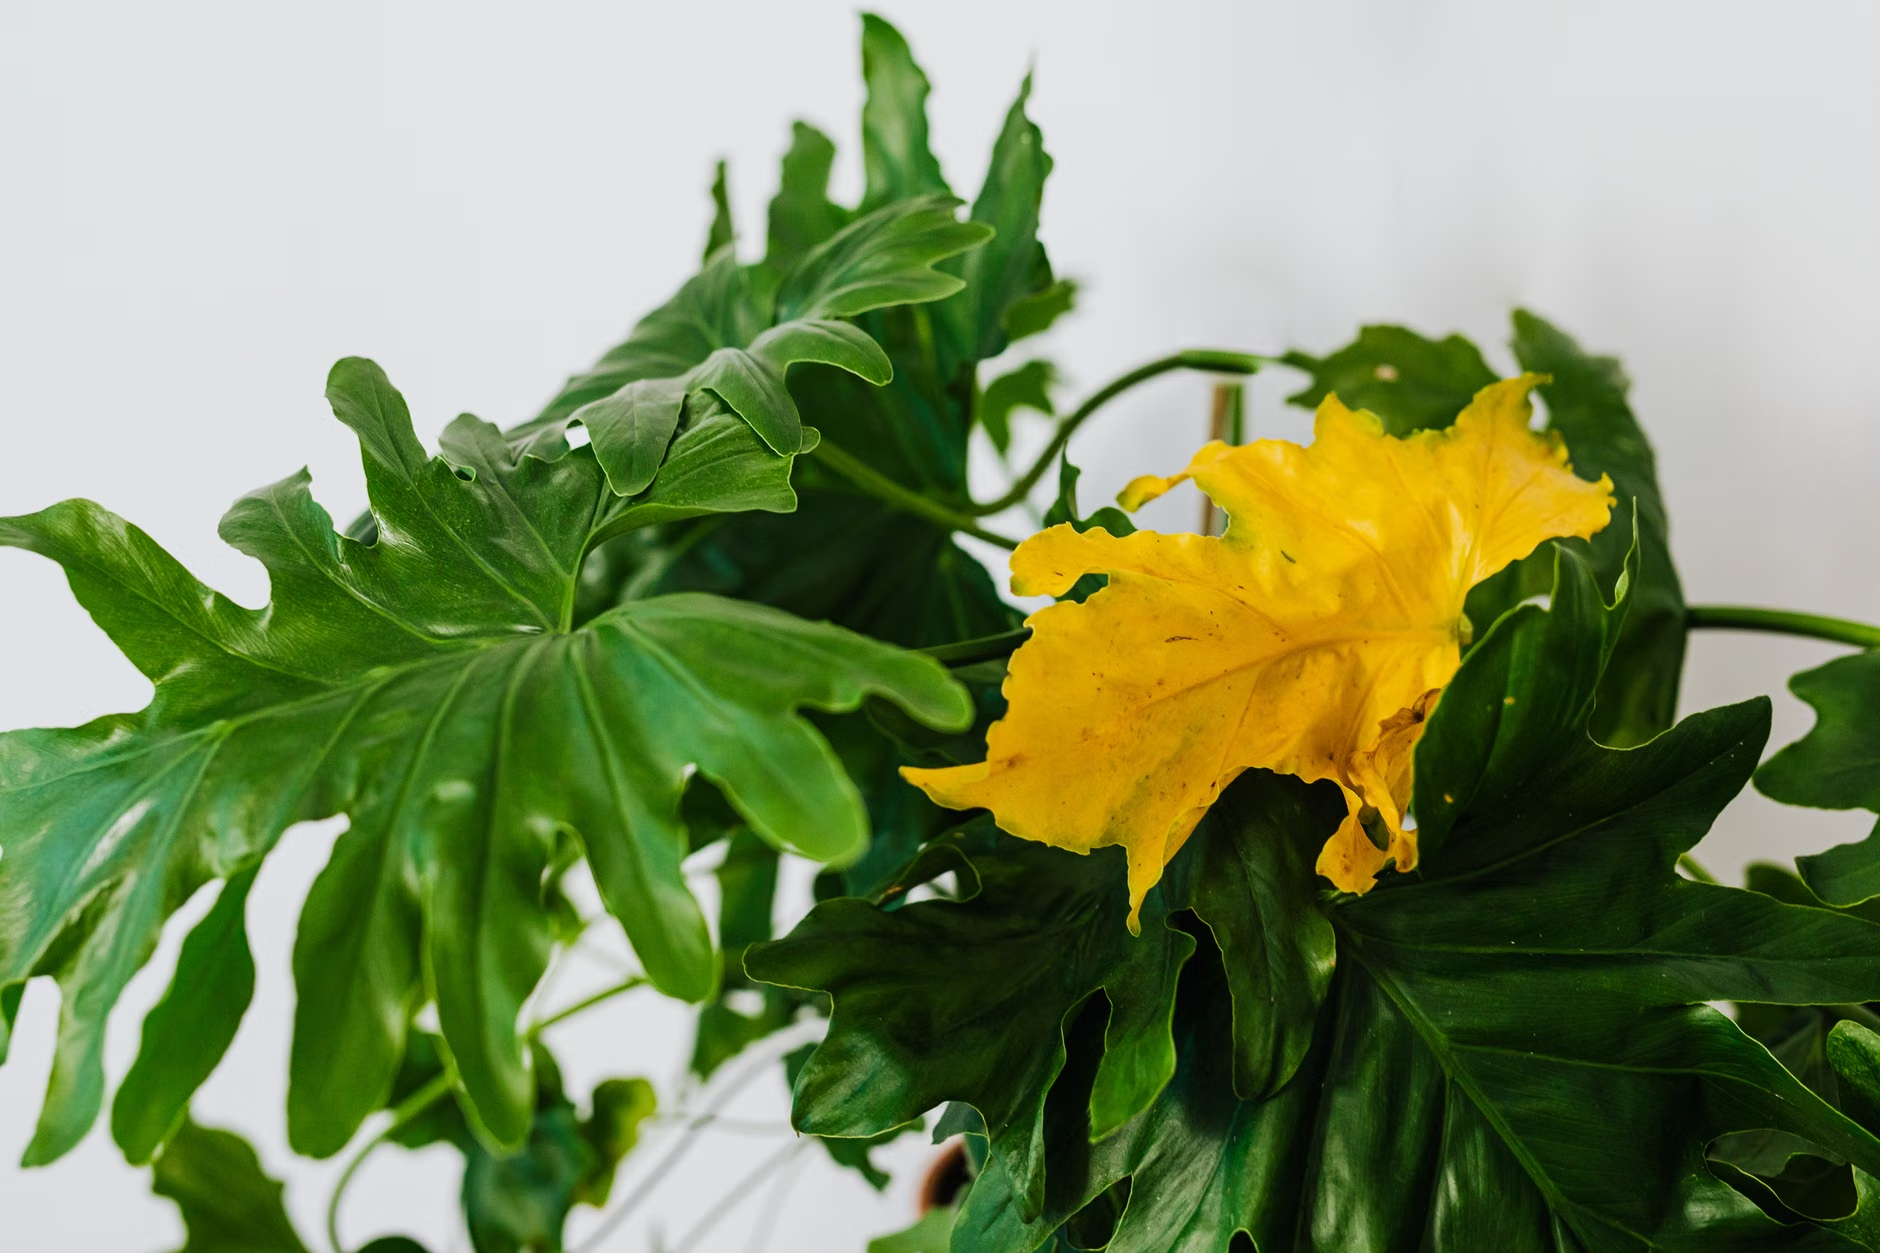
Underfeeding clues (more likely in long-lived pots of soil with old mix): Pale (compared to previous growth) new shoots and stems, smaller new leaves, a generally ‘unfit’ look.
Overfeeding / salt clues: Brown leaf tips and edges, droopy plants even when moisture tests say ”I’ve been watered”, very little overall growth, and white crusties on the top of the soil and (particularly) on the rims of pots.
Season matters: A lot of us can get away without touch to very little fertiliser on many types of plants during low-light winter conditions where growth rarely continues hence many types of lead, shoot or flowers don’t develop.
Audit what you’ve done in previous 8 week burst for above to see if you, unknowingly, over-fert.
First – did anything more than normal on fertiliser, or add new style feeds in conjunction with a free cabinet crasher a.k.a. slow-release, background aids.
Second – indeed you have fed the ‘patient’ (her you greedy guzzler) through Nov/Feb)]!
Last grime – does the soil surface have a white bottling on soil and/or pot rims? If so, that’s salt.
Syringe flush with water from the top of pot till all excess water drains, and repeat until the water runs clear from bottom of pot. For very bad cases, repot in fresh mix.
When ‘rehabilitated’ and growth conditions = light and warmer temps, get ‘feed and pest on a diet all year round’ but lightly, and play by the label. If you want a quickie twist: Start low, take inventory through time, and then increase only if new growth is clearly healthier after a moderate dose.
Factor 6: Environment (temperature, humidity and air movement)
Even with good light and good watering a stressed plant can fail to grow because of cold drafts, heat blasts, frigid windows or parched air. Many common indoor houseplants do best in fairly steady inside temperatures and prefer moderate humidity in winter when things feel super dry and heating is needed.
Signs of draft stress: buds dropping, leaves curling at edges, sudden loss of leaves, a plant that only does poorly in just one local area of the home.
Signs of dry air: crispy brownie edges, shrimp-boat shriveled new growth, spider mites who seem to be everywhere after epidemic outbreaks (they like dry conditions);
poor air flow leads to disease: a good airflow is desirable, but do not place plants in direct hot or cold drafts while keeping some type of air movement always circulating around the plant if at all possible.
Remedies:
- Measure, do not presume! Stick a little thermometer/hygrometer nearby for a 24-hour period. Watch out for big swings, especially where there is a vent, exterior door or cold glass.
- Move plant 3 or 6 feet from vent or cold-windowed door and be careful where leaves touch coldness.
- Provide greater local humidity if lacking: group plants together, or use a room-sized humidifier. If you must use a pebble tray, be sure that pot is high and above the waterline, or potting mix will wick itself in touch with the water.
Common scenarios (and what the checklist will reveal)
- “My plant stopped growing after I moved it deeper into the room.” Almost certainly Factor 1 first, then Factor 2 (since lower light = more risk of overwatering).
- “It wilts, so I water, but it keeps getting worse.” Usually Factor 2 + 4; if roots are stressed (too wet / low oxygen) the plant wilts regardless of whether there’s moisture.
- “It’s not growing, so I fertilized… now leaf tips are brown.” Often it’s Factor 5 (salt stress) on top of Factor 1 (light) or Factor 2 (watering).
- “It dries out every day and looks tired.” Often Factor 3, rootbound, or pot that’s way too small (and/or, Factor 6 if near heat source).
A simple plan (to take 14 days so you don’t over-correct)
- Day 1: Take reference photos. Note: location, distance from window, last watering, and drainage holes in pot.
- Day 1&2: Fix only the issue you have the most confidence about. (For a lot of people, that’s light placement and drainage).
- Day 2-14: Water based on soil moisture and potweight, not “schedule”. Rotate weekly. Keep heating/drafting consistent if you can.
- Day 14: Compare photos and check new growth points. If nothing is improving, move on to the next factor on your respective checklist (don’t throw random other changes at it).
Bonus: Lookalikes for “not growing” (outside of the 6 factor list)
If you’ve checked all six (honestly), and nothing seems to add up, keep an eye out for these lookalikes:
- Dormancy or a “downtime” (winter especially)—the plant is conserving energy, not growing poorly.
- Pests (spider mites, thrips, scale) reducing the photosynthesis “equation,” and stressing the plant.
- Disease (root rot, leaf spot) that requires for sanitation, better air circulation, and perhaps repotting.
- Genetics—some plants are slow growers, like some humans! Compare your plant to the average expectation in their conditions for that plant.
FAQ
How long will it take for the plant to “grow” after I’ve fixed the problem?
Usually you will see plants starting to stabilize first (less wilting, less yellow leaves, etc) before things seem to speed up. Plants tend to follow specific paths of growth, so sometimes they do take time to actually push out visible growth. Many of them (you know, plants) show promising change much like a flourish where you can see fine beginning to form, in about weeks of fixing environmental inputs (other plants may take longer!). Remember, to track new growth points, and not shout hallelujah for old leaves.
Should I fertilize a plant that isn’t growing?
Generally not. First see if the situation in the light and root system are fine. Fertilizer is most effective when the plant is actively growing and can utilize available nutrition. Over-fertilizing can create too much salt buildup and burn the roots, whereupon growth slows even more.
Is a bigger pot always better for growth?
Not necessarily. Leaping to a much larger pot can leave the mix too wet, compounding root problems. A moderately bigger pot plus fresh mix of the right sort is probably safer.
Do rocks in the bottom of the pot improve drainage?
In almost all container mixes, no. The key is a pot with drainage holes, and then potting mix that drains and holds air carefully, for whatever plant you have in mind.
What is the easiest way to stop overwatering?
Use the pot-weight method. Lift your pot right after a full watering (heavy), then every day thereafter to discover what “almost dry” will feel like for that plant and pot. Use together with a soil check a couple inches down.